by
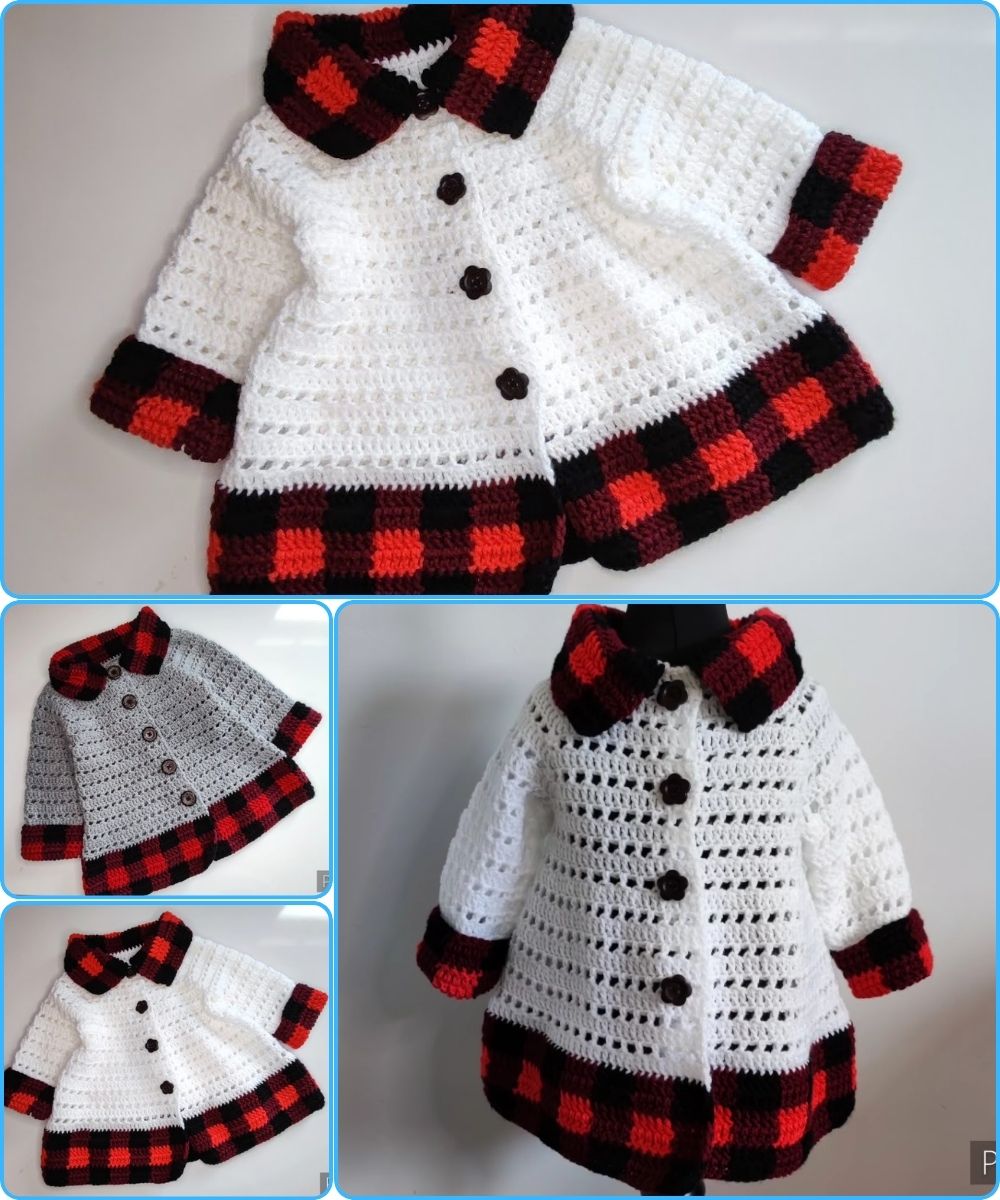
by Absolutely! Let’s break down a detailed guide on making a crochet “Buffalo Plaid” cardigan for girls. I’ll cover materials, pattern considerations, stitch choices, color strategy, and step-by-step instructions. This will assume you have intermediate crochet skills (comfortable with reading patterns, changing colors, and working with basic stitches).
Materials Needed
-
Yarn:
-
Worsted weight (medium, #4) yarn in red and black (traditional buffalo plaid colors).
-
Optional: a neutral color like white or cream for borders if desired.
-
Amount: ~800–1200 yards total depending on the child’s size.
-
-
Hook:
-
Size H/8 (5mm) or according to your yarn label for a comfortable gauge.
-
-
Other Supplies:
-
Tapestry needle for weaving in ends.
-
Stitch markers.
-
Buttons (optional, if you want a button-up cardigan).
-
-
Gauge:
-
Check your gauge before starting. Example: 16 sc x 20 rows = 4” square (adjust hook if needed).
-
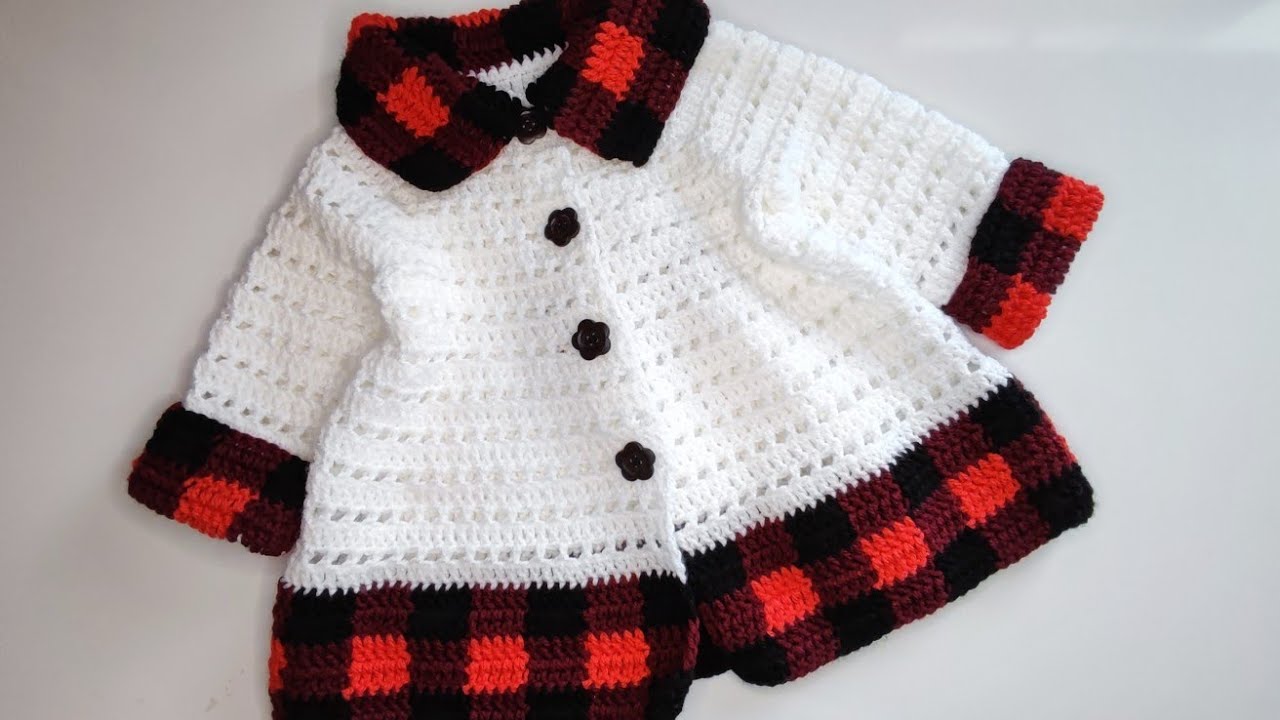
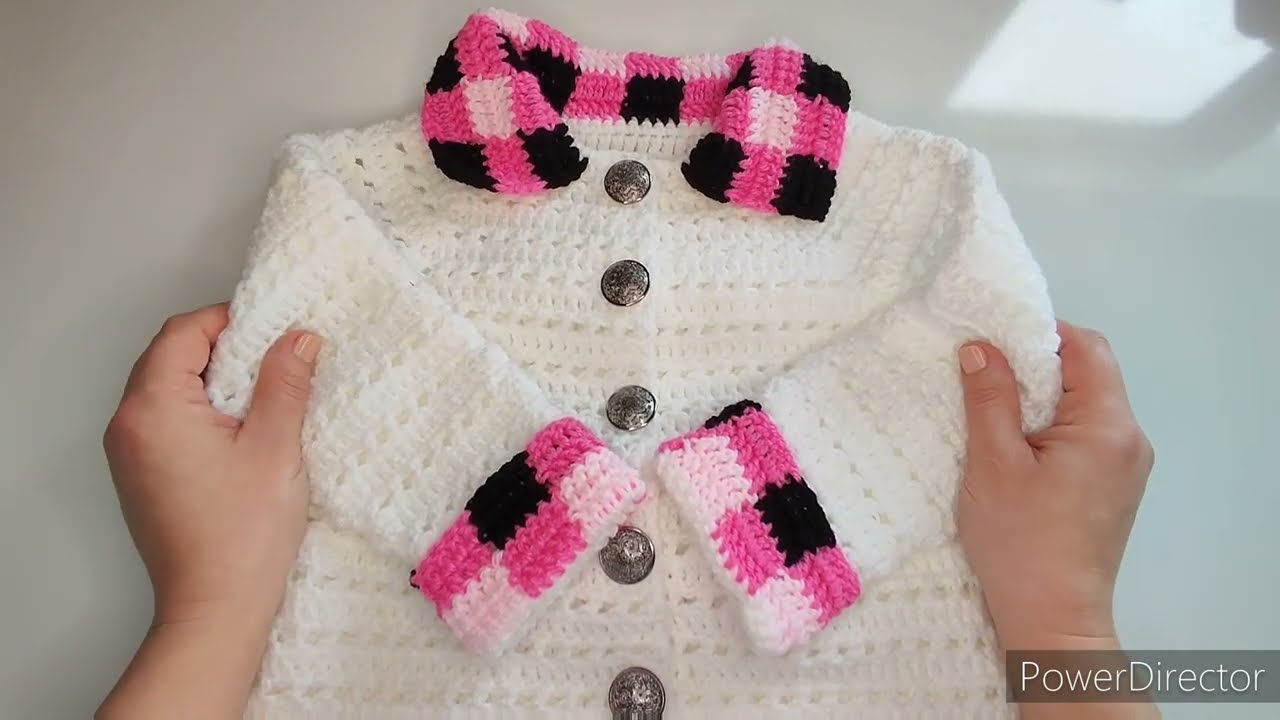
Understanding Buffalo Plaid in Crochet
Buffalo plaid is a checkered pattern traditionally in red and black. To crochet it:
-
Use mosaic crochet or tapestry crochet to carry the unused color along the row.
-
Work in rows, alternating color blocks (typically 2–3 stitches per color square for worsted yarn).
-
Example layout for a small square:
Step 1: Measure and Plan
-
Take the child’s chest, waist, sleeve length, and overall cardigan length measurements.
-
Decide the width of the plaid squares (2–3 sc per color is common).
-
Calculate total stitches per row based on gauge and desired width.
Step 2: Back Panel
-
Chain foundation to match the width of the back panel.
-
Work in single crochet (sc) or half double crochet (hdc), following the buffalo plaid color sequence.
-
Continue until the piece reaches the desired length (from shoulder to hem).
Step 3: Front Panels
-
Make two identical front panels.
-
Each panel’s width = ½ of back panel width minus desired overlap for buttons.
-
Work in the same buffalo plaid pattern.
-
Optional: Leave buttonholes by chaining 2–3 and skipping 2–3 stitches where needed.
Step 4: Sleeves
-
Start at the cuff. Chain the desired width for the wrist.
-
Work in rows in buffalo plaid pattern.
-
Gradually increase stitches to create sleeve width up to the armhole.
-
Make two sleeves.
Step 5: Assembly
-
Lay pieces flat: Back panel in center, front panels on each side, sleeves on top.
-
Use whip stitch or mattress stitch to join shoulders.
-
Sew side seams of body and sleeves.
-
Attach sleeves to armholes.
Step 6: Finishing
-
Add a border around the cardigan if desired:
-
Single crochet or ribbed edge (front, hem, cuffs).
-
-
Weave in all yarn ends.
-
Sew on buttons if it’s a button-up style.
-
Block lightly to shape.
Tips
-
Use stitch markers to track plaid color changes.
-
For neat color changes, carry unused yarn along the top of the row and crochet over it.
-
Always count stitches in each plaid block carefully for symmetry.
-
If new to tapestry crochet, practice a small swatch first.
If you want, I can also create a full stitch-by-stitch pattern for a specific size (e.g., 4–5 years old) with exact stitch counts, color changes, and measurements, so you can follow it directly without calculations.
Do you want me to make that detailed pattern?
Watch tutorial: