 by
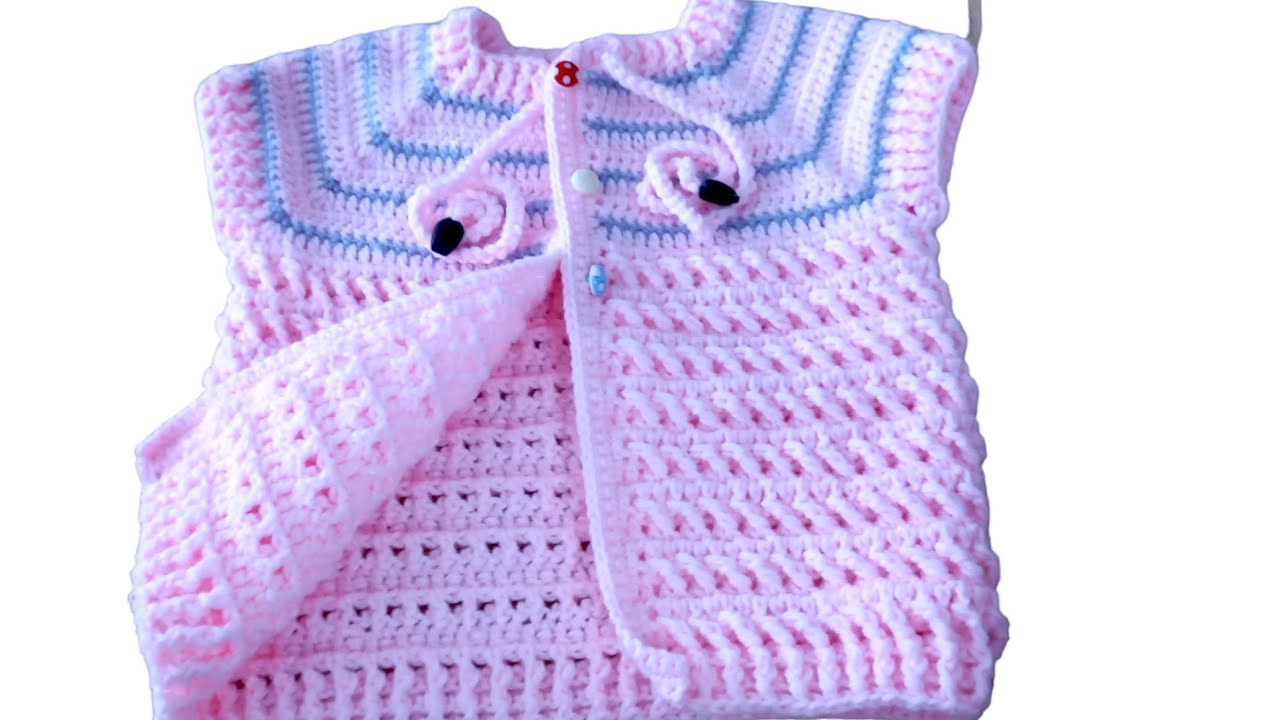
by Sure! Here’s a detailed guide on how to knit an easy baby vest (0–1 year olds), starting from the robe (neckline) – which is a common top-down knitting method used for making seamless garments like vests, cardigans, blouses, and sweaters.
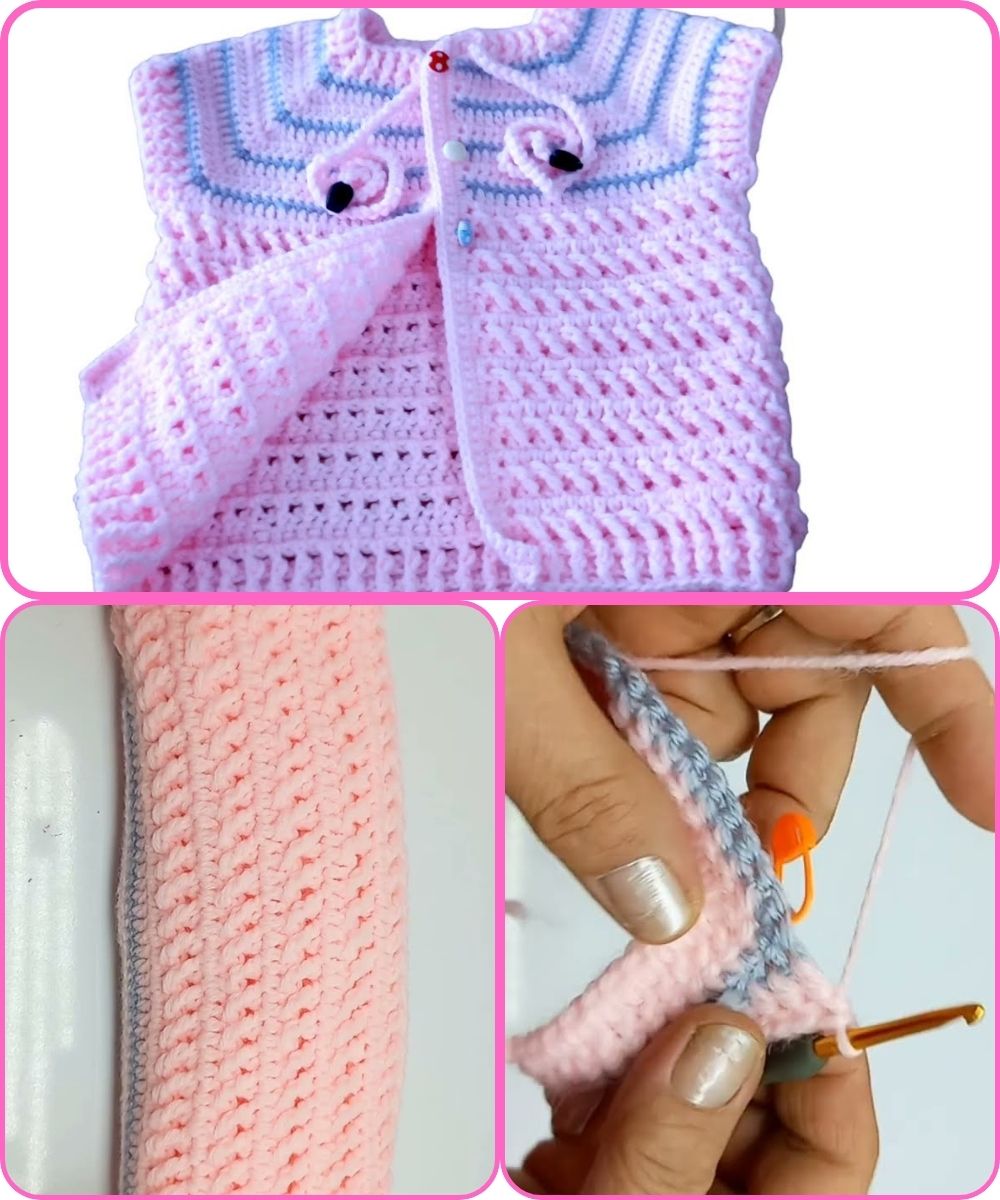
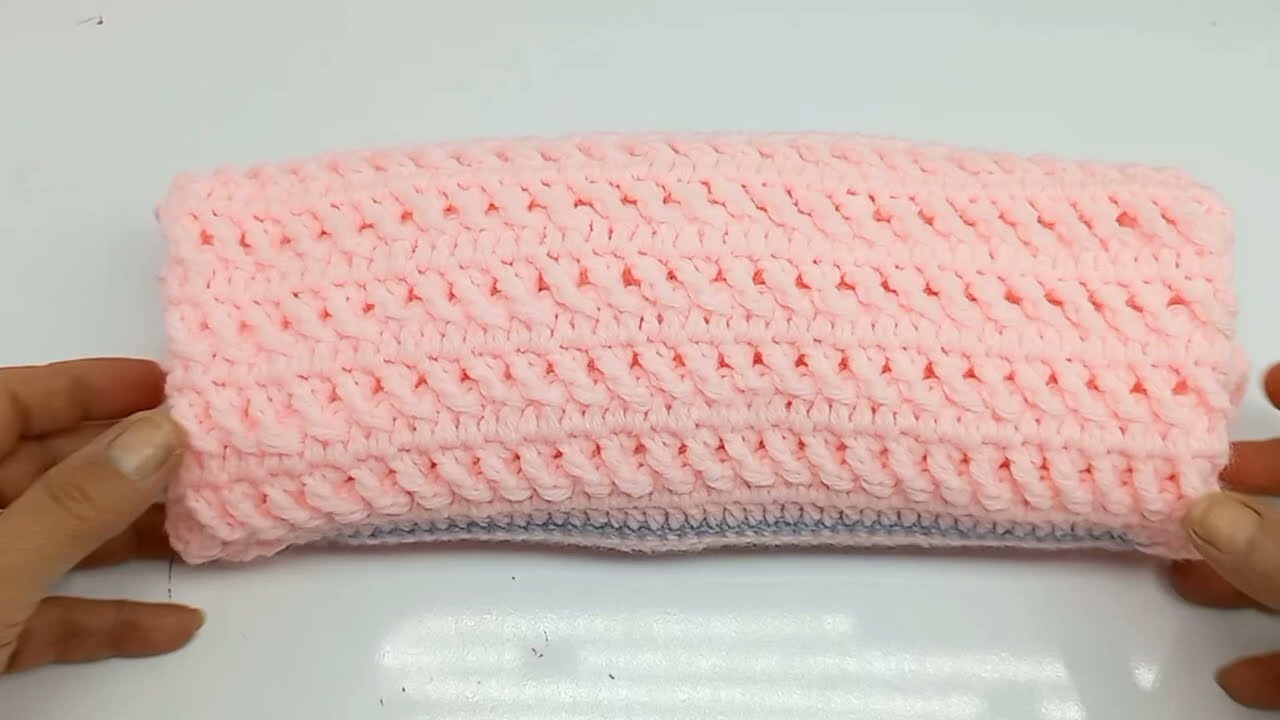
KNITTED BABY VEST (0–1 YEAR) – TOP-DOWN (From Robe/Neckline)
✅ Suitable for: Baby 0–12 months
✅ Skill Level: Beginner to Intermediate
✅ Construction: Top-down (starting from neckline/robe), seamless
✅ Style: Vest (you can adapt it into a cardigan, blouse, or sweater)
✅ Tools & Materials:
-
Yarn: Baby-soft yarn (DK or light worsted, acrylic or cotton, about 100g)
-
Needles: 3.5mm or 4mm circular needles (40cm or use magic loop), or straight needles if working flat
-
Stitch markers: 4 (for raglan lines)
-
Tapestry needle: for weaving in ends
-
Buttons (optional): for cardigans
-
Measuring tape & scissors
BASIC MEASUREMENTS FOR 0–1 YEAR OLD
-
Chest circumference: ~45–50 cm
-
Length from shoulder to waist: ~25–30 cm
-
Armhole depth: ~10–12 cm
-
Neckline circumference: ~30–32 cm
STEP-BY-STEP INSTRUCTIONS
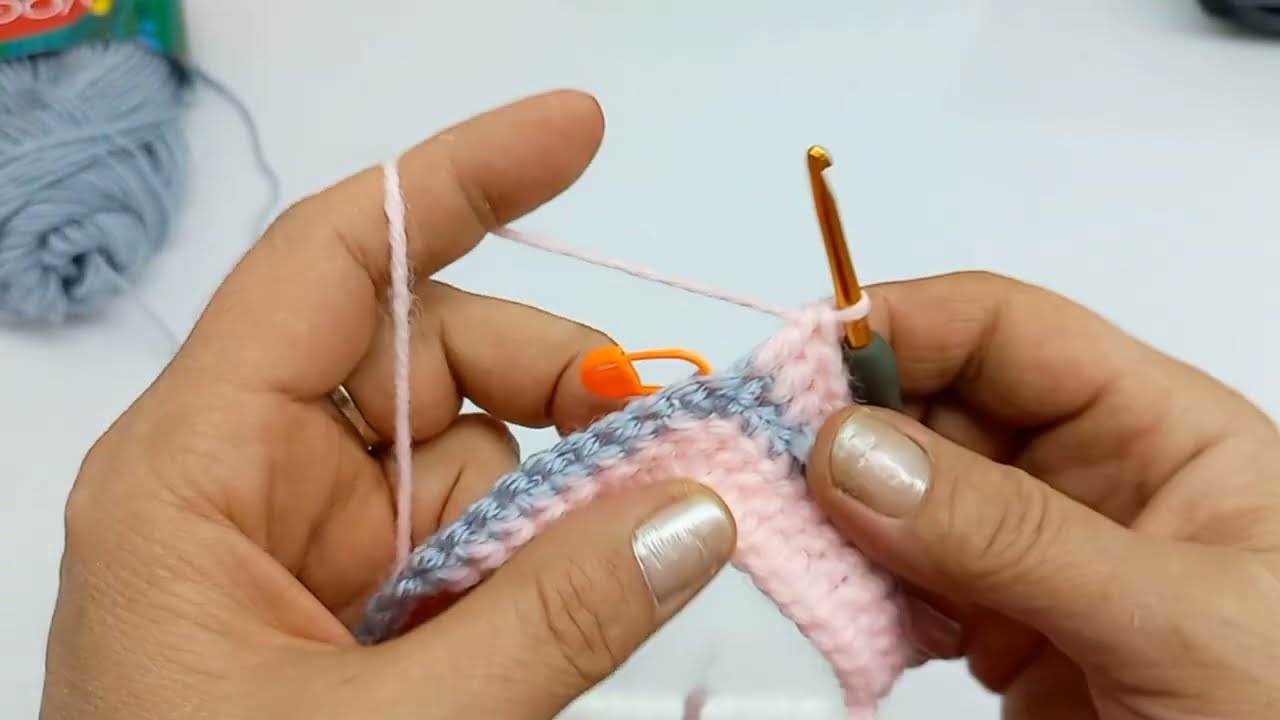
STEP 1: Cast on from Robe (Neckline)
We start from the neckline and work top-down using raglan increases.
Cast-On:
Cast on 60 stitches loosely (or adjust based on gauge).
Divide stitches as follows for raglan shaping:
-
Back: 18 stitches
-
Each Sleeve: 8 stitches
-
Fronts: 13 stitches each
-
Place 4 stitch markers between these sections.
Pattern:
STEP 2: Knit the Yoke (Raglan Increases)
Work in stockinette stitch (knit all rounds or knit 1 row, purl 1 row if flat) and increase 1 stitch before and after each marker on every right-side row.
Use “KFB” (knit front and back) or “YO” (yarn over) for increases.
Repeat raglan increases every other row (every RS row) until you have:
-
Fronts: ~26 stitches each
-
Sleeves: ~20–25 stitches each
-
Back: ~40–45 stitches
Tip: Keep going until the yoke measures about 12–14 cm from cast-on edge or fits comfortably around baby’s chest.
STEP 3: Separate Sleeves
Place sleeve stitches on stitch holders or scrap yarn.
Continue working on body only:
-
Cast on 3–5 stitches under each arm (for the underarm gap)
-
Join fronts and back to start working the body in one piece
STEP 4: Knit the Body
Work the body in stockinette stitch (or add patterns like garter, ribbing, or cables).
Knit until the total body length (from neckline) is ~25–30 cm or desired length.
Finish with 5–6 rows of garter stitch or 2×2 ribbing for the hem.
Bind off loosely.
STEP 5: Sleeves (Optional for Sweater/Cardigan)
If making a sweater:
-
Transfer sleeve stitches back to your needle
-
Pick up stitches from underarm cast-on (3–5 stitches)
-
Knit in the round until sleeve is ~10–12 cm
-
Finish with ribbing or garter edge and bind off
If making a vest, skip sleeves.
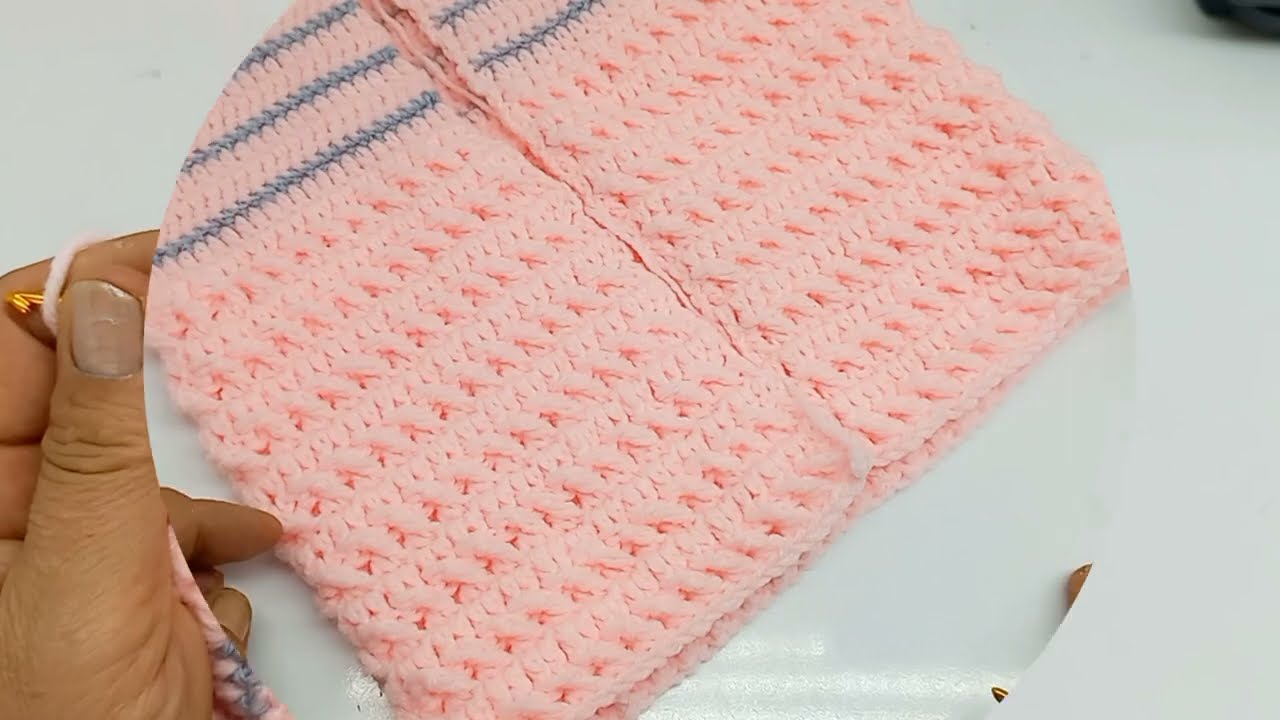
STEP 6: Neckline Finishing
Pick up stitches around the neckline and knit:
-
Garter stitch (4–5 rows) or
-
2×2 ribbing (1–2 cm)
Optional: Create a button band or leave open
STEP 7: Weave In Ends & Block
-
Weave in all loose yarn ends with a tapestry needle
-
Lightly block your work to shape it
VARIATIONS
-
Vest: No sleeves, sleeveless design
-
Cardigan: Add buttonholes and open front
-
Blouse: Use lighter yarn and add lace patterns
-
Sweater: Knit sleeves for full coverage
BASIC SIZE ADJUSTMENT (if you’re off gauge)
You can adjust by:
-
Adding/removing stitches evenly in the cast-on
-
Using thinner/thicker yarn and adjusting rows
-
Checking chest size against a baby shirt
Watch tutorial: