 by
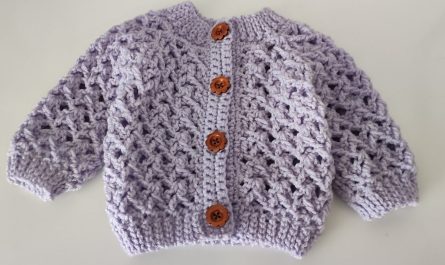
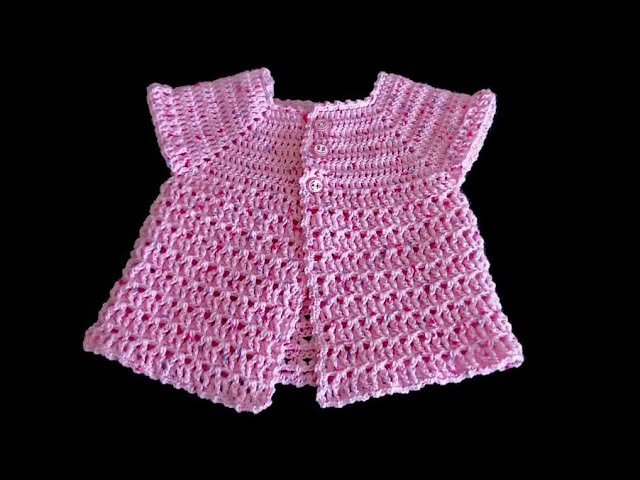
by Here is a detailed step-by-step guide on how to make an easy crochet baby vest/cardigan/jacket for a 1-year-old. This pattern is suitable for beginners and uses simple stitches, so you can follow along even if you’re new to crochet.
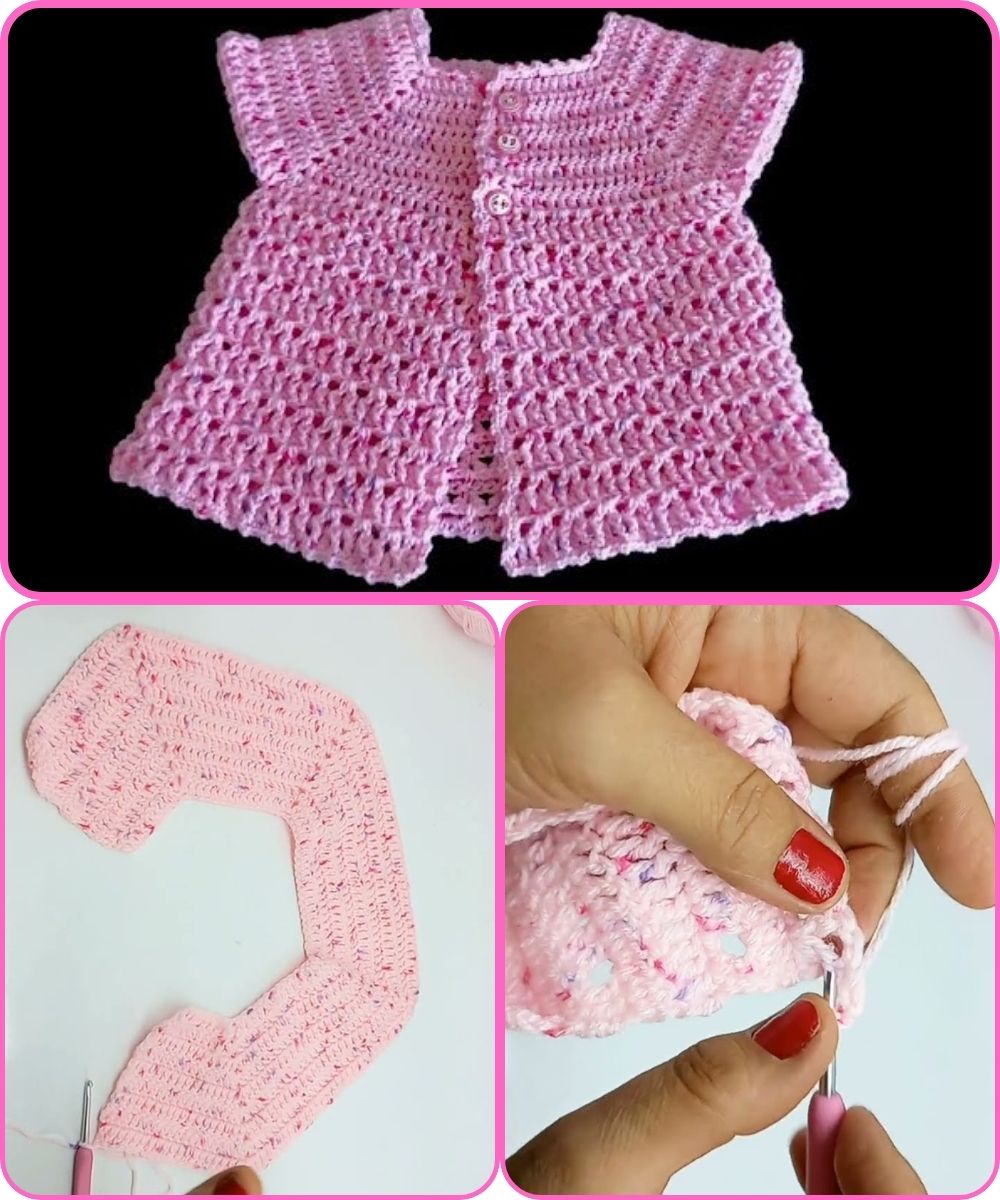
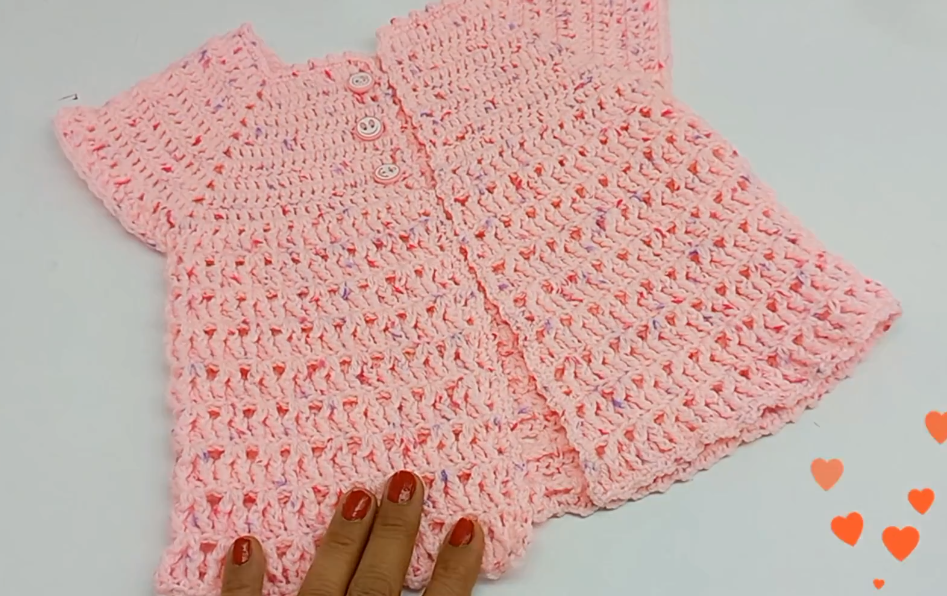
Easy Crochet Baby Vest for 1-Year-Old (Unisex Pattern)
Age Group: 12 months
Skill Level: Beginner to Intermediate
Construction: Made from top down – no sewing needed
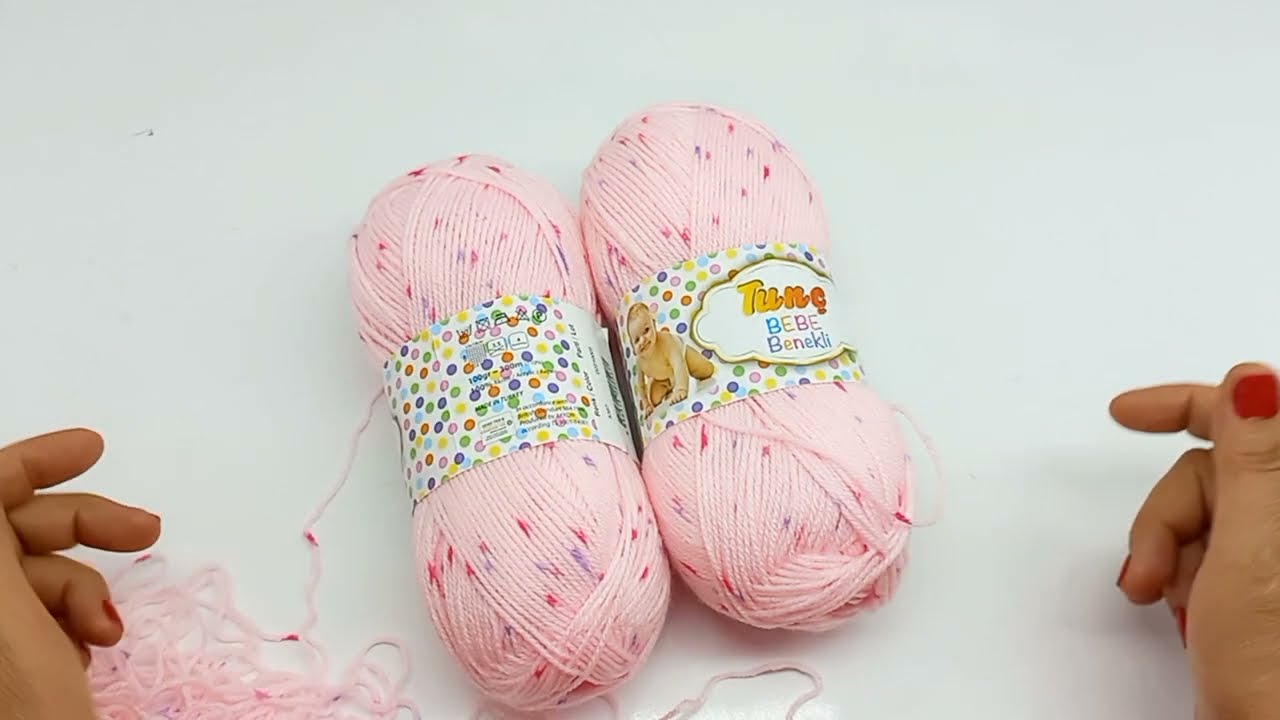
Yarn: Medium weight (DK or Light Worsted, #3 or #4) – ~150g
Hook Size: 4 mm (G-6) or 4.5 mm depending on your tension
Other Tools: Scissors, yarn needle, buttons (optional)
Abbreviations (US Terminology)
-
ch = chain
-
sc = single crochet
-
dc = double crochet
-
sl st = slip stitch
-
st(s) = stitch(es)
-
rep = repeat
-
inc = increase (2 stitches in same stitch)
Finished Measurements
-
Chest width: ~25–27 cm (10–10.5 in)
-
Length: ~30 cm (12 in)
-
Armhole depth: ~11 cm (4.3 in)
PART 1: YOKE
We begin from the neckline and work downward, increasing to form the yoke.
Step 1: Foundation Chain
Chain 56 (for back + front + shoulders + corners).
You’ll divide as:
-
Back: 16 stitches
-
Fronts: 10 each
-
Shoulders: 10 each
-
Plus 4 stitches for corners (increases)
Step 2: Yoke Rows
Row 1 (RS):
In 2nd ch from hook, dc. Dc in each ch up to corner st, (dc, ch1, dc) in the corner stitch.
Repeat for all 4 corners. Dc to end.
You’ll now have four ch-1 spaces (these are the corners where you increase every row).
Row 2–9:
Repeat the same pattern, doing (dc, ch1, dc) in each corner ch-1 space to increase.
By Row 9, your yoke should measure around 11–12 cm tall and be wide enough to divide for armholes.
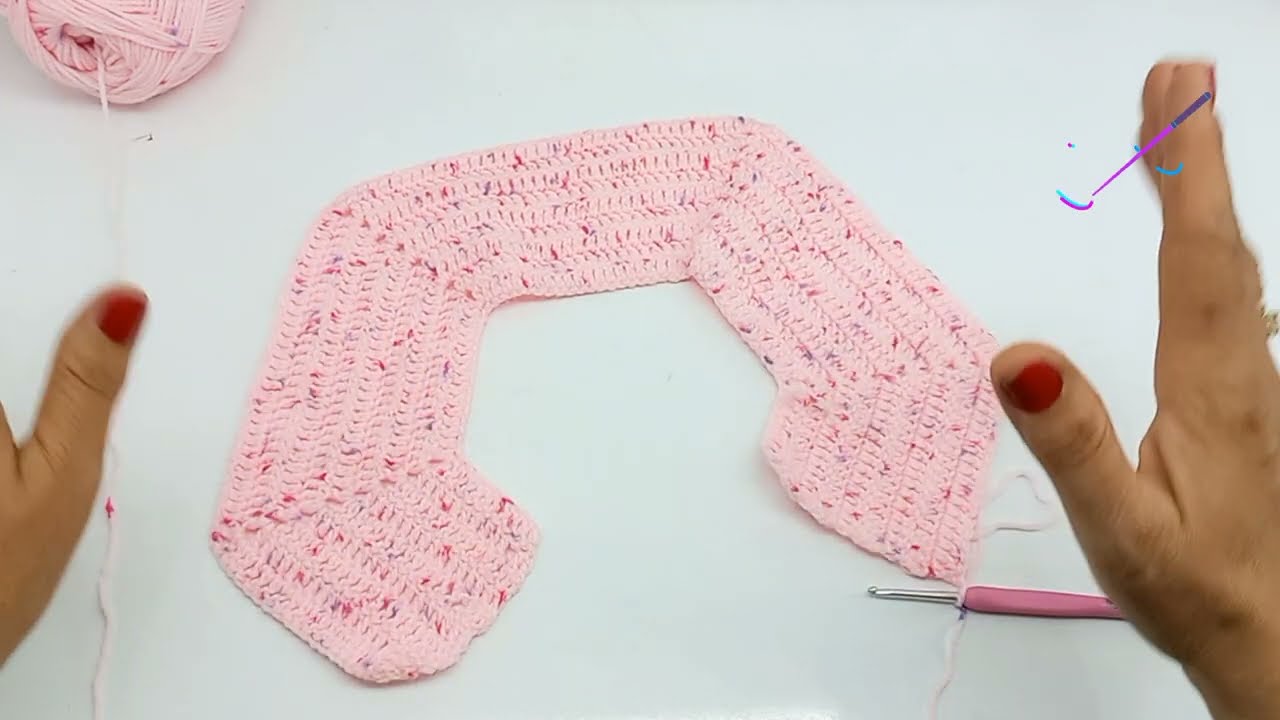
PART 2: DIVIDE FOR BODY & ARMHOLES
Now you will separate the sleeves and continue with the body.
Row 10:
-
Dc across front stitches.
-
Skip all sleeve stitches (you can place them on a stitch holder or scrap yarn).
-
Chain 3–5 (for underarm), join to back.
-
Continue dc across back.
-
Skip other sleeve.
-
Chain 3–5 again, finish dc across second front.
You should now have a vest shape, like a “U.”
PART 3: BODY
Rows 11–20 (or desired length):
-
Dc in each st (including underarm chains) across all rows.
-
Keep going until the body reaches around 30 cm or desired length.
Optional:
For a decorative touch, add a shell stitch or picot edge on the bottom row.
PART 4: ARMHOLES (Optional Sleeves)
If you want a jacket-style with sleeves:
-
Join yarn at the armhole.
-
Dc in rounds around the armhole (approx. 30–35 stitches).
-
Repeat for 8–10 rounds, or until sleeve is ~10 cm long.
-
You can finish with ribbing or a scallop edge.
PART 5: BORDER & FINISHING
Button Band (Optional):
-
Attach yarn to front edge.
-
Sc evenly along the edge (1 sc per row).
-
For buttonholes, do (sc, ch2, skip 2 sts) at even intervals.
-
Repeat sc rows to make band thicker (2–3 rows total).
-
Add buttons to other side.
Neckline:
-
Sc around neckline for a clean edge.
Finishing:
-
Weave in all ends with a yarn needle.
-
Block your work lightly if needed.
-
Sew on buttons if used.
Tips for Customization
-
Use pastel or baby-friendly colors (mint, lilac, baby blue, cream).
-
Add a flower or teddy bear applique for decoration.
-
You can make it sleeveless, short-sleeve, or long-sleeve depending on season.
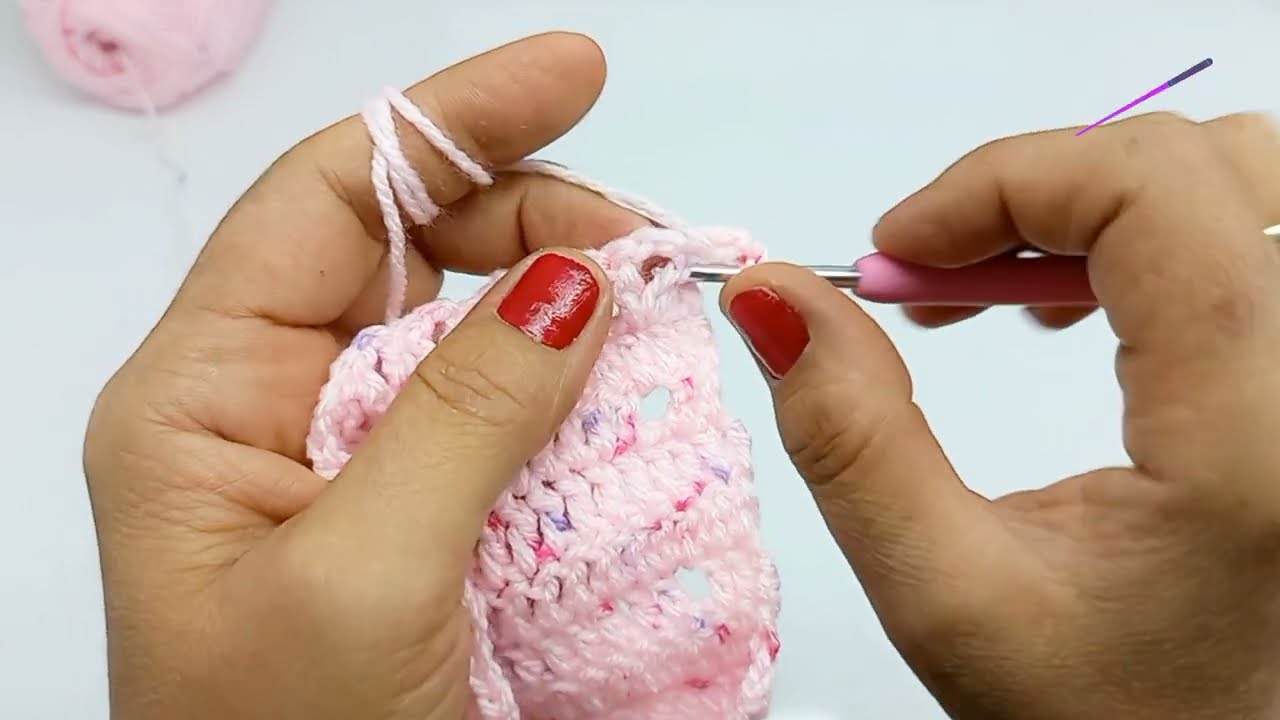
Visual Reference
If you want a video or chart pattern, let me know and I can search one for you or create a visual diagram!
Watch tutorial: