 by
by Below is a detailed, step-by-step guide on how to crochet a “Beaded Rainbow Dress” for a girl. This includes materials, sizing notes, stitch explanations, construction, bead-adding techniques, assembly, and finishing.
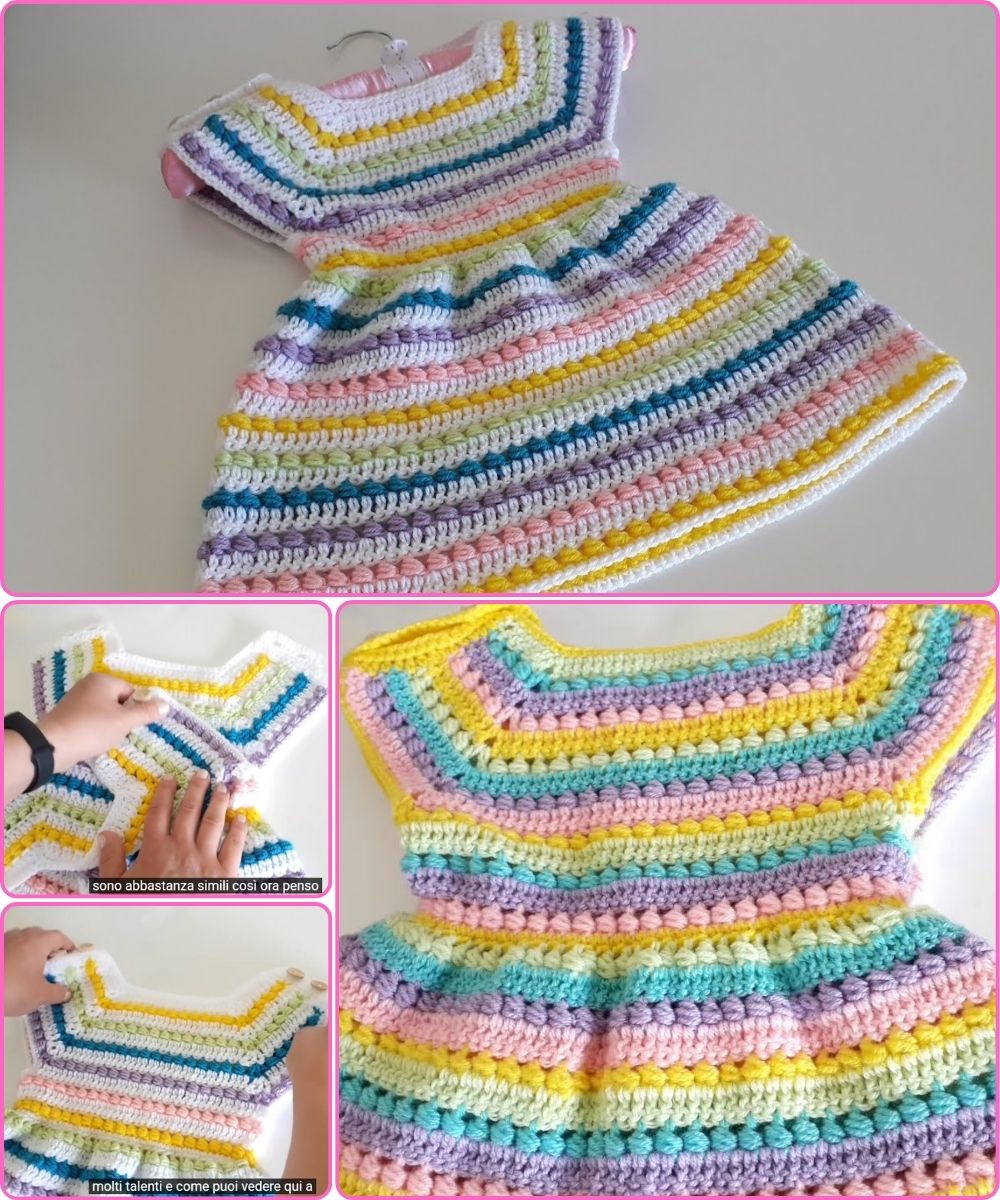
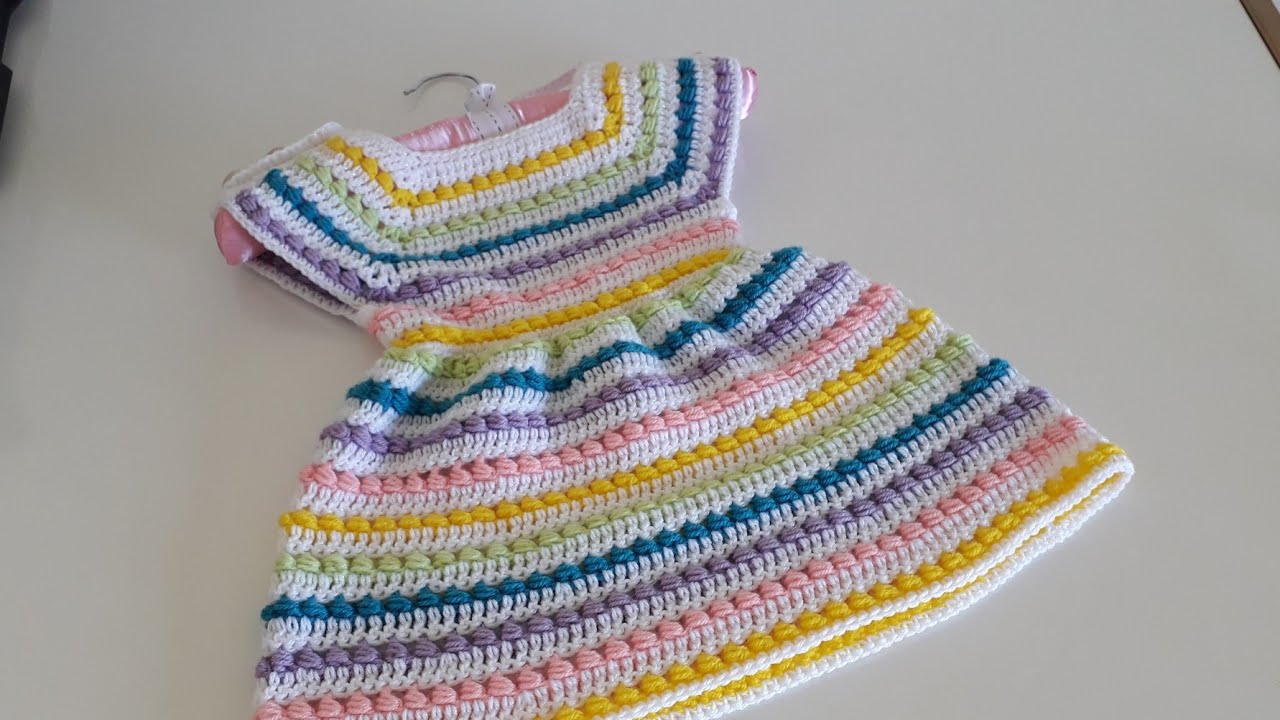
🌈 How to Crochet a Beaded Rainbow Dress for a Girl
(Beginner-friendly, detailed instructions)
🧶 Overview
This “Beaded Rainbow Dress” uses colorful yarn bands to create a rainbow effect, with beads crocheted directly into the fabric for sparkle. The dress is worked top-down, so it’s easy to adjust sizing and length.
⭐ Materials Needed
Yarn
-
Light worsted / DK weight yarn (Category 3) in rainbow colors:
-
Red, Orange, Yellow, Green, Blue, Indigo, Violet
-
-
White (or another neutral) for upper bodice (optional)
Other Supplies
-
Crochet hook size 3.5–4.0 mm (E–G) depending on gauge
-
6–8 mm plastic pony beads OR lightweight acrylic craft beads
-
Tapestry needle
-
Scissors
-
Stitch markers
-
Measuring tape
-
Optional: elastic thread for waist
📏 Sizing Guide
Approximate chest measurements:
-
2–3 years: 52–54 cm (20.5–21.5 in)
-
4–5 years: 56–58 cm (22–23 in)
-
6–7 years: 60–64 cm (23.5–25 in)
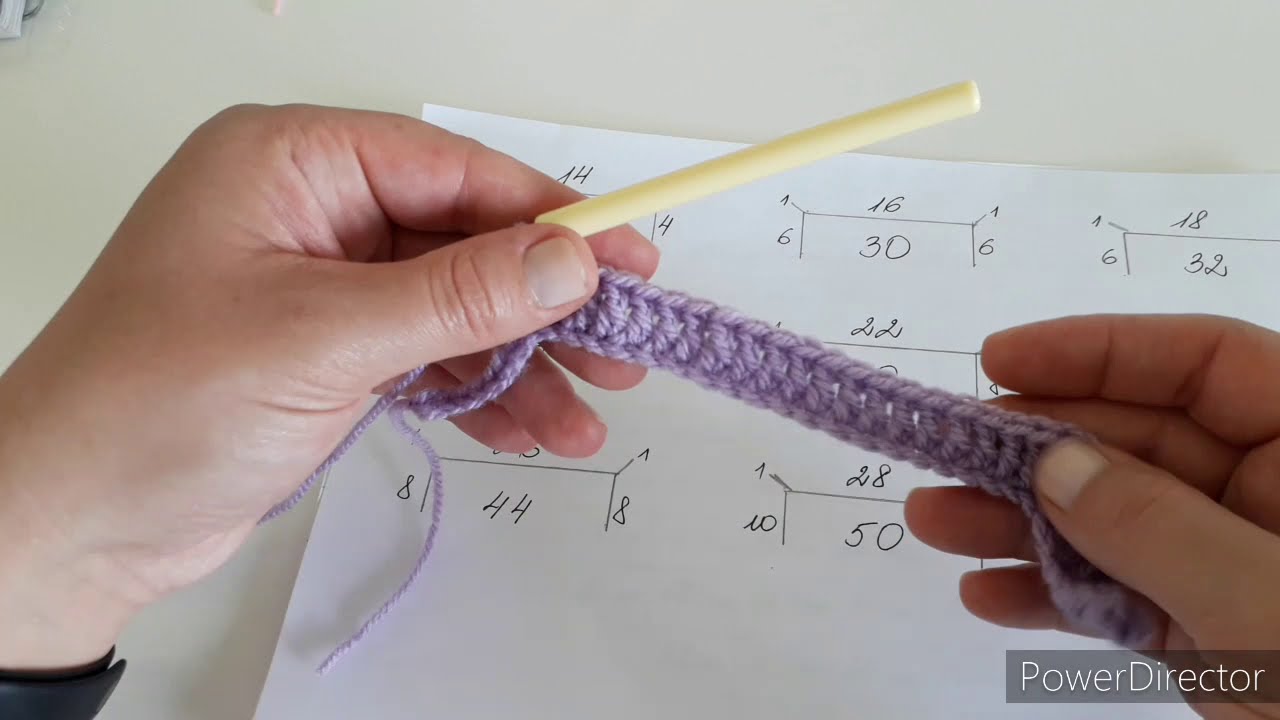
📌 This pattern is based on a top-down yoke worked in rounds. Add or remove increase rounds to adjust chest width.
🧵 Stitches Used
-
ch – chain
-
sl st – slip stitch
-
sc – single crochet
-
hdc – half double crochet
-
dc – double crochet
-
inc – increase (2 stitches in one stitch)
-
Bead stitch – slide one bead up to hook, yarn over and complete stitch behind bead
🌟 Before Starting: Pre-String Beads
-
Count how many beads you’d like per color stripe (e.g., 20–40 per stripe).
-
Thread beads onto yarn before crocheting that stripe.
-
Use a needle or tape-tip to help thread if needed.
-
-
Slide beads down the yarn as you work.
🪡 STEP-BY-STEP PATTERN
PART 1 — Upper Bodice (Yoke)
Worked top-down.
1. Foundation
-
Ch 60 (for 2–3 yrs)
-
Join to form a ring, taking care not to twist.
-
This will sit around the neckline.
2. Setup Row (Round 1)
-
Ch 2, dc in each stitch around, join with sl st.
3. Begin Yoke Increases
Work in dc.
Round 2:
-
(dc in next 14 sts, inc) repeat around.
Round 3:
-
dc in all sts.
Round 4:
-
(dc in next 15 sts, inc) repeat.
Round 5:
-
dc in all sts.
👉 Continue alternating increase round / plain round
until the chest width matches child’s measurement.
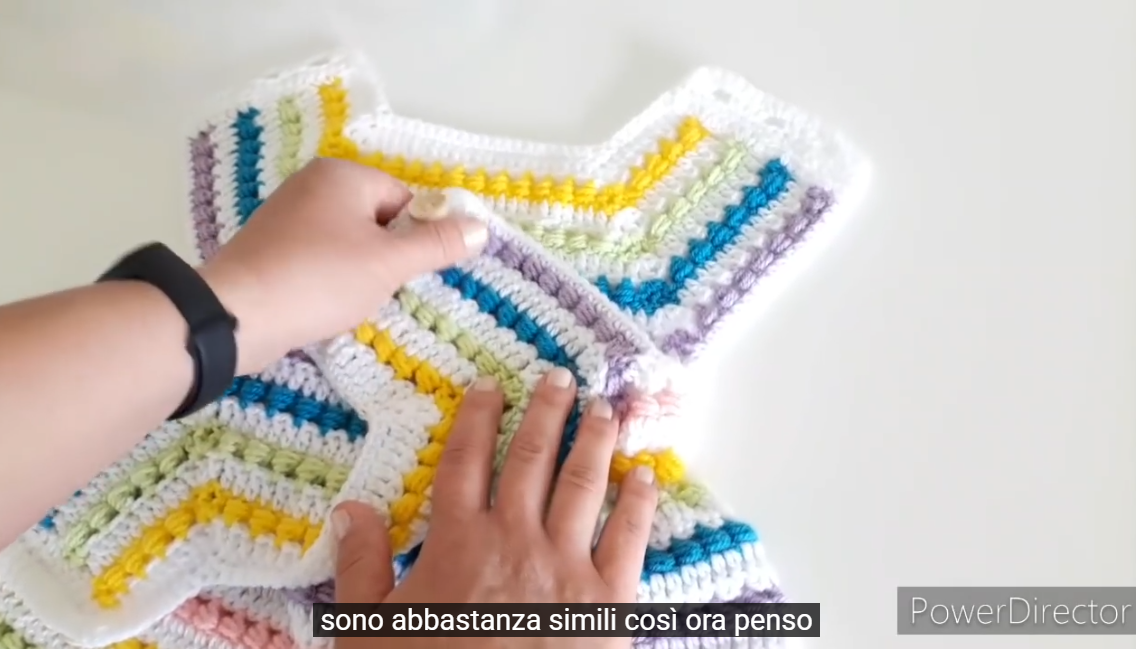
4. Split for Armholes
When yoke is wide enough:
-
Mark 2 shoulder points and 2 underarm points.
-
Crochet across front, chain 6–10 for underarm, skip sleeve, crochet back, chain 6–10, skip the second sleeve, join.
Now you have a continuous tube for the dress body.
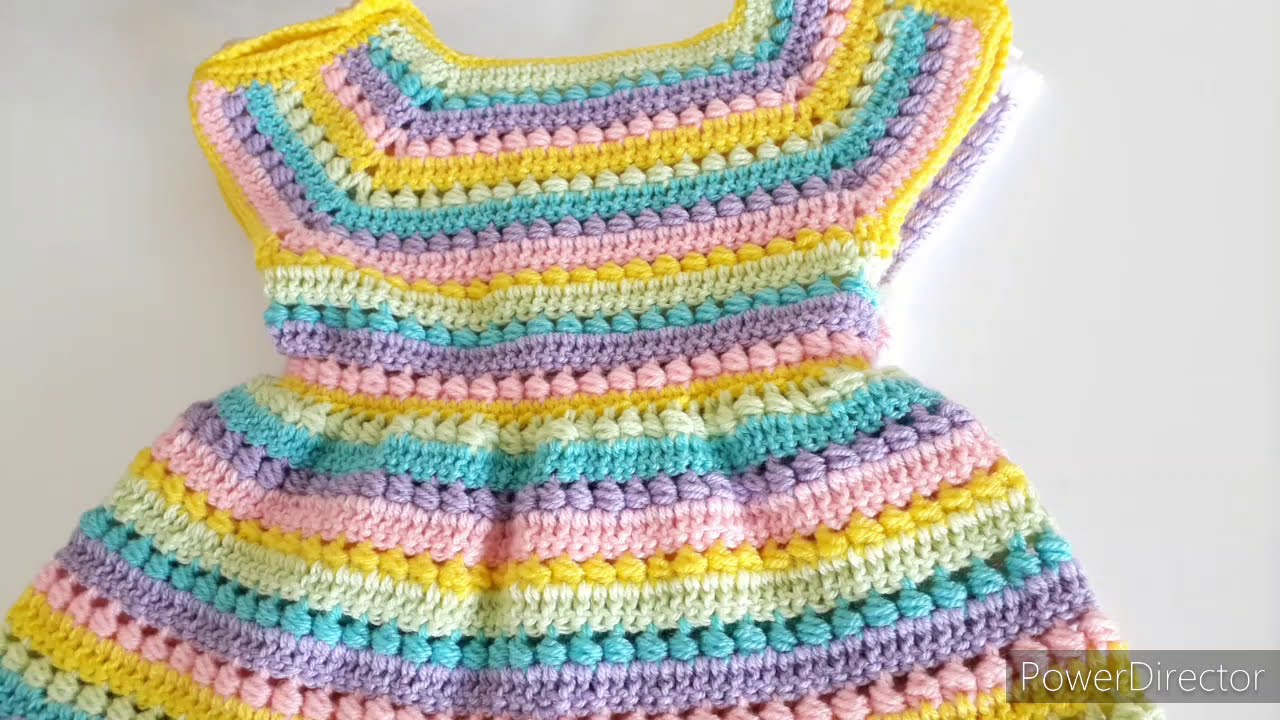
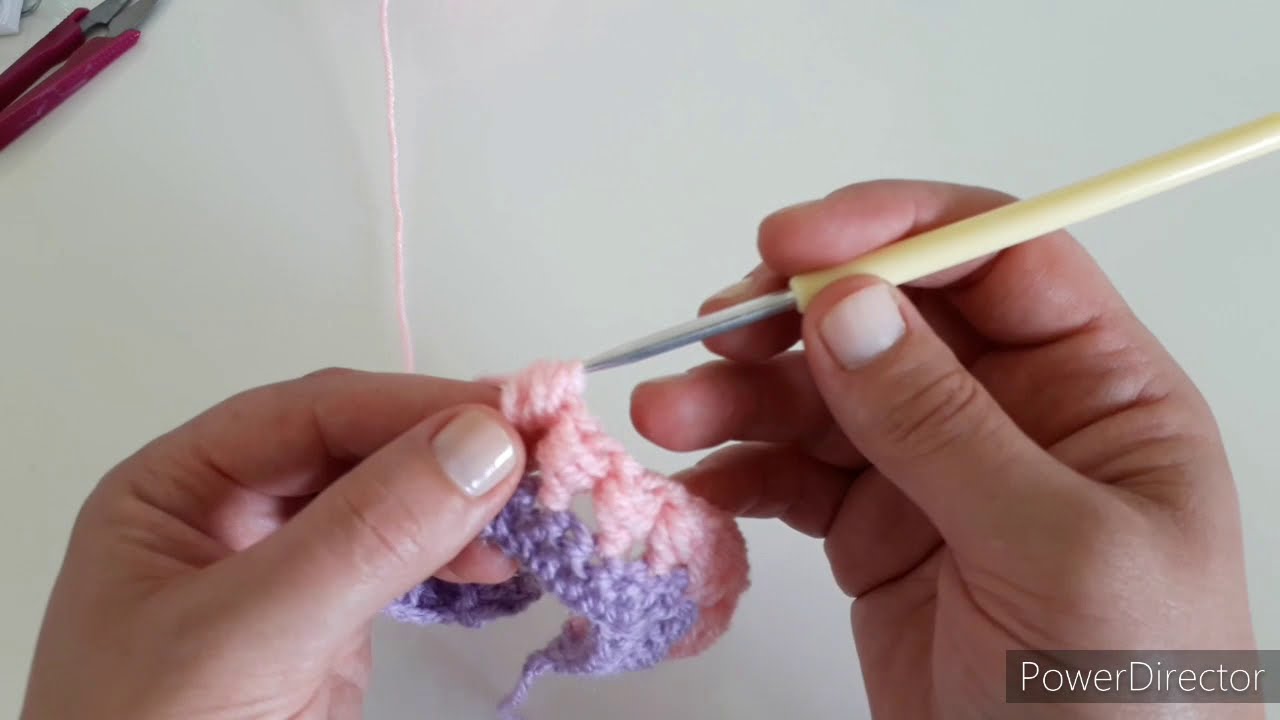
PART 2 — Rainbow Skirt (Striped + Beaded)
Each stripe is worked in hdc to create a soft drape.
General Stripe Pattern
-
Work 3–6 rows per color.
-
Add beads in the final row of each color stripe.
🌈 Stripe Instructions (repeat for each color):
1. Start Color
-
Attach new color with sl st.
-
Ch 1, hdc around. Join.
2. Expand for Flare
Every 3rd round:
-
hdc in next 7 sts, inc around
(Adjust if you want more or less flare.)
3. Beaded Final Row of Stripe
-
Pre-string beads.
-
Work hdc, and every 5 or 6 stitches, work a bead-stitch:
-
Slide up a bead
-
Yarn over behind bead
-
Complete hdc normally
-
Bead sits on the fabric’s front.
-
Repeat this process for red → violet stripes.
PART 3 — Bottom Hem
After final violet stripe:
Pretty Shell Edging
Round 1: sc around
Round 2: (sk 2, 5 dc in next st, sk 2, sc in next) repeat
Round 3 (optional):
Add beads on the center dc of each shell.
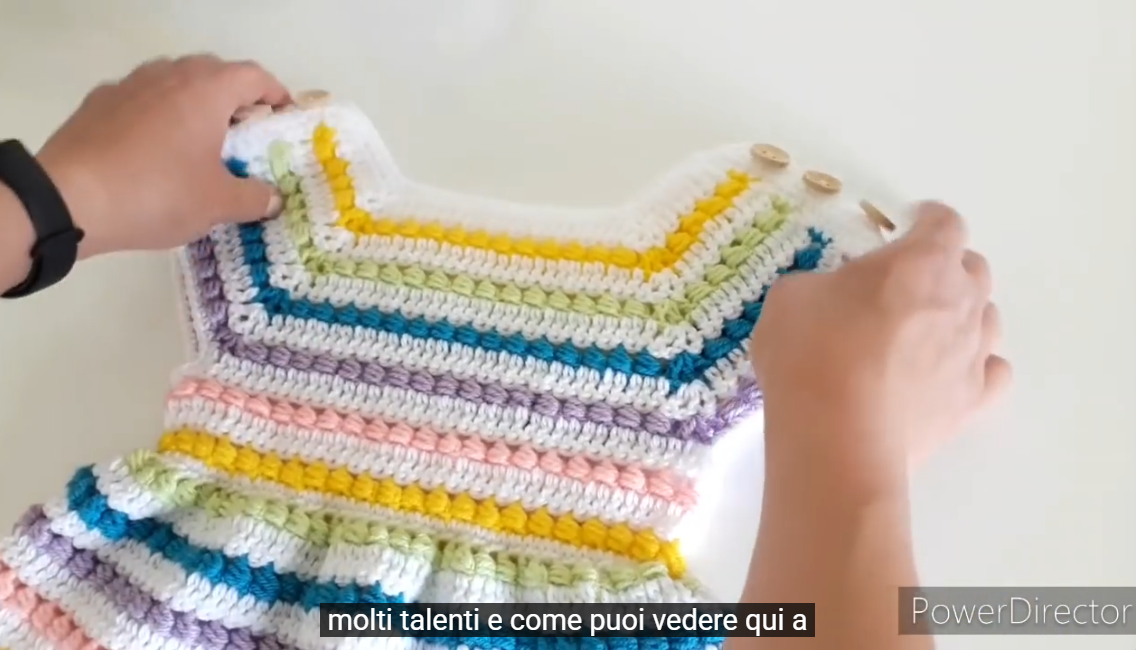
PART 4 — Shoulder Straps (optional if sleeveless dress)
-
Attach yarn at top of bodice.
-
Ch 35–55 (depending on length).
-
hdc back along the chain, sl st to bodice.
-
Repeat on other side.
You can add tiny beads along straps using bead-stitch technique.
PART 5 — Assembly + Finishing
-
Weave in all ends.
-
Add ribbon or elastic at waist for shaping.
-
Lightly block the skirt (steam or lay flat).
-
Check that beads are secure and not too heavy.
🌟 Customization Ideas
-
Add a small beaded heart patch on the bodice
-
Use glitter yarn for the violet stripe
-
Sew a soft cotton lining inside for comfort
-
Add ruffle sleeves or cap sleeves
-
Make a matching rainbow headband
🎉 Your Beaded Rainbow Dress Is Ready!
It will drape beautifully, sparkle in the light, and feel soft and comfortable for a child to wear.
If you want, I can also create:
-
A printable PDF pattern
-
A diagram / chart for the yoke
-
Exact stitch count for a specific age/size
-
A matching purse or headband pattern
Would you like any of those?
Watch tutorial: