 by
by Sure! Here’s a detailed guide on how to make easy, elegant, and beautiful crochet hats in all sizes, from newborns to adults. This guide includes materials, sizing chart, pattern basics, and tips for customization.
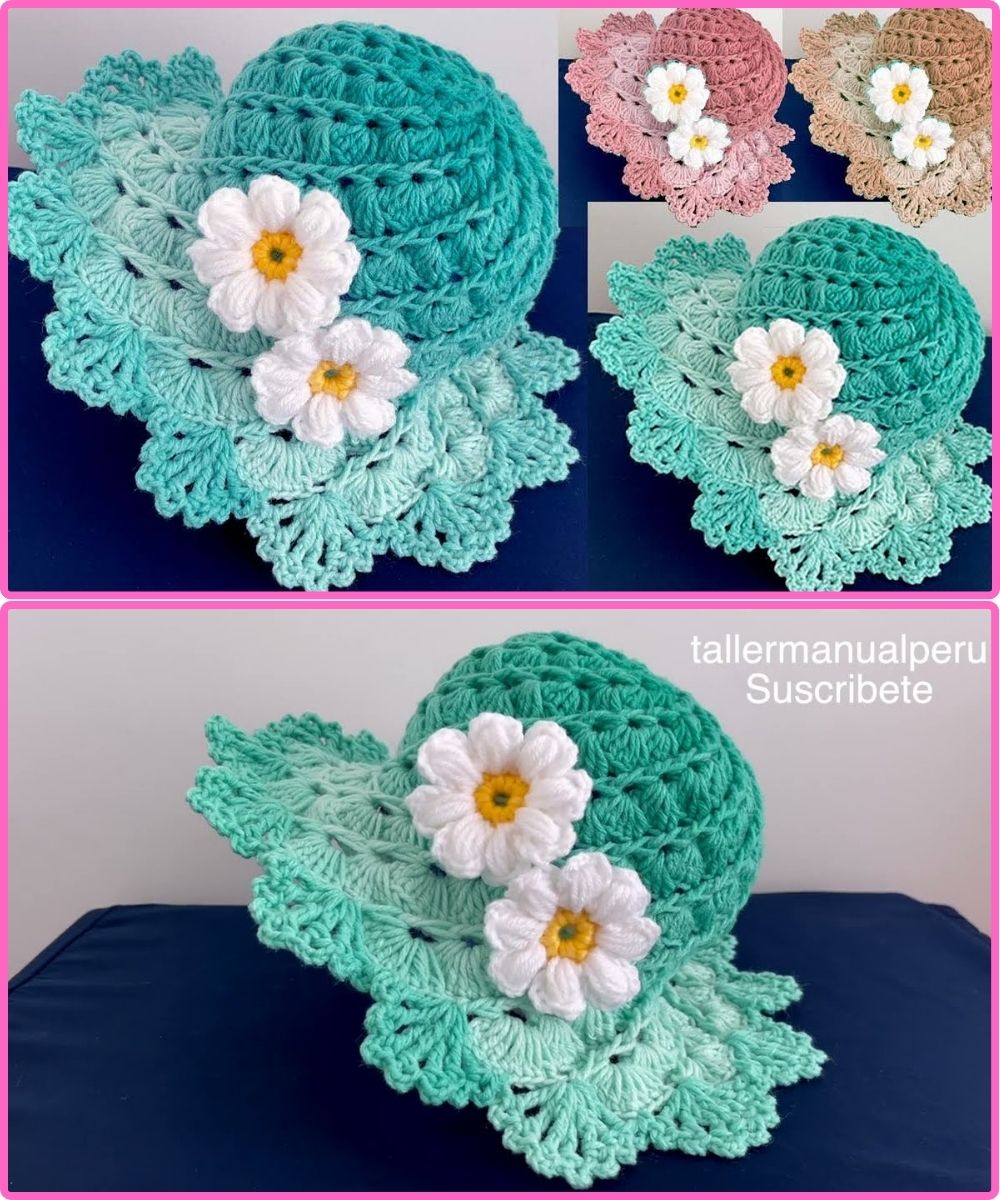
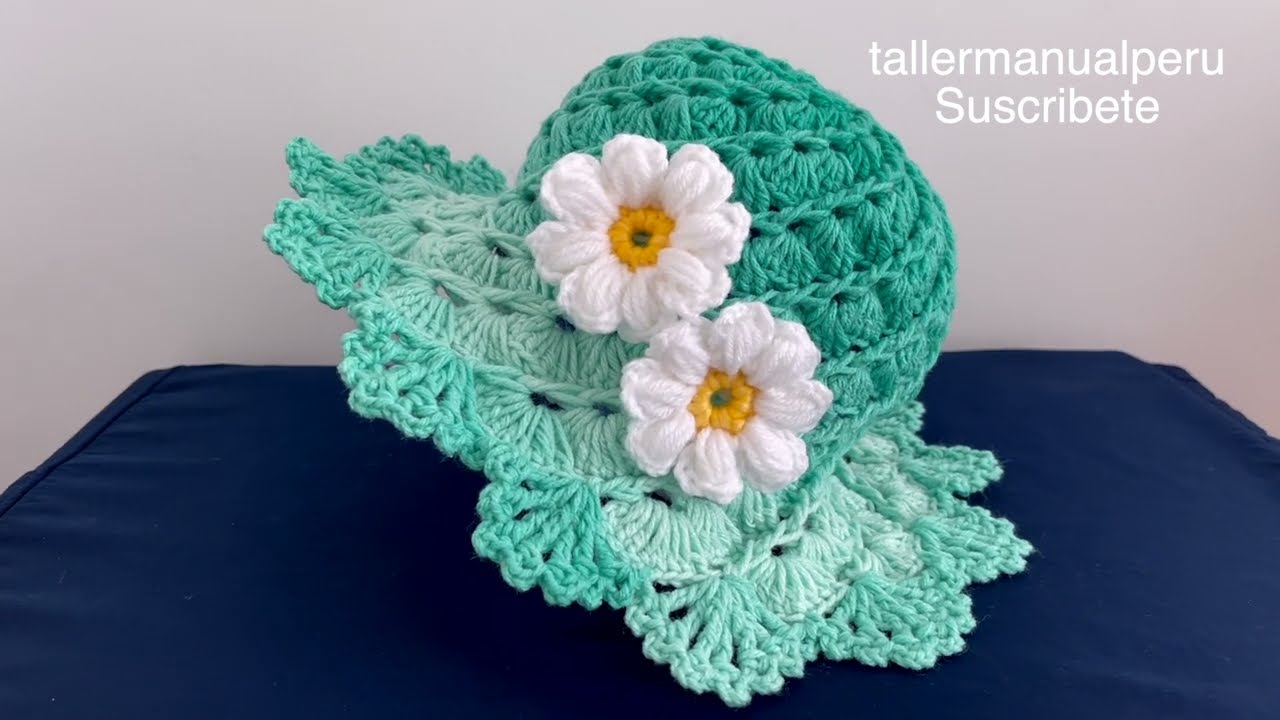
How to Make Easy, Elegant, Beautiful Crochet Hats (All Sizes)
What You’ll Learn:
-
Materials needed
-
Hat sizing by age group
-
Basic crochet stitches used
-
A beginner-friendly pattern
-
Tips for customization and elegance
Materials Needed:
-
Yarn: Choose a soft worsted-weight (category 4) yarn like cotton blends, acrylic, or wool, depending on the season.
-
Crochet hook: Usually H/8 (5.0 mm) or I/9 (5.5 mm) for worsted weight yarn.
-
Tapestry needle: For weaving in ends
-
Scissors
-
Stitch markers (optional)
Hat Sizing Chart (Crown Diameter + Hat Height)
| Size | Head Circumference | Hat Height | Crown Diameter |
|---|---|---|---|
| Newborn | 13-14″ (33–36 cm) | 5″ (12.5 cm) | 4–4.5″ (10–11.5 cm) |
| Baby (3–6m) | 14–16″ (36–41 cm) | 5.5″ (14 cm) | 4.5–5″ (11.5–12.5 cm) |
| Toddler | 16–18″ (41–46 cm) | 6–6.5″ (15–16.5 cm) | 5.5–6″ (14–15 cm) |
| Child | 18–20″ (46–51 cm) | 7″ (18 cm) | 6.5″ (16.5 cm) |
| Teen/Adult S | 20–22″ (51–56 cm) | 7.5″ (19 cm) | 7″ (18 cm) |
| Adult M/L | 22–24″ (56–61 cm) | 8″ (20 cm) | 7.5″ (19 cm) |
Basic Crochet Stitches Used:
-
Magic Ring: To start the hat in a seamless circle.
-
SC (Single Crochet): Tight, dense stitch.
-
HDC (Half Double Crochet): Great for hats — faster and stretchy.
-
DC (Double Crochet): Creates a looser, lacier fabric.
-
Slip Stitch: To join rounds.
Basic Elegant Hat Pattern (All Sizes)
Let’s use HDC stitches for a soft, stretchy, elegant look.
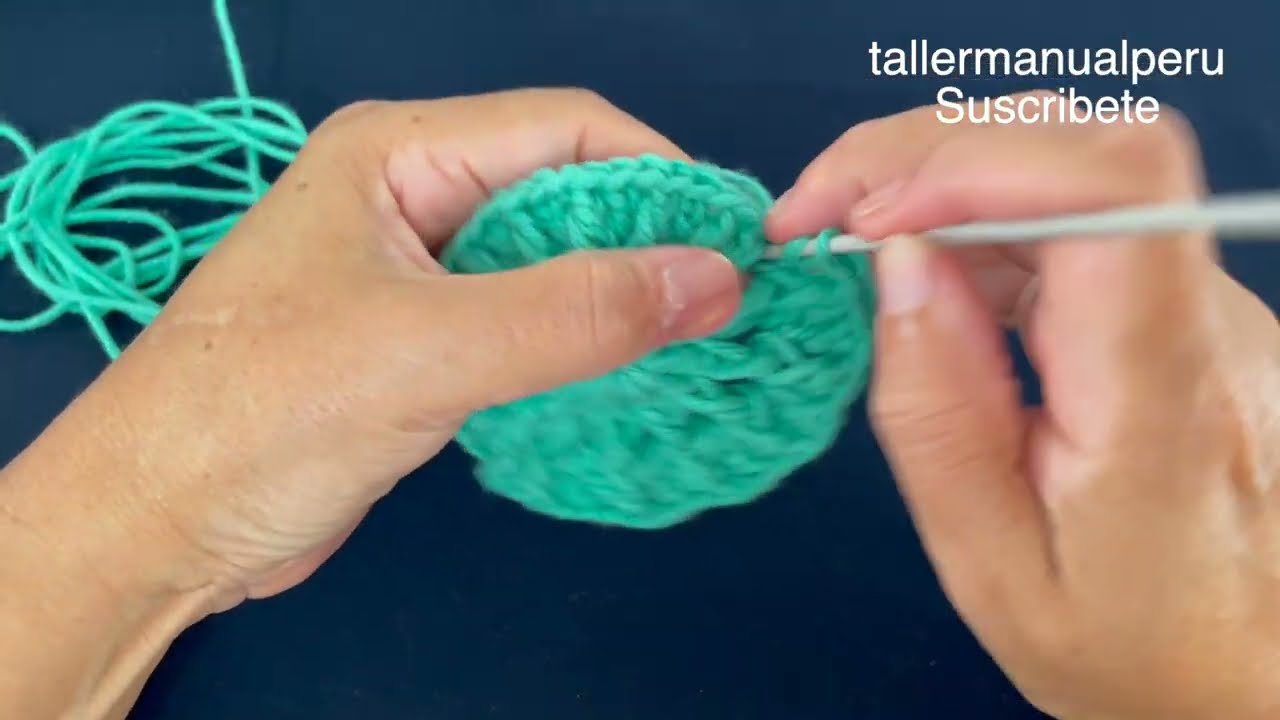
1. Start the Crown (Top Circle)
Use a magic ring or ch 4 and join to form a ring.
Round 1: Ch 2 (counts as first HDC), work 9 HDC into the ring. Join with sl st. (10 HDC)
Round 2: Ch 2, 2 HDC in each st around. Join. (20 HDC)
Round 3: Ch 2, HDC in first st, 2 HDC in next — repeat around. Join. (30 HDC)
Round 4: Ch 2, HDC in next 2 sts, 2 HDC in next — repeat. (40 HDC)
➡️ Continue increasing in this manner (1 more single HDC between increases each round) until you reach the correct crown diameter for your desired size.
2. Work the Sides (No Increases)
Once your crown is the correct size:
Next Rounds: HDC in each stitch around. Continue until the hat reaches the total height from the chart.
➡️ You can switch to SC for the last 1–2 rounds for a tighter brim.
3. Optional: Add a Ribbed Brim
Option 1: Front/Back Post HDC
-
Alternate front post HDC (FPHDC) and back post HDC (BPHDC) around for 3–5 rounds for a stretchy, elegant ribbed brim.
Option 2: Folded Brim
-
Add 2–3 extra inches in height, then fold up the edge for a cozy brim.
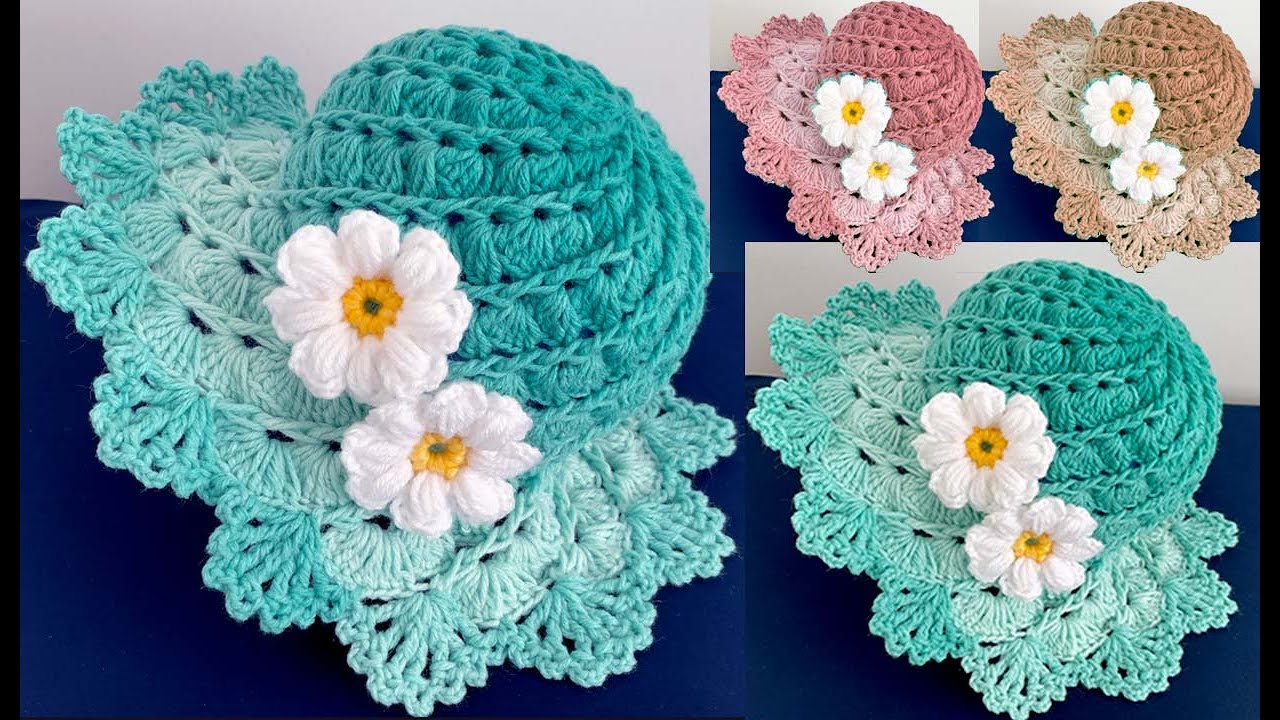
✨ Elegant Touches and Customization Ideas:
-
Yarn Choice: Use a yarn with subtle shimmer or silk blend.
-
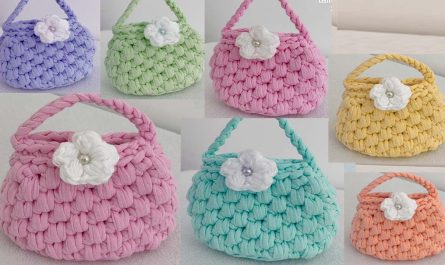
Color Blocking: Use two complementary shades for a modern look.
-
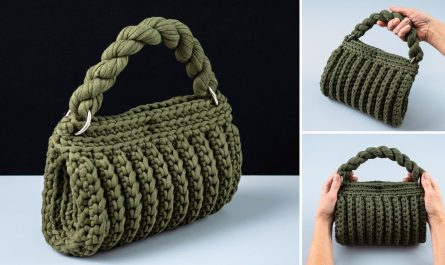
Add a Bow or Flower: Crochet a small appliqué or use buttons/beads.
-
Add a Faux Fur Pom-Pom: Classy and simple to attach.
-
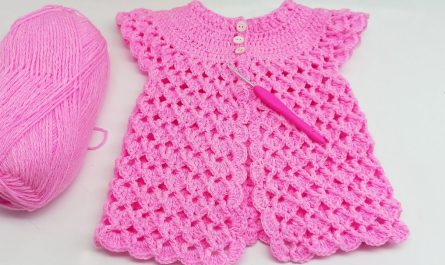
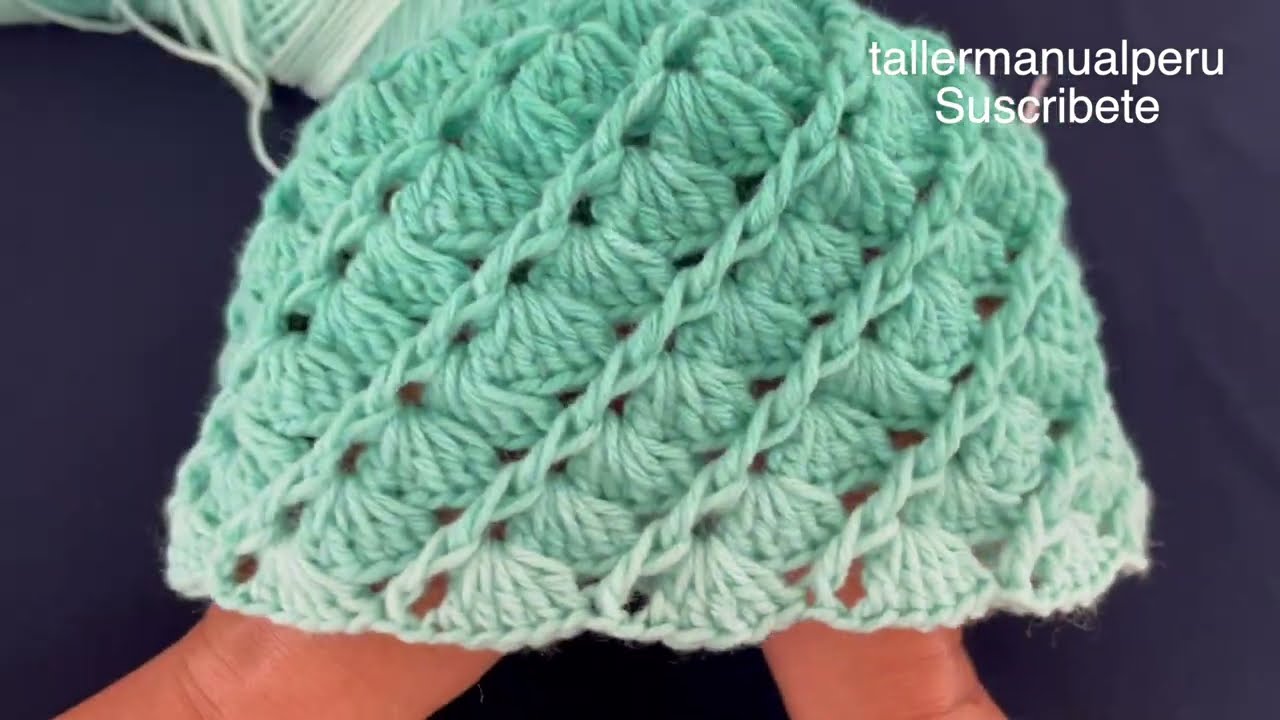
Textured Stitches:
-
Try shell stitch, puff stitch, or V-stitch rows for extra flair.
-
-
Lace Trim or Ribbon Weave: For baby and toddler hats.
Care Instructions (Optional for Gifting)
Attach a cute tag with care instructions:
“Hand wash cold, lay flat to dry. Made with love “
Final Notes
-
Always measure head circumference when possible.
-
Hats stretch: aim for about 1–2″ smaller than the head measurement for a snug fit.
-
Practice makes perfect — try a few mini sizes first to get the hang of it.
Watch tutorial: