 by
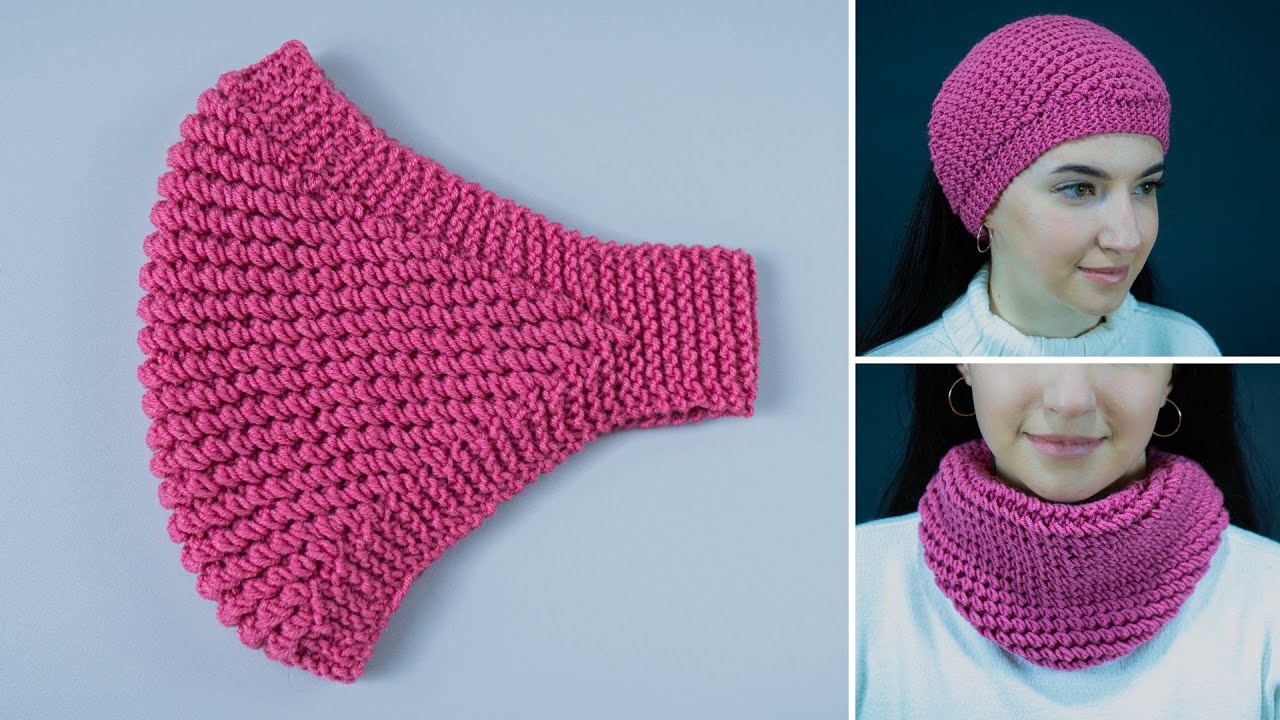
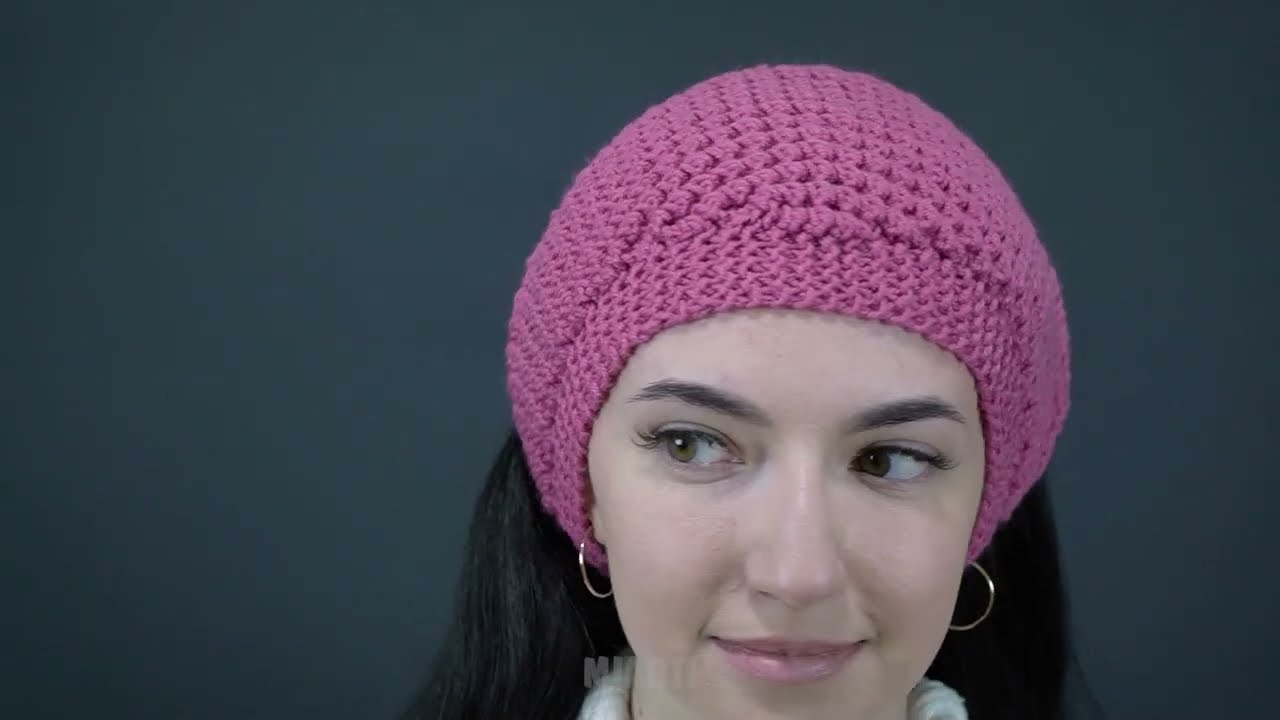
by How to Make a Knitted Bandana Headband
Easy and Simple for Beginners!
A knitted bandana headband is a stylish and practical accessory that is perfect for beginners. It is:
- quick to knit
- easy to shape
- comfortable to wear
- great for any season
This project uses:
- simple stitches
- basic shaping
- only 2 knitting needles
No advanced knitting experience is needed.
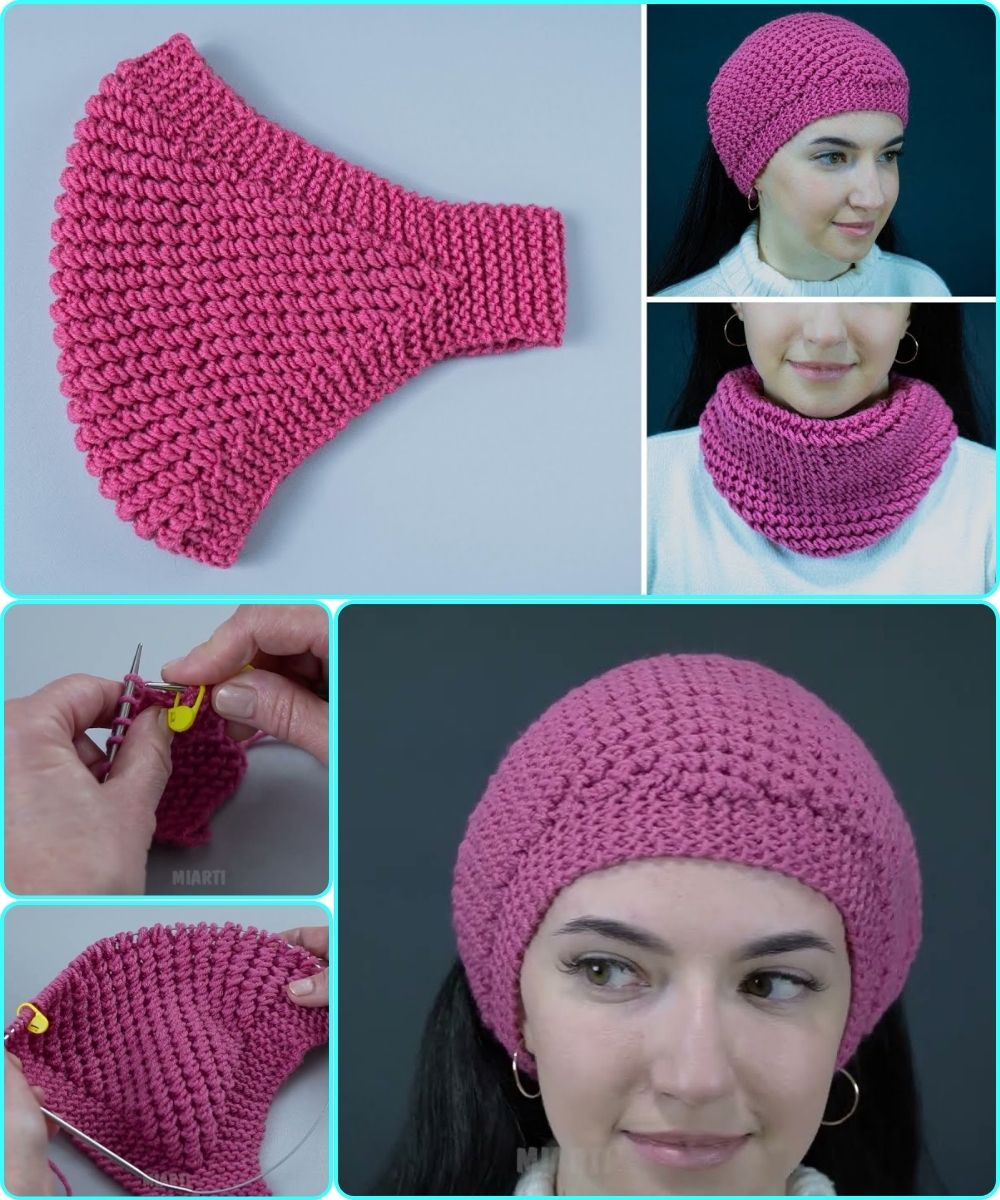
What Is a Knitted Bandana Headband?
A bandana headband is:
- a small triangular knitted piece
- worn over the head
- tied or secured at the back
It combines the look of:
- a scarf
- a headband
- a bandana
What You Need
Materials
- Soft medium-weight yarn
- 2 knitting needles (4–5 mm / US 6–8)
- Yarn needle
- Scissors
- Measuring tape
Best Yarn for Beginners
Choose yarn that is:
- soft
- smooth
- easy to work with
Good choices:
- Acrylic yarn
- Cotton blend yarn
- Lightweight wool blend
Avoid:
- Very fuzzy yarn
- Slippery yarn
- Very thin yarn
Basic Skills Needed
You only need to know:
- Cast on
- Knit stitch
- Purl stitch (optional)
- Increase stitches
- Bind off
This project is beginner-friendly.
Simple Beginner Bandana Pattern
This easy pattern creates a soft triangular headband.
Step 1 — Cast On
Cast on:
- 3 stitches
You will gradually increase to create the triangle shape.
Step 2 — Knit the First Rows
Row 1
- Knit all stitches
Row 2
- Knit 1
- Increase 1 stitch
- Knit remaining stitches
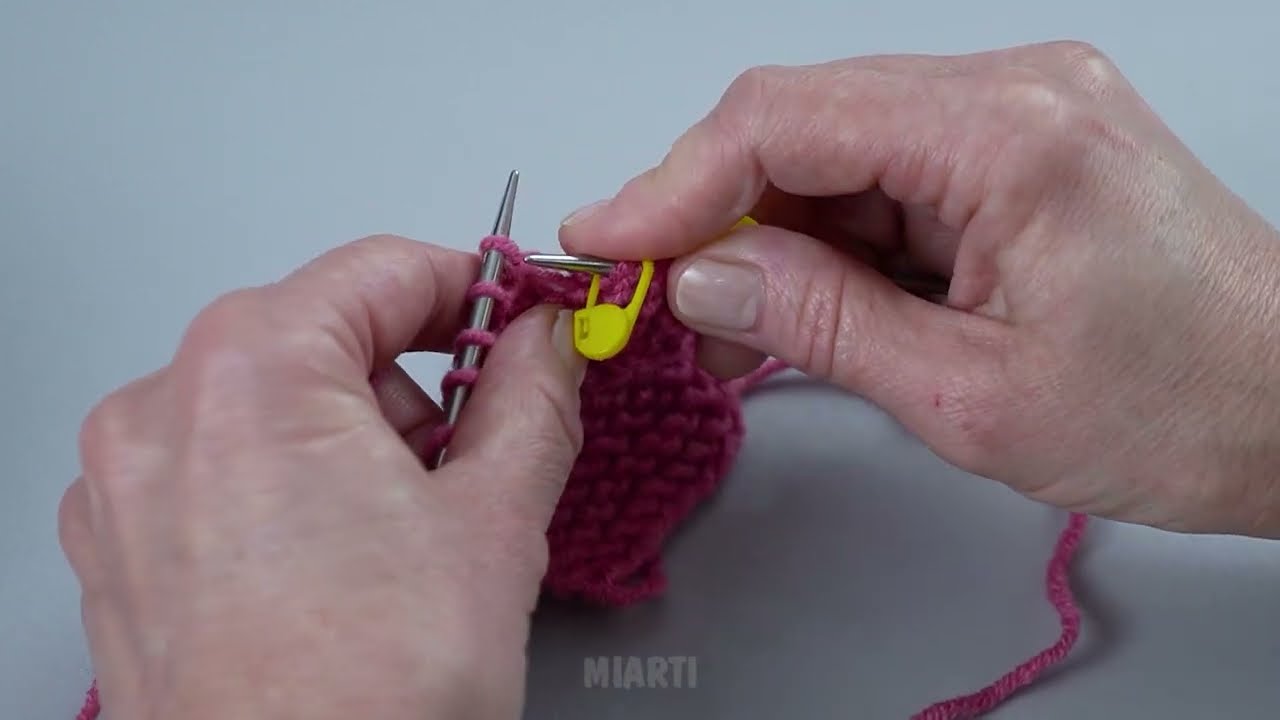
Step 3 — Continue Increasing
Repeat the increase row every second row.
This slowly widens the bandana.
Easy Increase Method
A simple beginner increase:
- knit into the front and back of one stitch
This adds one stitch easily.
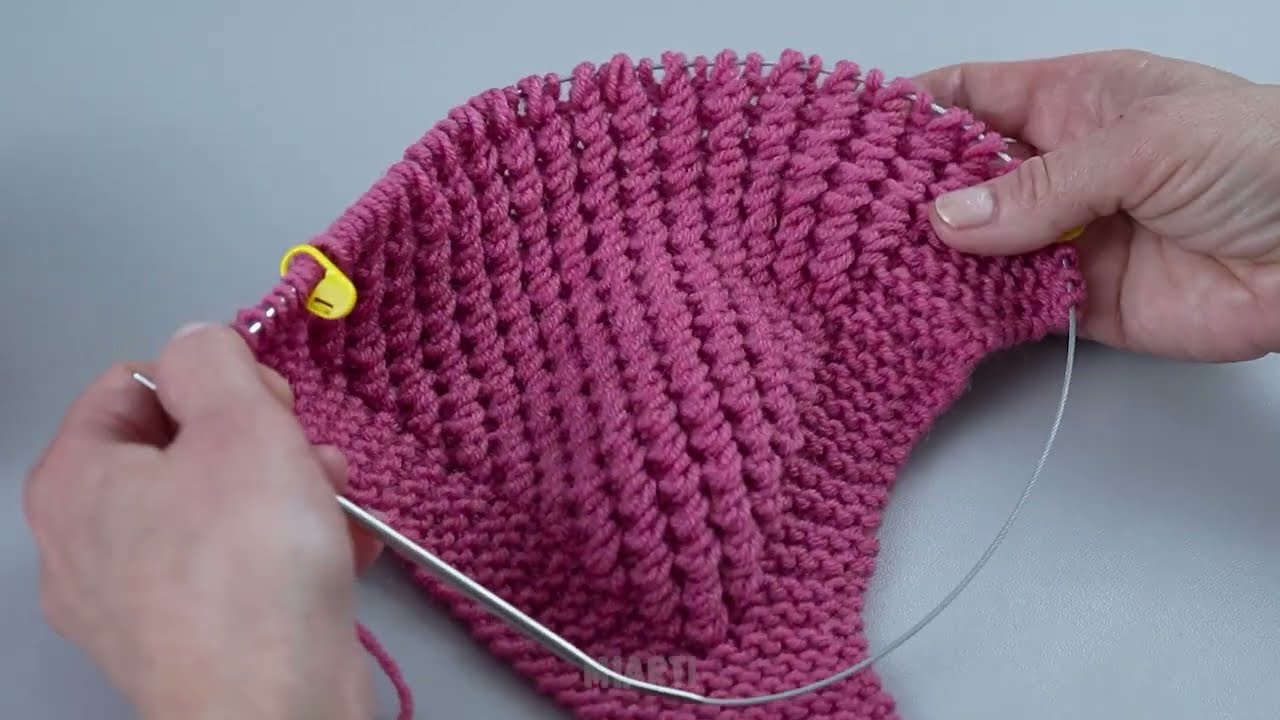
Step 4 — Form the Triangle
Keep knitting and increasing until the bandana reaches:
- about 25–35 cm wide
The triangle shape will become visible.
Step 5 — Knit the Headband Ties
Once the triangle is large enough:
- stop increasing
Now work only a few stitches at each side to create ties.
Easy Tie Method
Option 1 — Knitted Ties
Knit narrow strips for:
- 20–30 cm on each side
Option 2 — Yarn Ties
Attach braided yarn cords instead.
This is faster for beginners.
Step 6 — Bind Off
Bind off loosely.
Cut yarn and weave in loose ends.
Your knitted bandana headband is finished!
Easy Alternative Method
If shaping feels difficult:
Simple Rectangle Version
- Cast on 15–20 stitches
- Knit every row
- Continue until long enough
- Tie around the head
This creates a simple headband-style bandana.
Best Beginner Stitch Patterns
Garter Stitch
Knit every row.
This is:
- easiest
- stretchy
- soft
Perfect for beginners.
Stockinette Stitch
Front side:
- Knit
Back side:
- Purl
This creates a smooth knitted look.
Beginner Size Guide
| Part | Suggested Size |
|---|---|
| Triangle width | 25–35 cm |
| Tie length | 20–30 cm |
| Headband width | 6–12 cm |
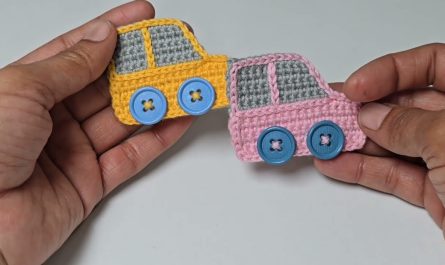
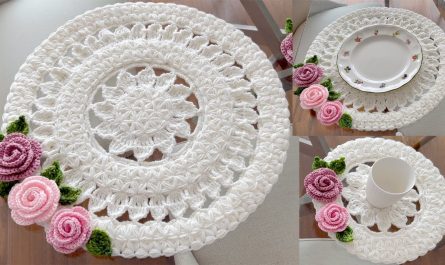
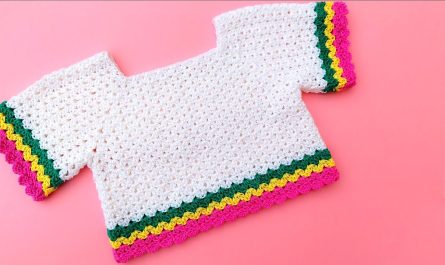
Easy Decoration Ideas
You can decorate your bandana with:
- Buttons
- Tiny flowers
- Tassels
- Pom-poms
- Color stripes
- Lace borders
Helpful Beginner Tips
Use Light-Colored Yarn
It makes stitches easier to see.
Keep Tension Loose
Tight knitting is harder to work with.
Count Stitches Often
This keeps the triangle even.
Practice Increases First
Try a small sample before starting.
Common Beginner Mistakes
Uneven Triangle Shape
Usually caused by missed increases.
Tight Edges
Use relaxed knitting tension.
Curling Fabric
Garter stitch helps prevent curling.
Simple Pattern Summary
| Step | Action |
|---|---|
| Cast on | 3 stitches |
| Increase | Every second row |
| Shape | Form triangle |
| Add ties | Knit or braid |
| Finish | Bind off |
Why This Project Is Perfect for Beginners
✔ Small and quick project
✔ Simple shaping
✔ Uses basic stitches
✔ Stylish and practical
✔ Great for practicing increases
✔ Easy to customize
Final Thoughts
With only:
- 2 knitting needles
- soft yarn
- simple stitches
…you can make a beautiful knitted bandana headband even if you are completely new to knitting.
This project is:
- relaxing
- creative
- affordable
- beginner-friendly
Once you finish your first one, you can experiment with:
- colors
- textures
- larger bandanas
- decorative patterns
Happy knitting! 🧶
Watch tutorial: