 by
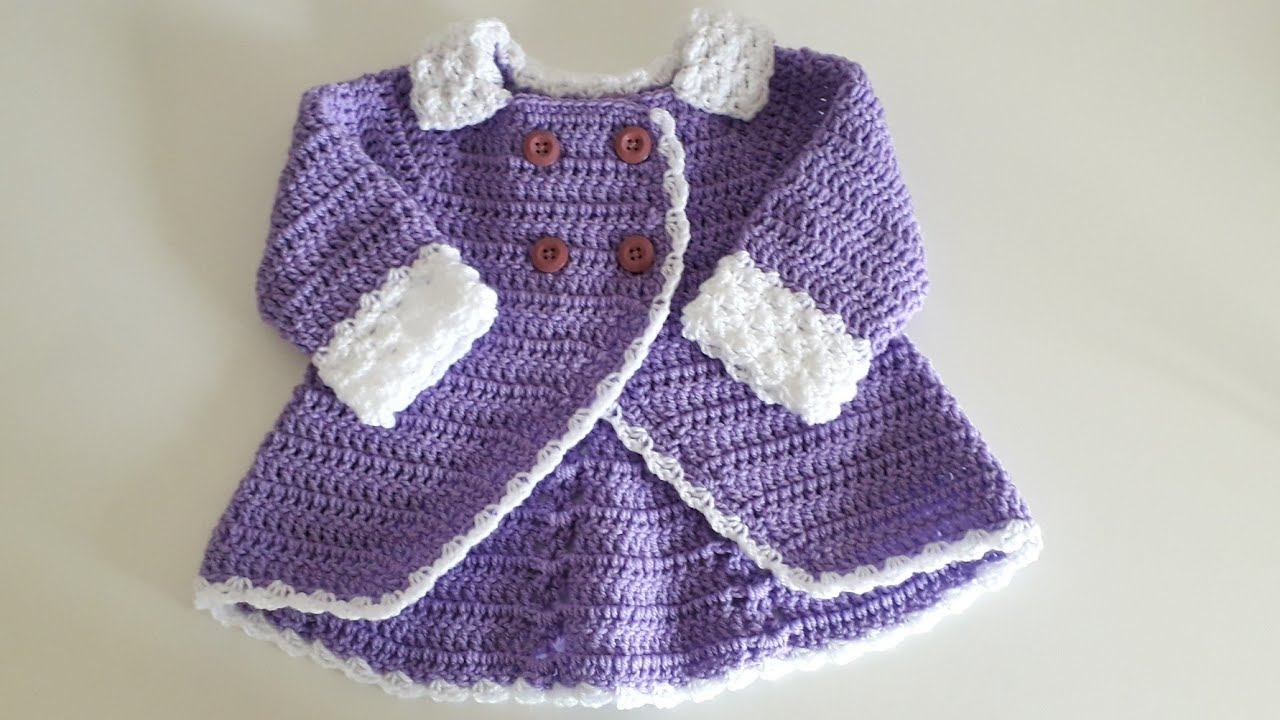
by Here is a detailed, step-by-step guide to crocheting a beautiful Double-Breasted Baby Coat. This design is warm, classic, and slightly dressy — perfect for winter outings or special occasions.
This pattern is written as a top-down raglan coat with a double front overlap for the double-breasted button style.
🧥 How to Crochet a Double-Breasted Baby Coat
🧶 Materials
-
Yarn: DK or Worsted weight (soft merino, baby acrylic, or wool blend)
Approx. 700–1000 yards depending on size -
Hook:
-
4.0 mm (G/6) for DK
-
5.0 mm (H/8) for worsted
-
-
Stitch markers (4)
-
Yarn needle
-
Scissors
-
6–8 buttons (small to medium size)
📏 Suggested Sizes
-
0–3 months
-
3–6 months
-
6–12 months
-
1–2 years
This guide explains construction. Stitch counts can be adjusted to any size.
🪡 Construction Overview
-
Work from neckline down
-
Increase with raglan shaping
-
Create front overlap for double-breasted style
-
Separate sleeves
-
Work coat body
-
Add sleeves
-
Add wide button bands
-
Sew two rows of buttons
🧵 Step 1: Foundation Chain (Neckline)
Example for 3–6 months:
Chain 64
Row 1:
dc in 3rd chain from hook
dc across
📌 Divide for Raglan Sections
Example division:
-
12 stitches (front right – wider for overlap)
-
2 stitches (raglan)
-
14 stitches (sleeve)
-
2 stitches (raglan)
-
20 stitches (back)
-
2 stitches (raglan)
-
14 stitches (sleeve)
-
2 stitches (raglan)
-
12 stitches (front left – wider for overlap)
Place stitch markers at raglan points.
🔹 Note: Front sections are slightly wider than standard to allow overlap.
🪡 Step 2: Raglan Increases (Yoke)
Each right-side row:
-
dc to marker
-
(dc, ch 1, dc) in raglan stitch
-
repeat at all raglan points
Turn and repeat.
Continue until yoke measures:
-
4–5 inches (baby)
-
5–6 inches (toddler)
This forms shoulders and chest shaping.
🪡 Step 3: Separate Sleeves
When yoke is deep enough:
-
dc across first front
-
Skip sleeve stitches
-
Chain 2–4 for underarm
-
dc across back
-
Skip second sleeve
-
Chain 2–4
-
dc across final front
Now you are working the coat body only.
🪡 Step 4: Coat Body
You can choose between:
Option A: Straight Classic Coat
Work evenly in dc rows until desired length.
Option B: Slight A-Line Flare
Increase 1 stitch every 5–6 stitches every 3rd row.
This gives elegant coat shape.
Continue until coat reaches:
-
Mid-thigh for baby
-
Knee length for toddler
🪡 Step 5: Texture (Optional but Beautiful)
For a winter coat look, add texture:
Rib Texture
Alternate rows:
-
Row 1: dc
-
Row 2: FPdc/BPdc
Basketweave Texture
-
4 FPdc
-
4 BPdc
-
Alternate every few rows
Texture makes coat thicker and warmer.
🪡 Step 6: Sleeves
Attach yarn at underarm.
Work in rounds:
-
dc around
Decrease every 4–6 rows if needed.
Finish with:
-
4 rows FPdc/BPdc ribbing
OR -
sc rib cuff
Make two sleeves.
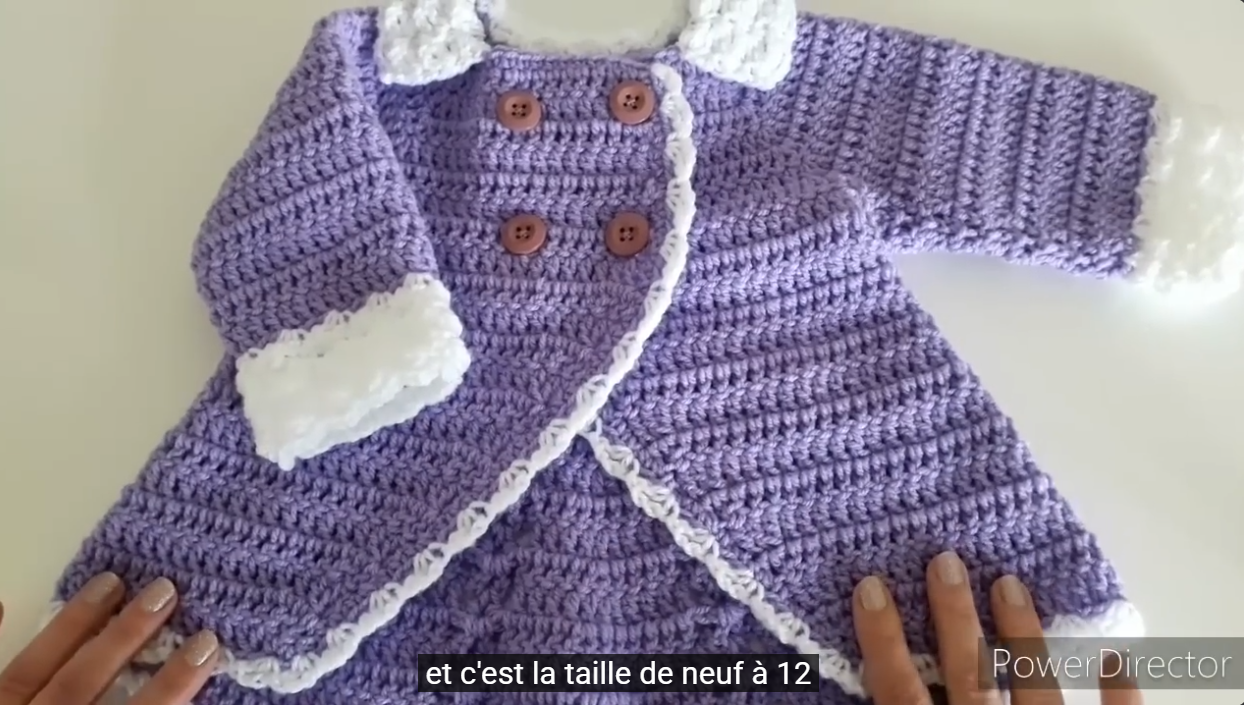
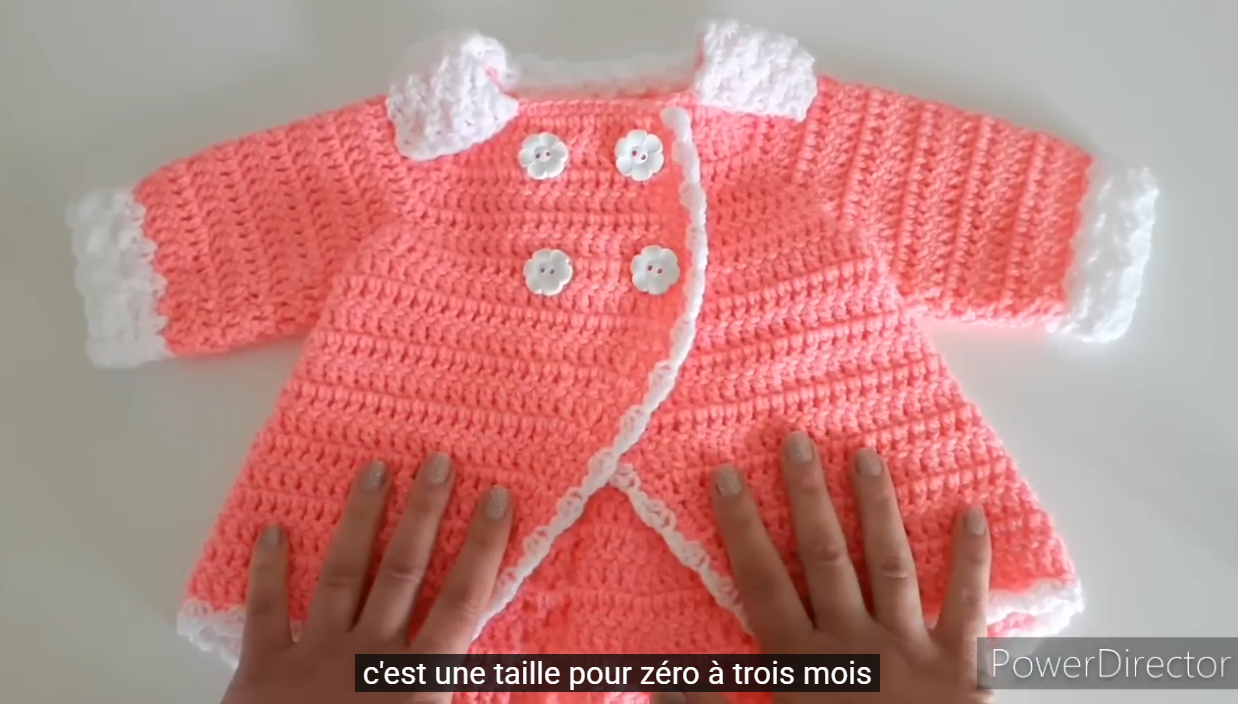
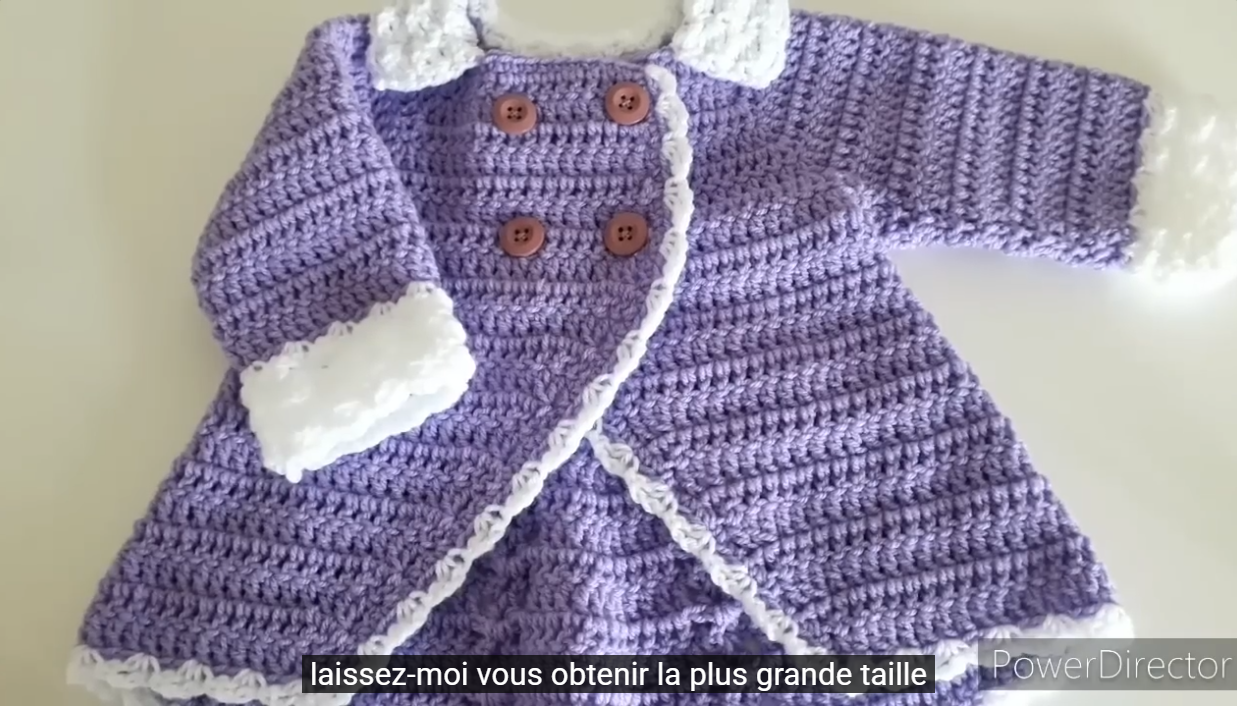
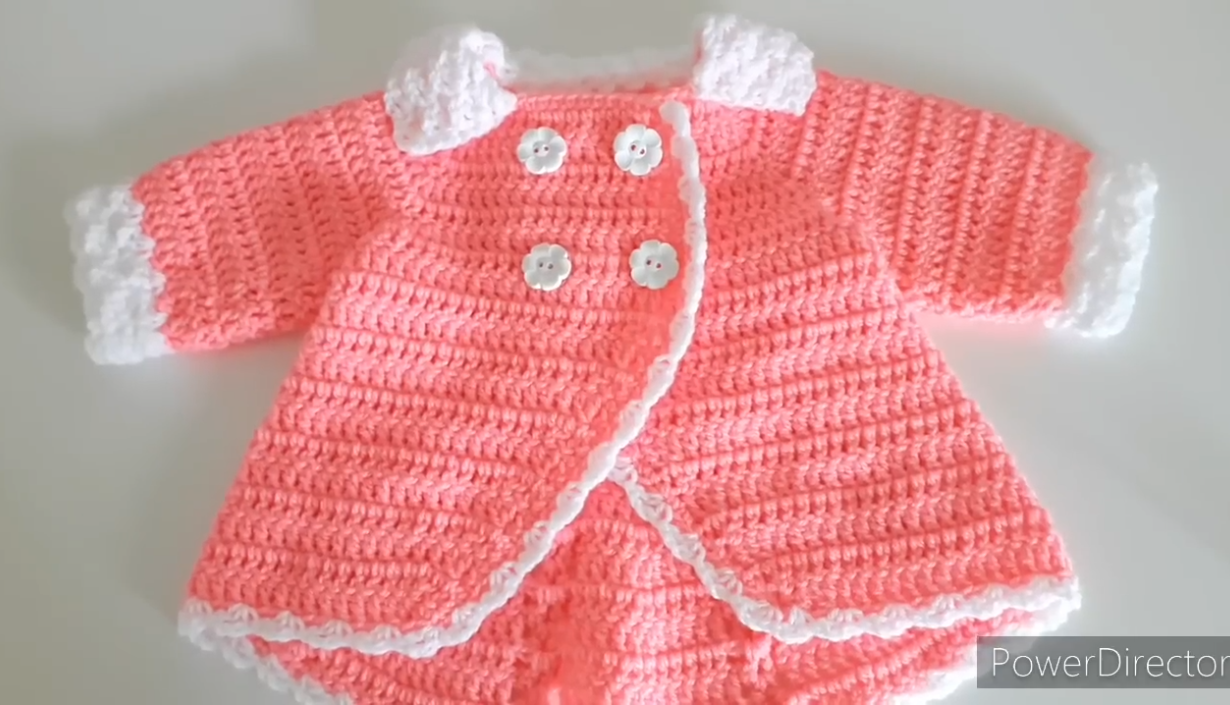
🪡 Step 7: Create Double-Breasted Front Bands
This is the key feature.
Attach yarn at bottom front edge.
Work 5–7 rows of sc or hdc along front edge.
Make the band wide enough to allow overlap (about 1.5–2 inches).
On one side:
Create two vertical rows of buttonholes.
Buttonhole row:
-
sc to position
-
ch 1–2
-
skip same number of stitches
-
continue
Repeat for second vertical row slightly inside the first.
Sew buttons on opposite panel in two neat columns.
🪡 Step 8: Collar (Optional but Elegant)
For a tailored coat look:
Attach yarn at neckline.
Work 4–6 rows of hdc or dc.
Increase slightly at corners to create fold-over collar.
🎨 Styling Ideas
For Girls:
-
Slight flared body
-
Scalloped hem
-
Velvet ribbon detail
-
Soft pastel shades
For Boys:
-
Straight cut
-
Dark neutral tones (navy, charcoal, camel)
-
Toggle buttons
-
Structured collar
📐 Size Adjustment Formula
-
Measure baby chest circumference.
-
Multiply by stitch gauge.
-
Add 2–3 inches ease for coat layering.
-
Divide into:
-
2 larger fronts (for overlap)
-
2 sleeves
-
1 back
-
4 raglan stitches
-
Always make a gauge swatch first.
🧡 Yarn Recommendations
Best choices:
-
Superwash merino (soft + warm)
-
Wool blend for structure
-
Premium baby acrylic for easy care
Avoid bulky yarn for small sizes — coat becomes stiff.
🌟 Pro Tips for Professional Finish
-
Use stitch markers at raglan points.
-
Keep tension consistent for even shaping.
-
Steam block lightly (do not over-press).
-
Sew buttons securely with matching thread.
-
Add small interior tie for extra security.
If you’d like, I can now:
-
Write this as a complete stitch-count pattern for a specific size
-
Create a hooded double-breasted version
-
Make a vintage-style coat pattern
-
Provide a print-ready layout
Just tell me the size you’d like 😊
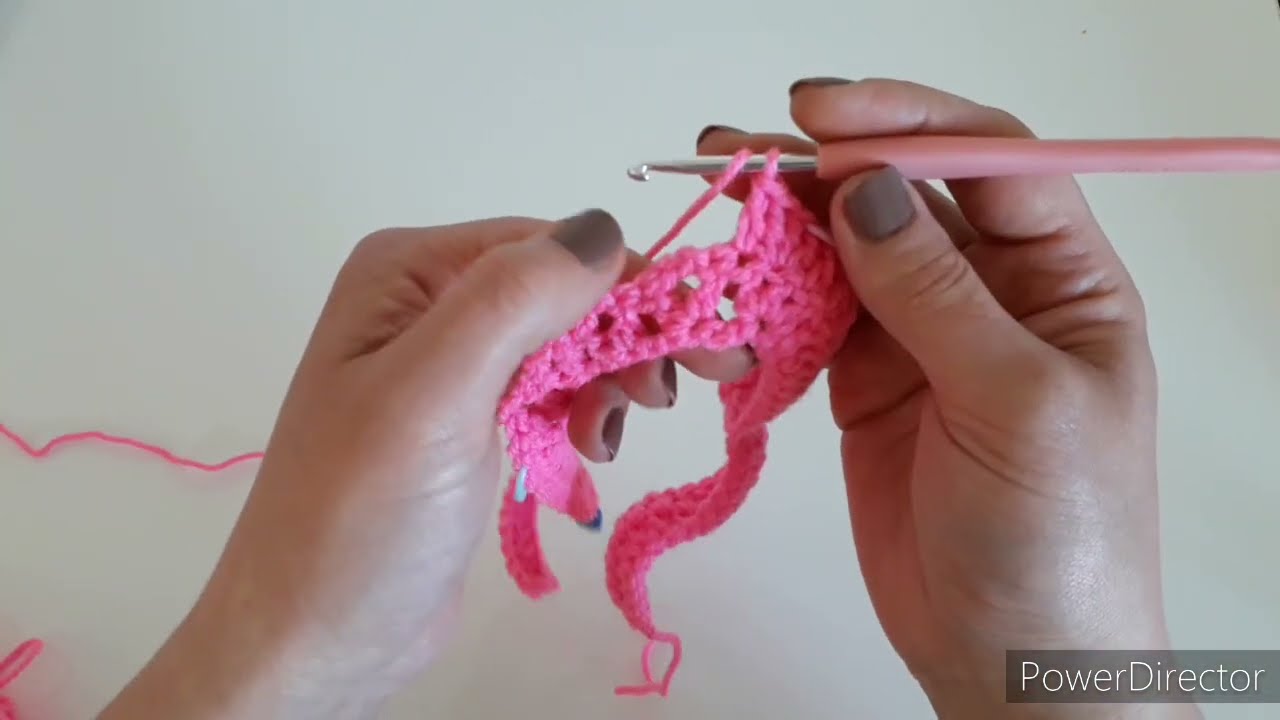
Watch tutorial: