by
by Sure! Here’s a detailed step-by-step guide on How to Make Beautiful Cushions for Your Home, including material selection, design ideas, and sewing instructions. Whether you’re a beginner or have some experience, this guide will help you create stunning cushions to enhance your home décor.
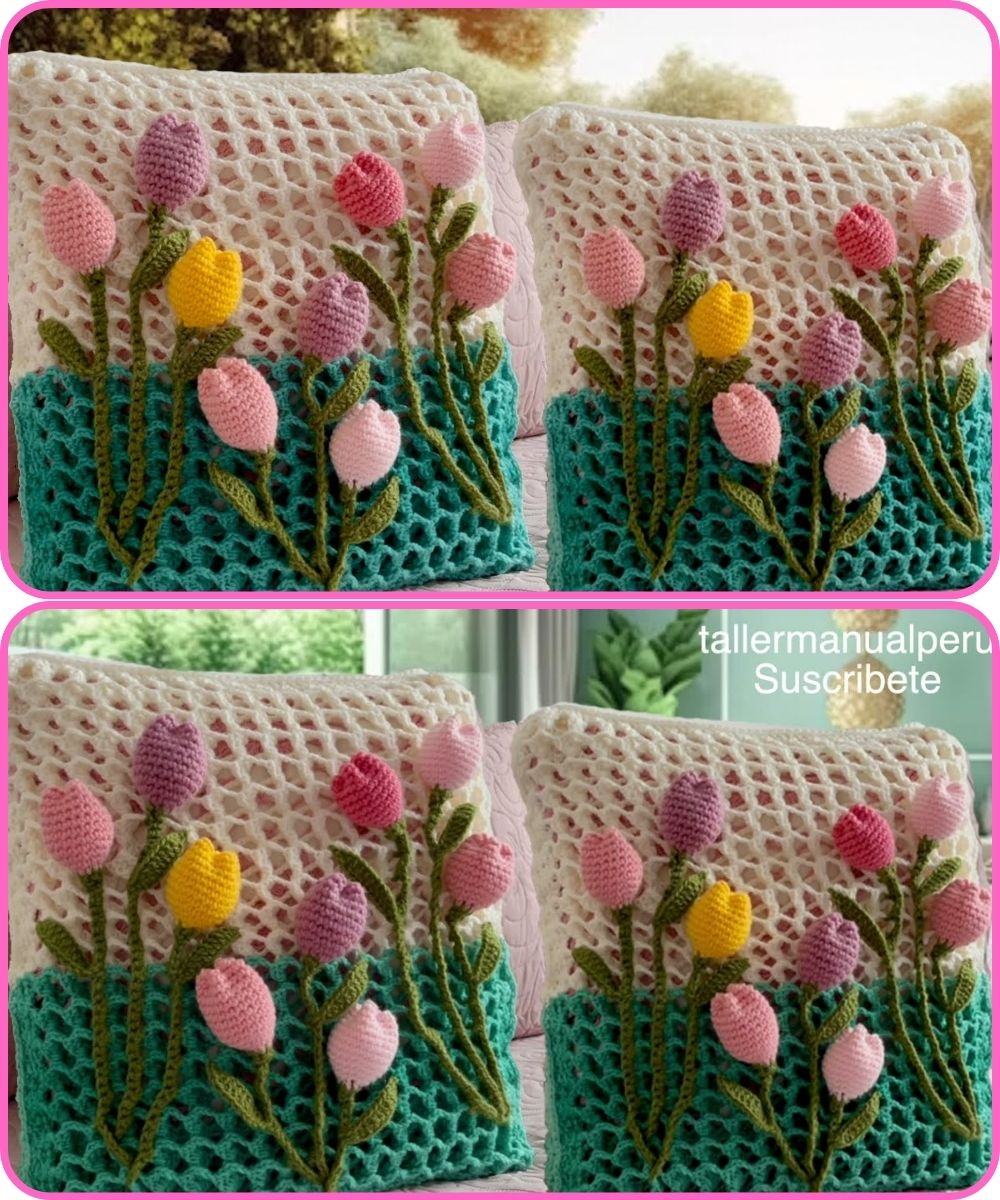
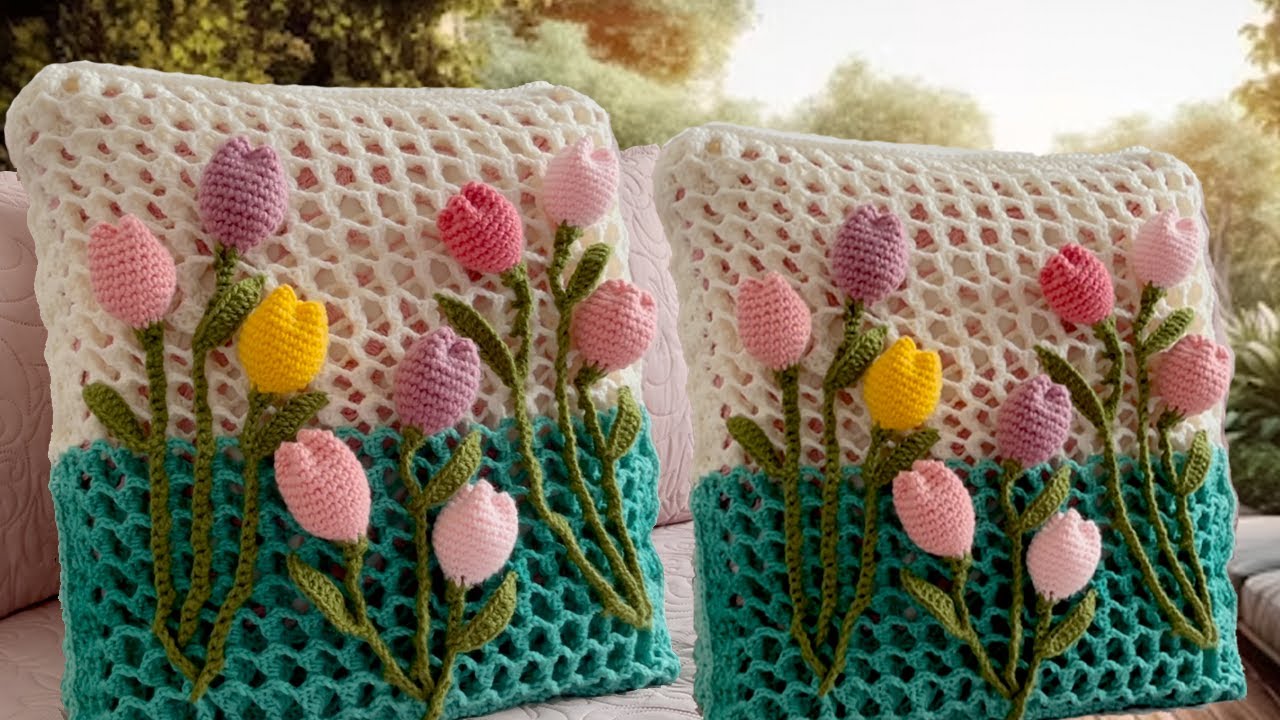
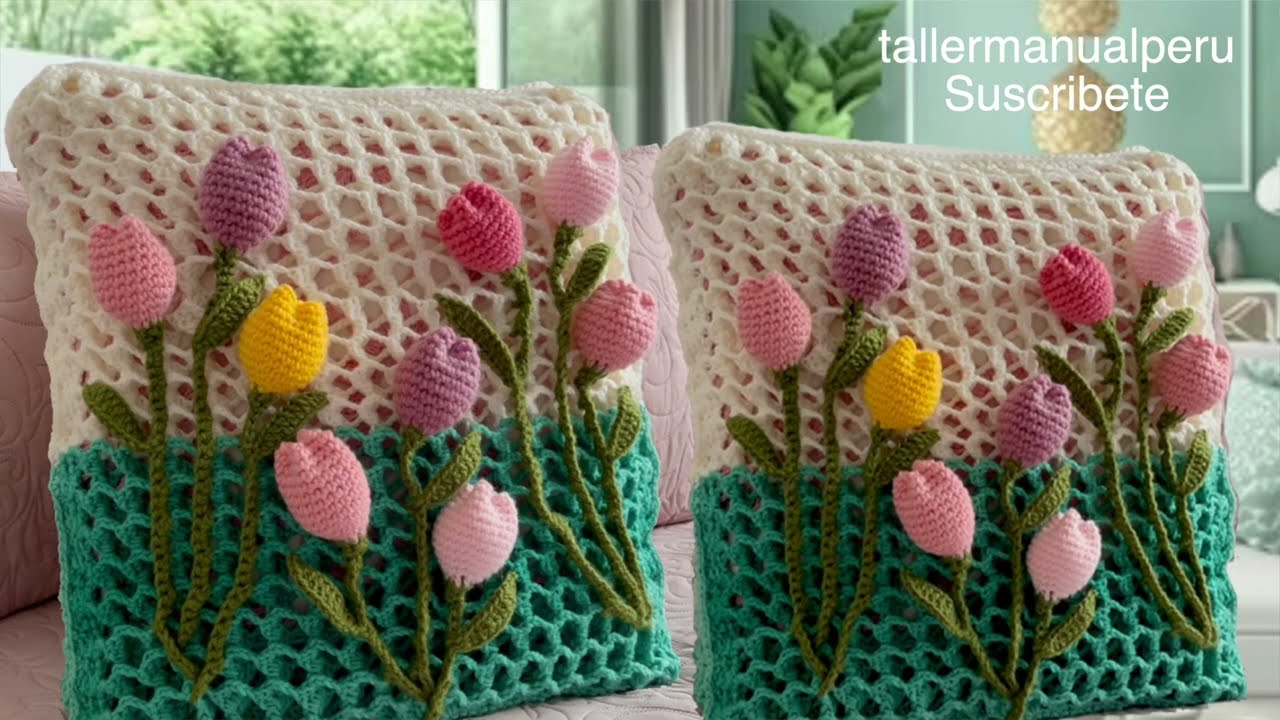
How to Make Beautiful Cushions for Your Home
Why Make Your Own Cushions?
Creating your own cushions allows you to:
-
Customize fabric, colors, and sizes to match your décor
-
Save money compared to buying designer options
-
Add a personal, handmade touch to your home
Materials You’ll Need:
-
Fabric – Choose based on the look you want:
-
Cotton, linen, or canvas (easy to sew and clean)
-
Velvet or silk (luxurious, but harder to work with)
-
-
Cushion inserts or stuffing
-
Polyester fiberfill or foam
-
Pre-made inserts (available in various sizes)
-
-
Sewing machine (or needle and thread if hand-sewing)
-
Scissors or rotary cutter
-
Measuring tape or ruler
-
Pins or clips
-
Thread (matching or contrasting)
-
Zipper, buttons, or envelope-style closure (optional)
✂️ Step-by-Step Guide:
Step 1: Decide on the Cushion Size and Shape
-
Standard sizes: 16″x16″, 18″x18″, or 20″x20″
-
Shapes: Square, rectangular (lumbar), round, or custom
-
Measure your insert if you already have one.
Step 2: Choose and Prepare the Fabric
-
Pick a durable, stylish fabric that complements your home’s aesthetic.
-
Wash and iron the fabric before cutting to prevent shrinkage later.
Step 3: Cut the Fabric
For a basic envelope cushion cover:
-
Cut one back piece: the full width and height + 6 inches (for the envelope overlap)
-
Cut the back piece into two halves for the overlap (e.g., two pieces each 18″ x 13″ for an 18″ square cushion)
-
Cut one front piece the exact size of the cushion (e.g., 18″ x 18″)
For zipper or buttoned covers, you’ll need to adjust accordingly and add seam allowances (usually ½”).
Step 4: Sew the Cushion Cover
For Envelope-Style Cover:
-
Hem the inner edges of the two back pieces (the part that will overlap)
-
Lay the front piece right side up.
-
Place the two back pieces right side down, overlapping each other, lining up with the edges.
-
Pin or clip all the layers together.
-
Sew around all four edges using a ½” seam allowance.
-
Trim corners and turn right side out.
-
Insert the cushion.

For Zipper Closure:
-
Attach the zipper to one edge of the front and back fabric.
-
Once the zipper is in place, sew the remaining three sides.
-
Open the zipper before turning it right side out.
-
Insert cushion.
Design Ideas & Embellishments
-
Add piping or trim for a professional look.
-
Use different fabrics on each side for reversible cushions.
-
Appliqué, embroidery, or fabric paint for personalization.
-
Patchwork or quilted designs for a cozy, cottage feel.
-
Tassels or pom-poms for playful flair.
Care Tips
-
Use washable fabrics if your cushions will be used often.
-
Add zippers or envelope backs to make cushion covers removable and washable.
-
Spot clean or machine wash according to fabric type.
Final Touches
Once your cushions are complete:
-
Arrange them in layers with different sizes and textures.
-
Use them on sofas, chairs, beds, or window seats.
-
Mix patterns like florals, stripes, and solids for a designer look.
✅ Summary Checklist:
✔️ Decide cushion size and style
✔️ Choose and prep your fabric
✔️ Cut fabric with seam allowance
✔️ Sew using envelope, zipper, or button method
✔️ Add embellishments if desired
✔️ Insert the cushion and decorate your space!
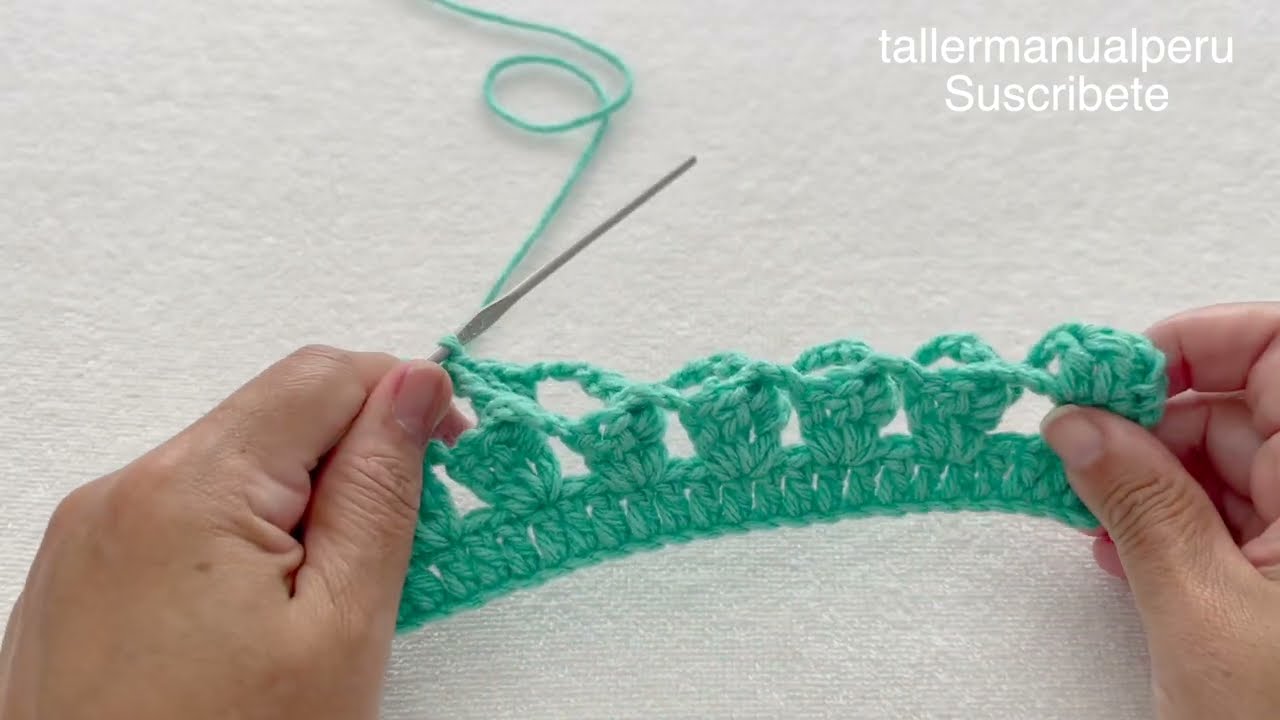
Watch tutorial: