 by
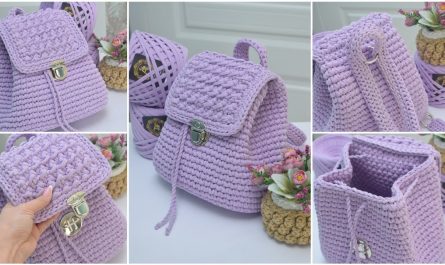
by Here is a detailed guide on how to crochet the “November” sweater for children. This cozy sweater is designed for cooler weather and usually features a warm texture, comfortable fit, and simple shaping, making it a great project for beginner to intermediate crocheters.

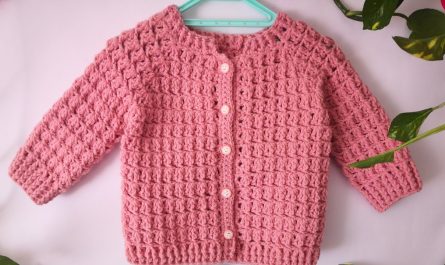
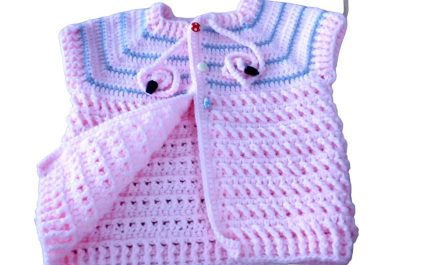
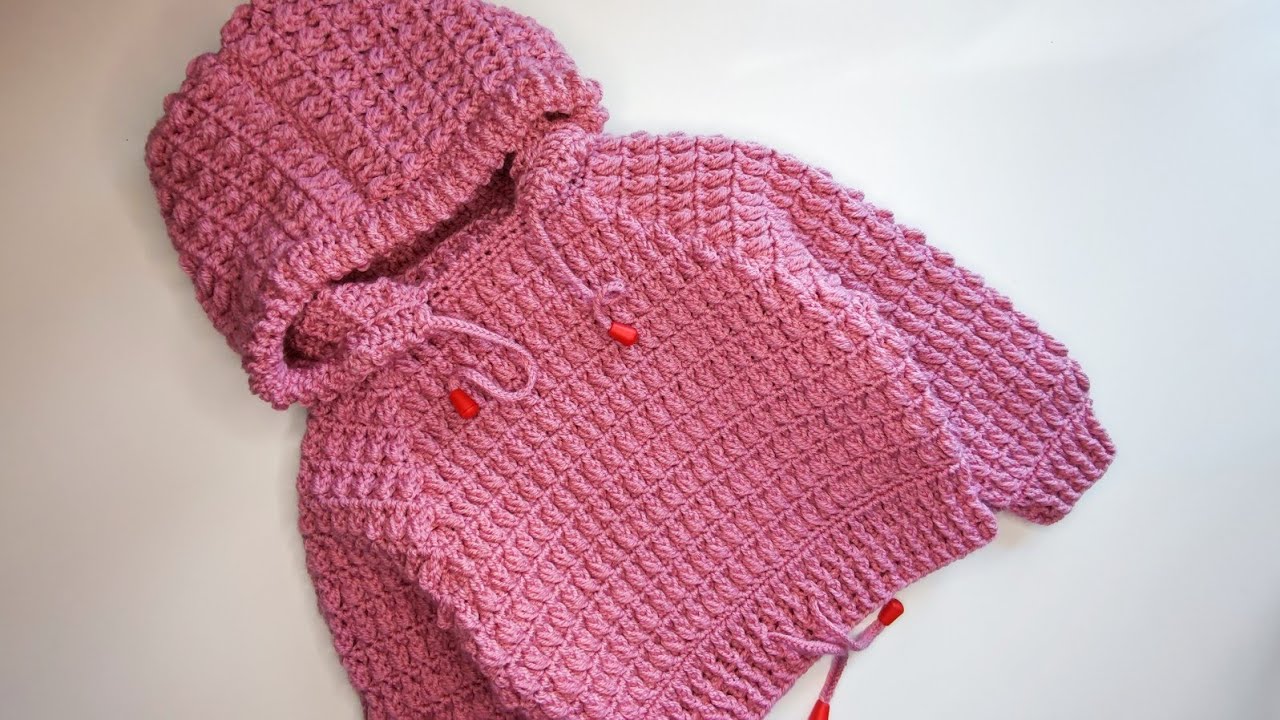
How to Crochet a “November” Sweater for Children
The “November” sweater is a warm and stylish crochet sweater perfect for autumn and early winter. It often uses textured stitches, soft yarn, and a relaxed fit so children can move comfortably while staying warm.
1. Materials Needed
Prepare the following materials before starting your project.
Yarn
-
Medium weight yarn (Worsted Weight – Category 4)
-
Soft acrylic, cotton blend, or wool blend
Approximate yarn amounts:
-
Age 2–3: 350–400 g
-
Age 4–6: 400–500 g
-
Age 7–9: 500–650 g
Crochet Hook
-
4.5 mm – 5.5 mm hook
Other Supplies
-
Yarn needle
-
Scissors
-
Stitch markers
-
Measuring tape
Optional:
-
Ribbing yarn in a different color
-
Decorative buttons (for shoulder opening)
2. Crochet Stitches Used
The sweater uses basic crochet stitches.
Basic stitches:
-
Chain (ch)
-
Slip stitch (sl st)
-
Single crochet (sc)
-
Half double crochet (hdc)
-
Double crochet (dc)
Optional textured stitches:
-
Front post double crochet (fpdc)
-
Back post double crochet (bpdc)
These stitches create ribbing for cuffs and collar.
3. Measurements
Take measurements for the child before starting.
Example (Age 5–6):
-
Chest circumference: 64 cm
-
Sweater length: 42 cm
-
Sleeve length: 38 cm
-
Shoulder width: 28 cm
Add 4–5 cm ease for a comfortable fit.
4. Crochet Gauge
Crochet a small test square.
Example gauge:
10 cm × 10 cm =
-
14 double crochet stitches
-
8 rows
Adjust hook size if needed.
5. Crochet the Back Panel
-
Chain 60–70 stitches depending on the size.
-
Row 1: Double crochet in the 3rd chain from hook and across.
-
Row 2: Chain 2, turn, double crochet across.
Repeat rows until the panel measures about 26–30 cm.
Shape Armholes
To form armholes:
-
Skip 3 stitches at the beginning of the next row.
-
Continue crocheting across.
-
Repeat decreases for 2 rows.
Continue straight until the total length reaches the shoulder.
6. Crochet the Front Panel
The front is similar to the back but includes a neckline.
-
Chain the same number of stitches as the back panel.
-
Work rows of double crochet until reaching armhole height.
-
Shape the armholes the same way.
Shape the Neckline
When the sweater reaches upper chest level:
-
Stop at the center stitches.
-
Leave about 10–12 stitches for the neck opening.
-
Crochet each shoulder side separately.
-
Decrease 1 stitch per row on the neck side.
Continue until the shoulder matches the back panel.
7. Crochet the Sleeves
-
Chain 28–32 stitches.
-
Row 1: Half double crochet across.
-
Continue rows of hdc.
Sleeve increases
Increase 1 stitch on each side every 3 rows.
Continue until sleeve reaches the desired length.
Fold sleeve in half and sew the seam.
8. Assemble the Sweater
-
Sew front and back panels together at the shoulders.
-
Sew the side seams, leaving armholes open.
-
Attach the sleeves to the armholes.
-
Sew sleeve seams if not already sewn.
Turn the sweater right side out.
9. Crochet the Neck Ribbing
Attach yarn to the neckline.
-
Round 1: Single crochet evenly around the neckline.
-
Round 2–5: Alternate fpdc and bpdc to create ribbing.
This creates a stretchy collar.
10. Crochet the Bottom Ribbing
Attach yarn to the bottom of the sweater.
-
Work single crochet around the hem.
-
Continue rows of front post and back post double crochet for about 4–6 rows.
11. Crochet Sleeve Cuffs
Attach yarn to sleeve openings.
-
Work one round of single crochet.
-
Continue ribbed stitches (fpdc/bpdc) for 4–5 rows.
This helps the sleeves fit snugly.
12. Finishing Touches
-
Weave in all loose yarn ends.
-
Lightly block the sweater.
-
Add decorative touches such as:
-
Color stripes
-
Small pocket
-
Elbow patches
-
Simple embroidery
-
Helpful Tips
✔ Use soft yarn to prevent irritation on children’s skin.
✔ Choose warm autumn colors such as mustard, brown, rust, forest green, or burgundy.
✔ Keep the sweater slightly loose so children can wear it over shirts.
⏱ Estimated Time:
-
Beginner: 10–14 hours
-
Intermediate crocheter: 6–9 hours
If you’d like, I can also help you create:
-
A step-by-step crochet pattern for the famous “November Sweater” design
-
A hooded November sweater for children
-
A very easy beginner version using only half double crochet
Just let me know! 🧶
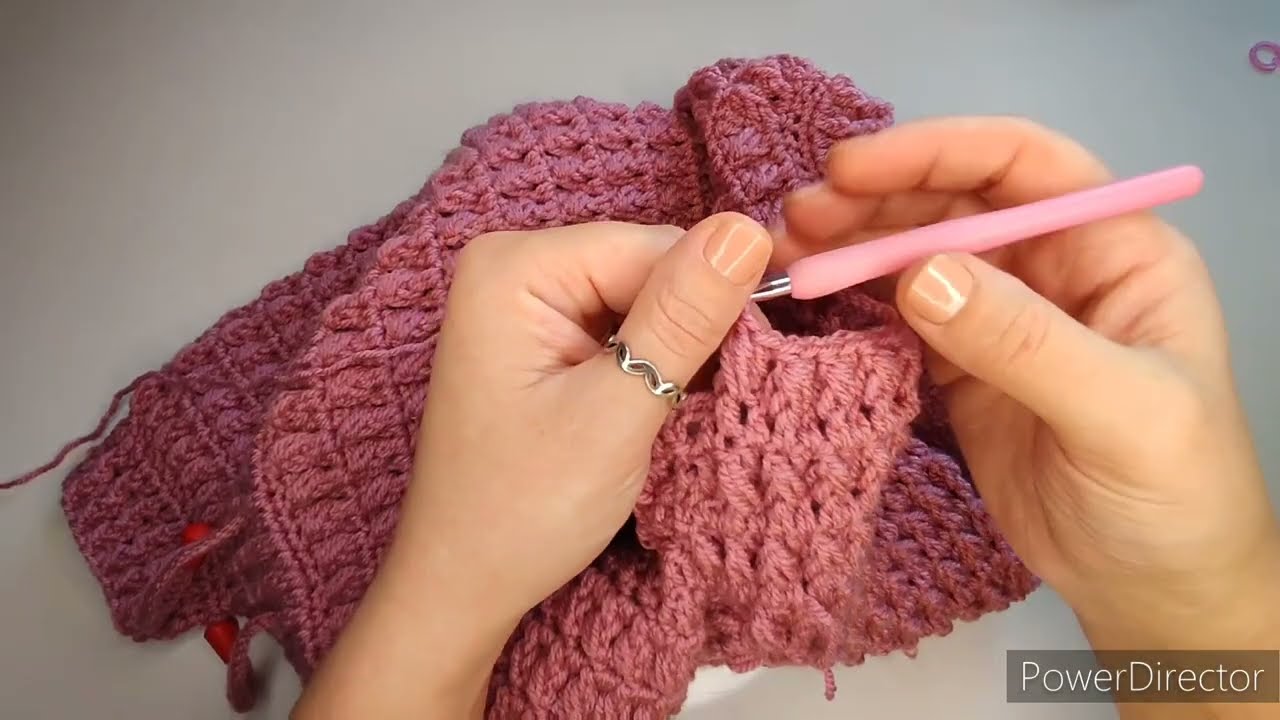
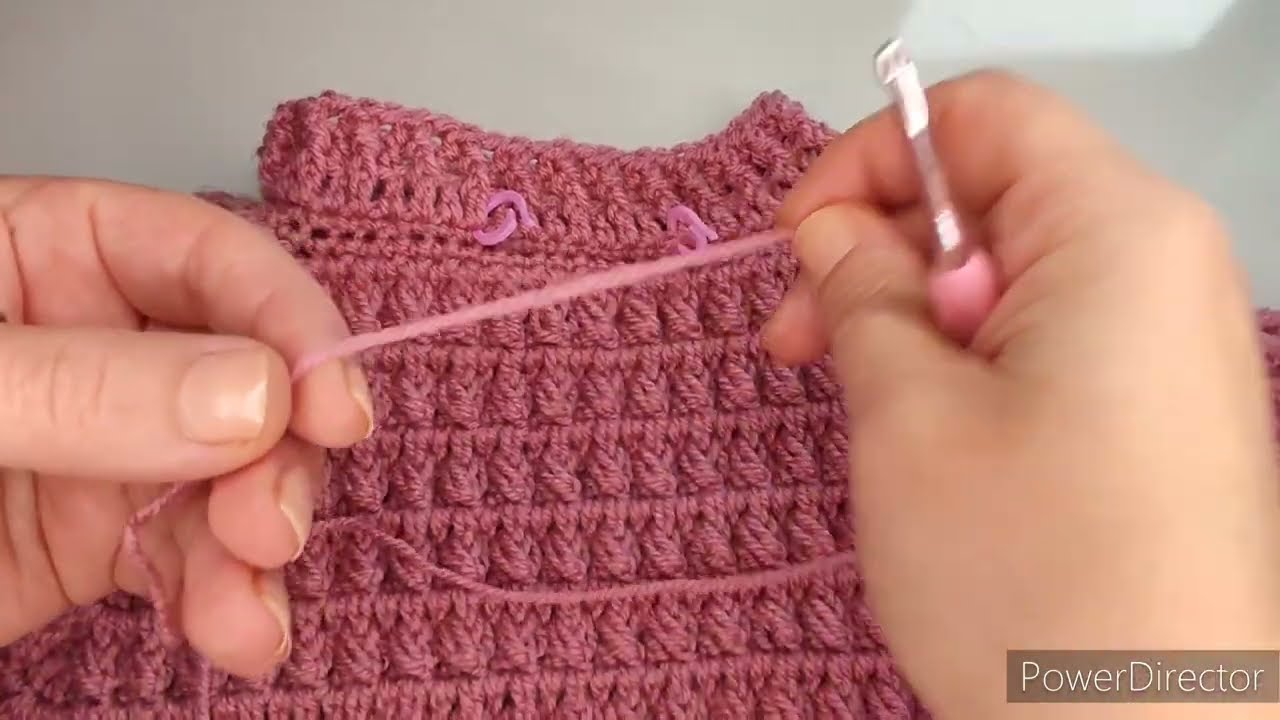
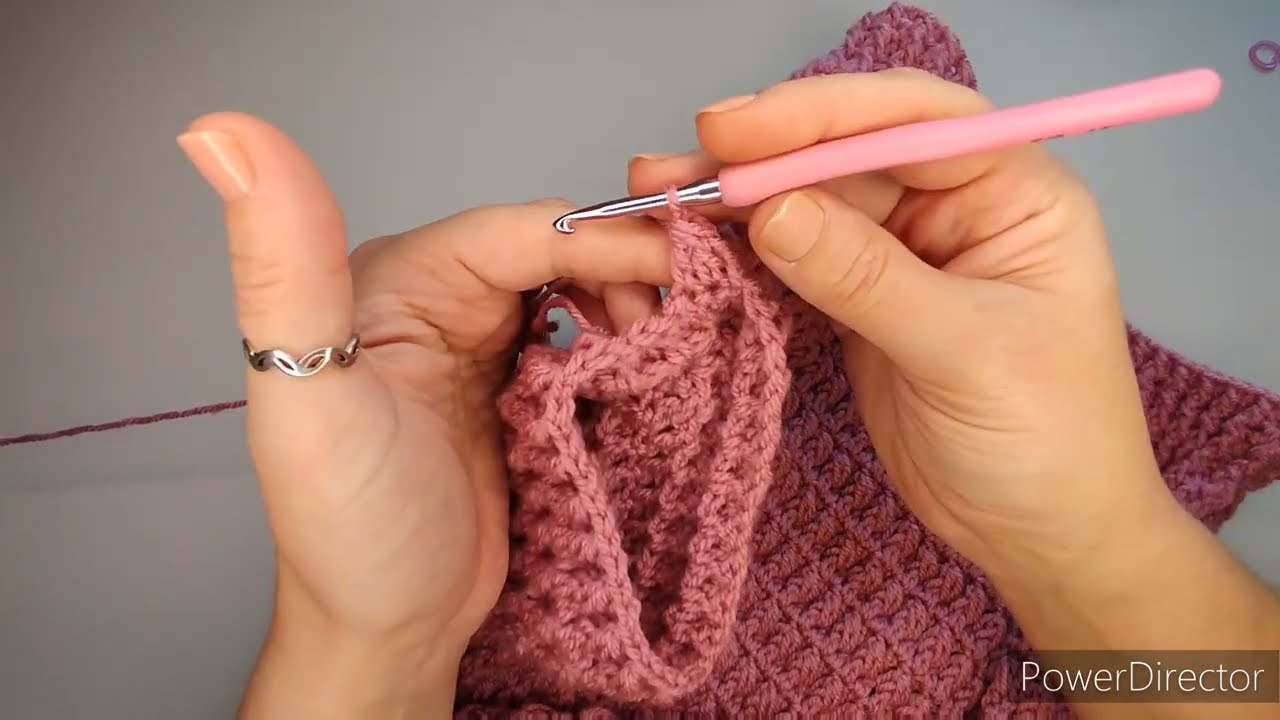
Watch tutorial: