by
by Sure! Here’s a detailed, beginner-friendly step-by-step guide on how to crochet baby shoes. This guide is titled:
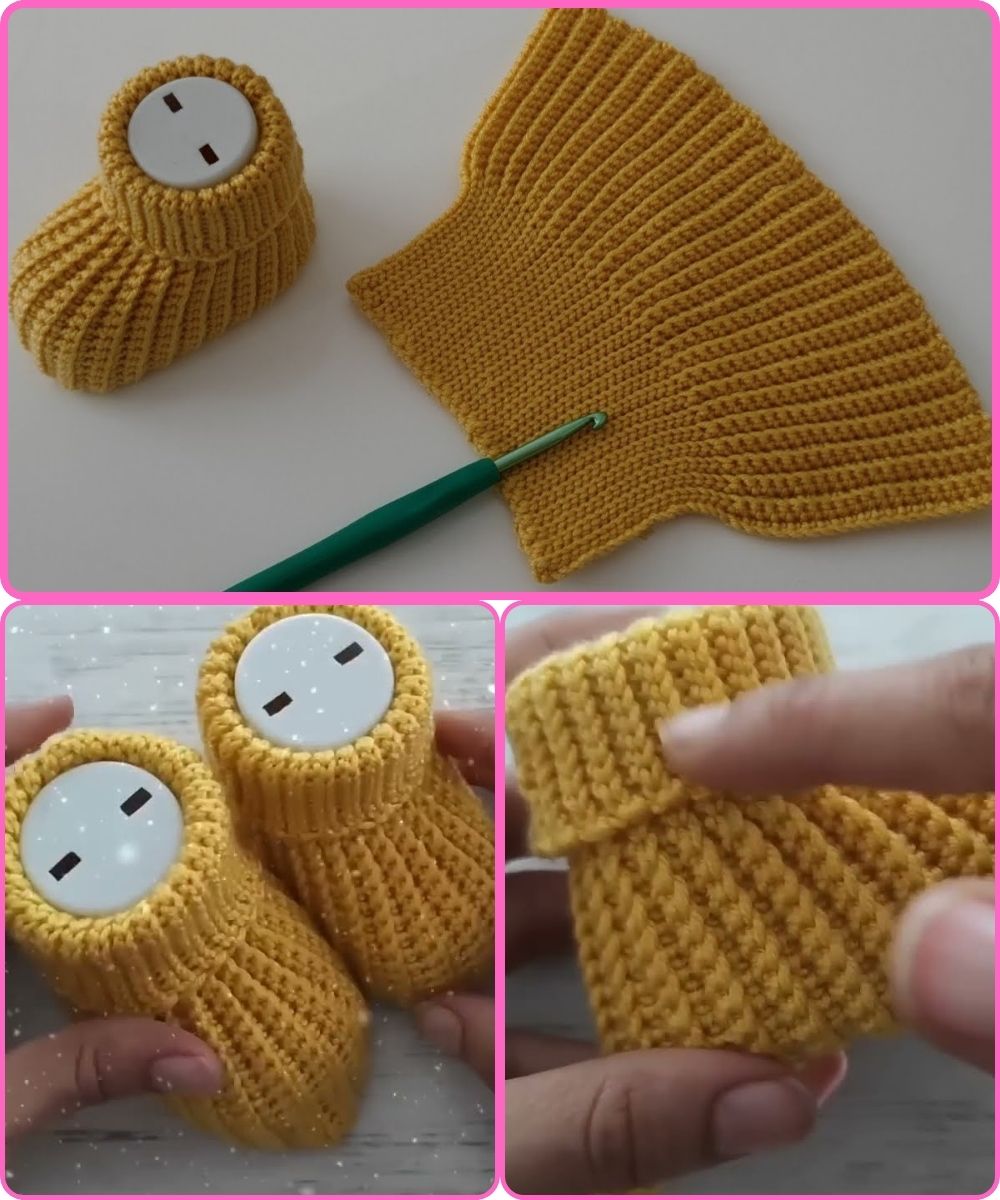
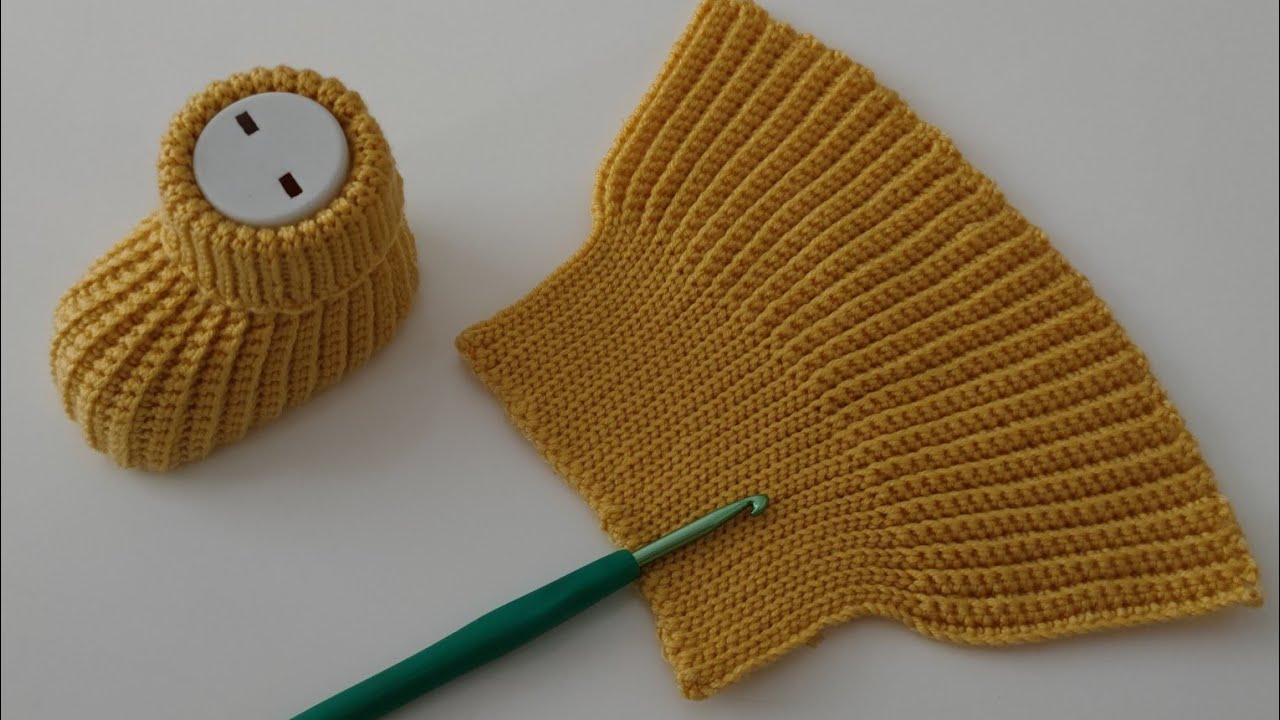
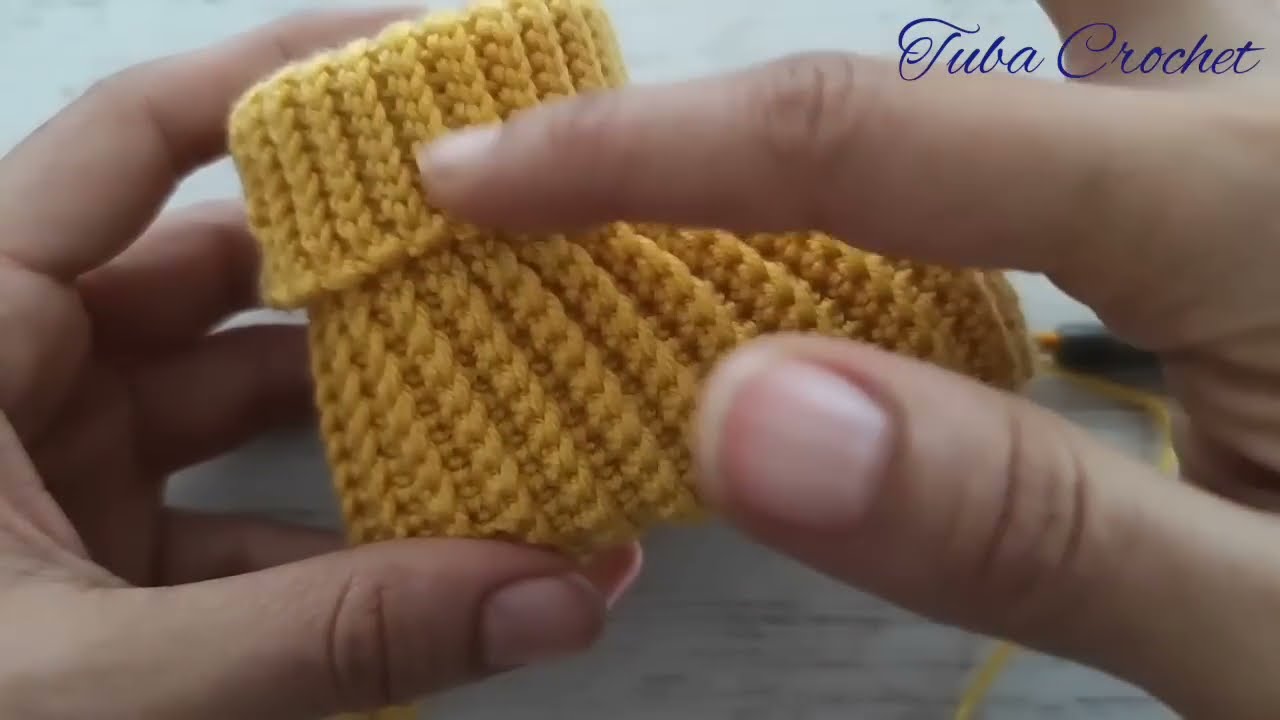
How to Crochet Baby Shoes – Super Easy Crochet Knit Baby Shoes Pattern for Beginners
If you’re just starting your crochet journey and want to make something adorable, these baby shoes are the perfect project! In this tutorial, we’ll walk you through a super easy crochet baby shoe pattern that’s perfect for beginners. Let’s get started!
Materials You’ll Need:
-
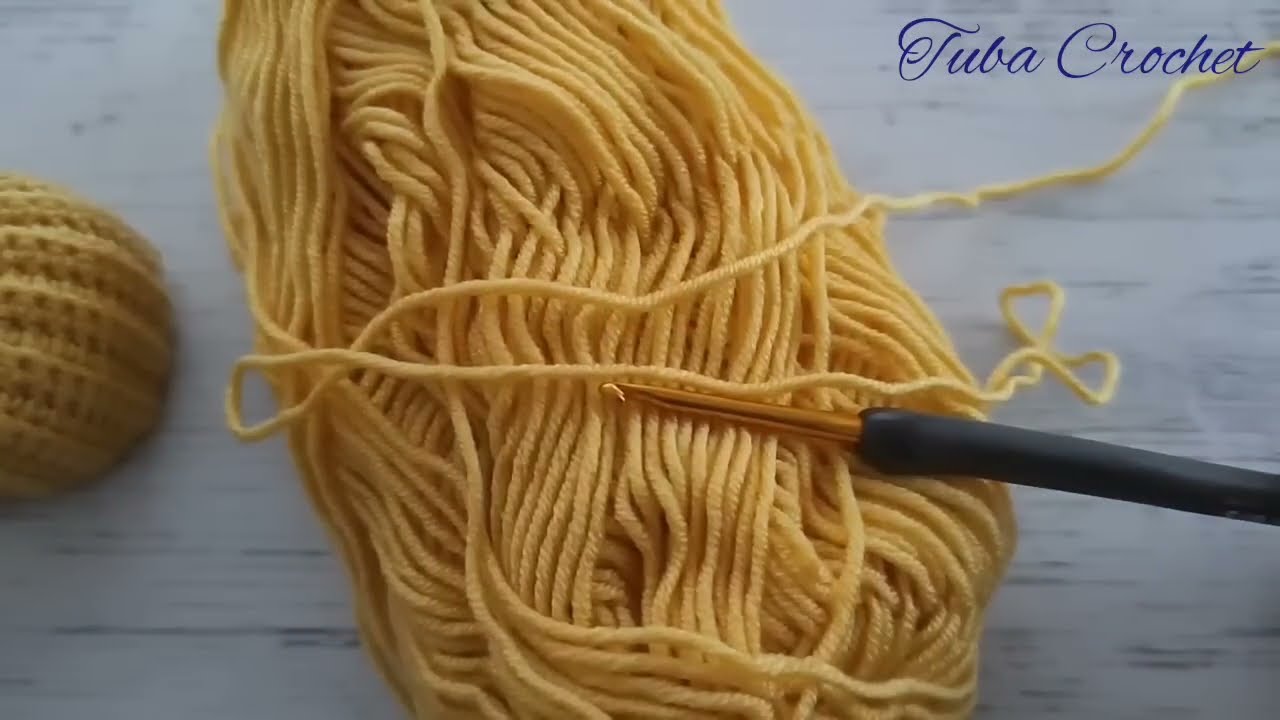
Yarn: Soft worsted weight (Size 3 or 4) baby yarn or cotton yarn
-
Hook: 3.5 mm (E) or 4 mm (G) crochet hook
-
Scissors
-
Yarn needle (for weaving in ends)
-
Stitch markers (optional)
-
Buttons or embellishments (optional)
Finished Size:
This pattern fits most 0–3 months old babies (about 3.5 to 4 inches / 9 to 10 cm sole length). To adjust for larger sizes, you can go up a hook size or use a thicker yarn.
Basic Stitches Used (US Terms):
-
ch – chain
-
sc – single crochet
-
hdc – half double crochet
-
dc – double crochet
-
sl st – slip stitch
-
inc – increase (2 stitches in one stitch)
Step-by-Step Crochet Baby Shoe Pattern


Part 1: Crochet the Sole
Round 1:
-
Ch 11.
-
In 2nd ch from hook, work 2 sc.
-
Sc in next 7 ch.
-
In last ch, work 5 sc.
-
Now working on the opposite side of the chain, sc in next 7 ch.
-
2 sc in last ch.
-
Join with sl st. (Total: 24 sts)
Round 2:
-
Ch 1.
-
2 sc in first stitch, sc in next 7 sts.
-
2 sc in next 5 sts (the rounded toe).
-
Sc in next 7 sts.
-
2 sc in last 2 sts.
-
Join with sl st. (Total: 34 sts)
Round 3:
-
Ch 1.
-
Sc in each st around in the back loops only (BLO) to give the sole shape.
-
Join with sl st. (34 sts)
Part 2: Crochet the Upper Shoe
Round 4:
-
Ch 1.
-
Sc in next 12 sts.
-
Now work a decrease: Sc2tog (single crochet 2 together) 5 times (this forms the toe area).
-
Sc in next 12 sts.
-
Join with sl st. (29 sts)
Round 5:
-
Ch 1.
-
Sc in next 10 sts.
-
Sc2tog 4 times.
-
Sc in next 11 sts.
-
Join with sl st. (25 sts)
Round 6:
-
Ch 1.
-
Sc in each st around.
-
Join with sl st. Fasten off and weave in ends. (25 sts)
Part 3: Optional Strap (Mary Jane Style)
-
Attach yarn to one side of the shoe (near ankle).
-
Ch 12 (or more depending on how long you want the strap).
-
Sl st to opposite side of shoe.
-
Fasten off.
-
Sew a small button on the side where the strap starts.

Finishing Touches:
-
Use the yarn needle to weave in any loose ends.
-
Add buttons, bows, or crochet flowers for a cute final look!
✅ Tips for Beginners:
-
Practice making the sole a few times—it’s the foundation of the shoe.
-
Use stitch markers to help keep track of the beginning of each round.
-
Don’t worry about perfection! These are handmade and charm comes with a few quirks.
Make a Pair:
Repeat all steps to make the second shoe. Be sure to make the strap on the opposite side to mirror the first shoe.
Customization Ideas:
-
Change colors for the sole and upper.
-
Use cotton yarn for a summery look or plush yarn for a winter feel.
-
Add a crochet flower or heart appliqué on top.
Watch tutorial: