by
by Here is a detailed step-by-step guide on how to make a crochet baby jacket (cardigan style), starting from the collar. This method is ideal for beginners and intermediate crocheters alike. We’ll be working top-down, beginning with the collar, shaping the yoke, separating the sleeves, and then finishing the body and sleeves.
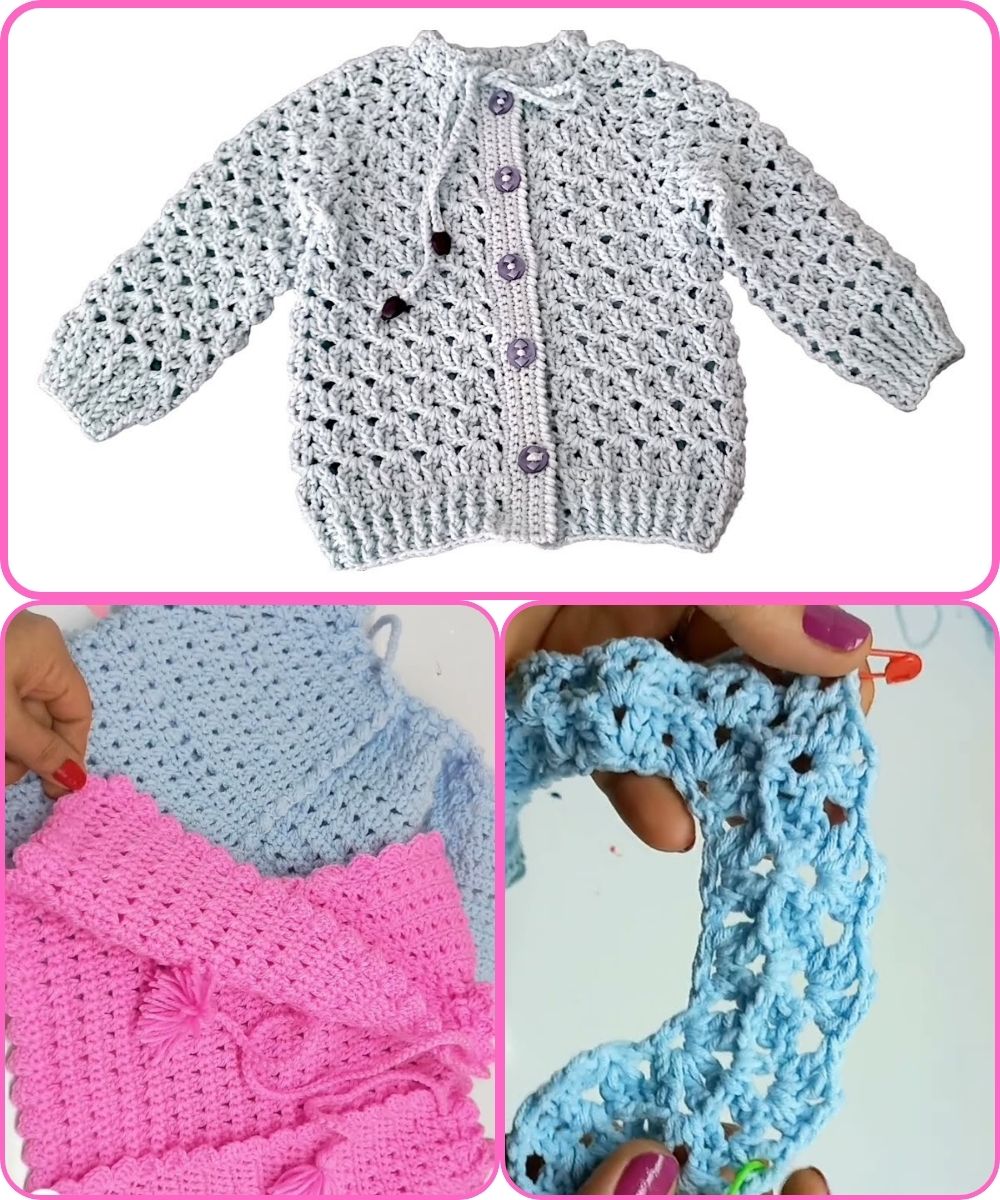
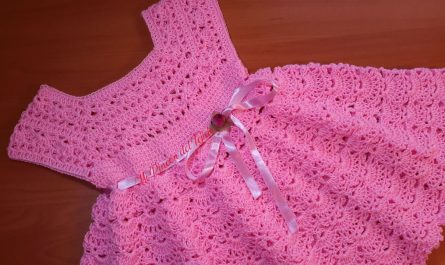
How to Make a Crochet Baby Jacket – Starting from the Collar (Cardigan Style)
Basic Details:
-
Age/Size: 0–6 months (can be adjusted)
-
Skill Level: Easy–Intermediate
-
Crochet Style: Top-down raglan style cardigan
-
Construction: One-piece, no sewing required
-
Yarn: Soft baby yarn (e.g., DK or light worsted weight, 100g)
-
Hook Size: 4mm (G) or appropriate for your yarn
-
Notions: Scissors, yarn needle, stitch markers, buttons (3–5)
Step 1: Design Planning and Measurements
Before crocheting, plan:
-
Design style: Simple cardigan, lacy, textured, or hooded?
-
Color scheme: Solid color, stripes, or multicolor?
-
Type of collar: Flat collar, ribbed collar, Peter Pan, or hooded start?
For this guide, we’ll do a simple ribbed collar with a raglan-style cardigan.
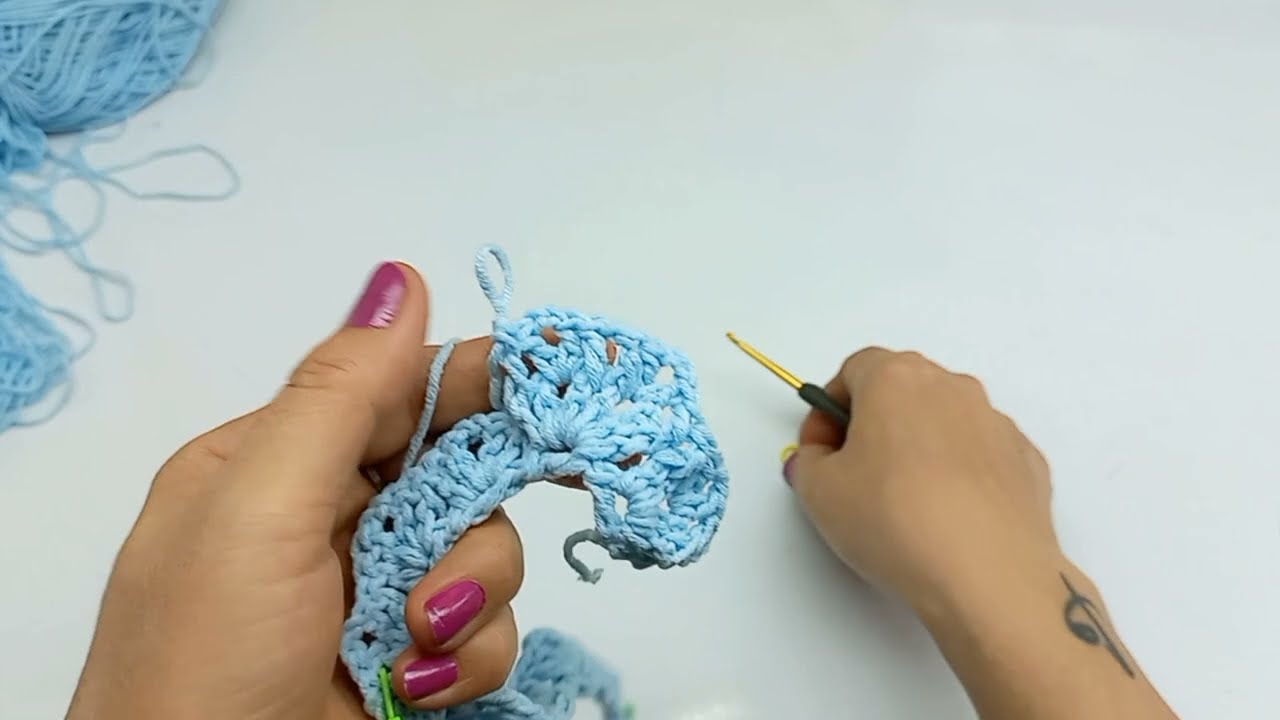
Step 2: Starting the Collar
We’ll begin by making a ribbed collar using front post/back post half double crochet (fp/bp hdc) or back loop only (blo) stitches.
✨ Ribbed Collar (Back Loop Only)
-
Foundation Chain: Ch 8 (for a small ribbed collar height, adjust for thicker)
-
Row 1: Hdc in 2nd ch from hook and across (7 hdc). Ch 1, turn.
-
Row 2–60 (or until desired neck circumference is reached):
-
Hdc in back loop only across. Ch 1, turn.
-
NOTE: You can adjust the number of rows depending on your gauge and the baby’s neck circumference. 60 rows = ~30 cm unstretched.
-
Join into a circle (optional if open front) using slip stitch or leave open for a front-buttoned cardigan.
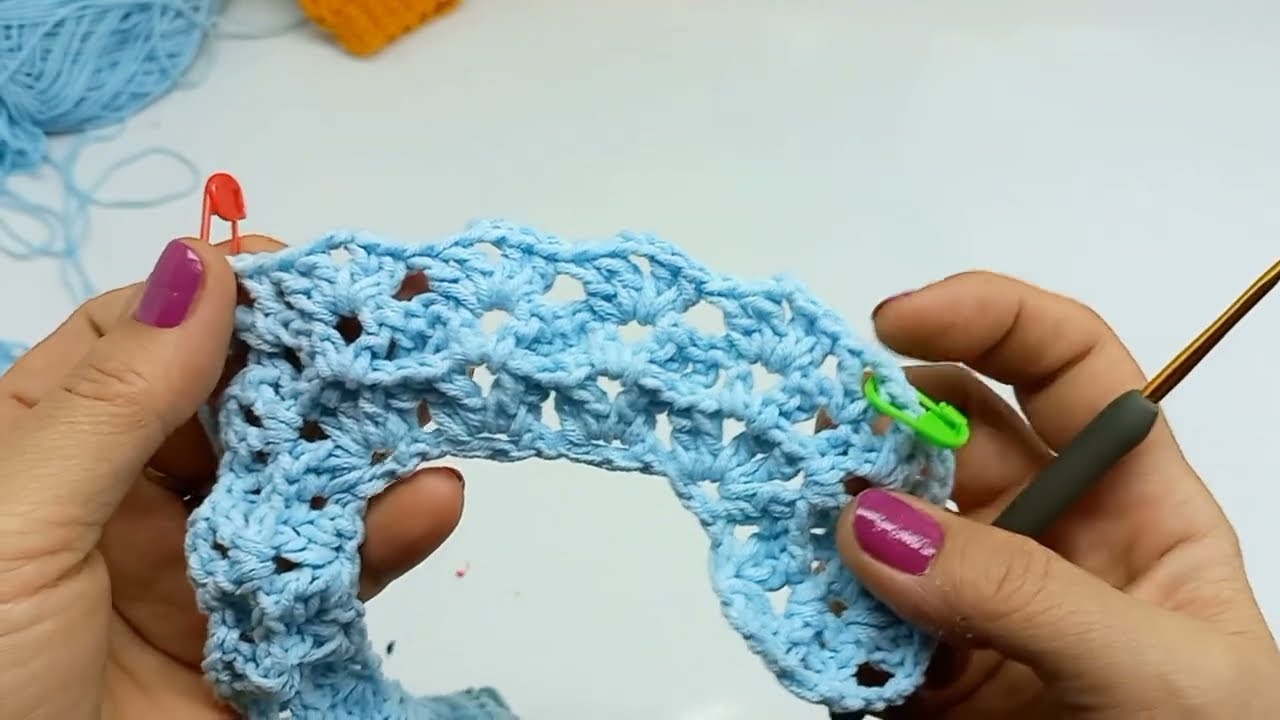
Step 3: Yoke (Raglan Increase Section)
Now you’ll crochet along the long edge of the collar to start forming the yoke.
Stitch Count Setup:
We’ll divide stitches for:
-
Left Front
-
Sleeve
-
Back
-
Sleeve
-
Right Front
Example (44 stitches total along the edge):
-
7 (left front), 7 (sleeve), 16 (back), 7 (sleeve), 7 (right front)
-
Row 1 (Setup Row):
-
Sc or hdc evenly along the long edge of the collar (approx. 44 stitches)
-
Place stitch markers at raglan points (after 7, 14, 30, 37)
-
-
Row 2 (Raglan Increases):
-
Ch 2, dc in each stitch, 2 dc in each raglan point stitch (before and after marker)
-
-
Repeat Raglan Increases:
-
Continue working rows, increasing 2 stitches at each of the 4 raglan points (total +8 per row)
-
Work until you have:
-
10–12 rows, or
-
Enough depth from neck to underarm (~9–11 cm for 0–6 months)
-
-
Step 4: Separate for Sleeves
-
At desired yoke depth, separate sleeves:
-
Work across front
-
Skip sleeve stitches (place them on stitch holder or chain to bridge)
-
Work across back
-
Skip other sleeve
-
Finish front
-
-
You now have only the body stitches on your hook.
Step 5: Work the Body
Continue working in rows or rounds (depending on open/closed style).
-
Use dc, hdc, or preferred stitch
-
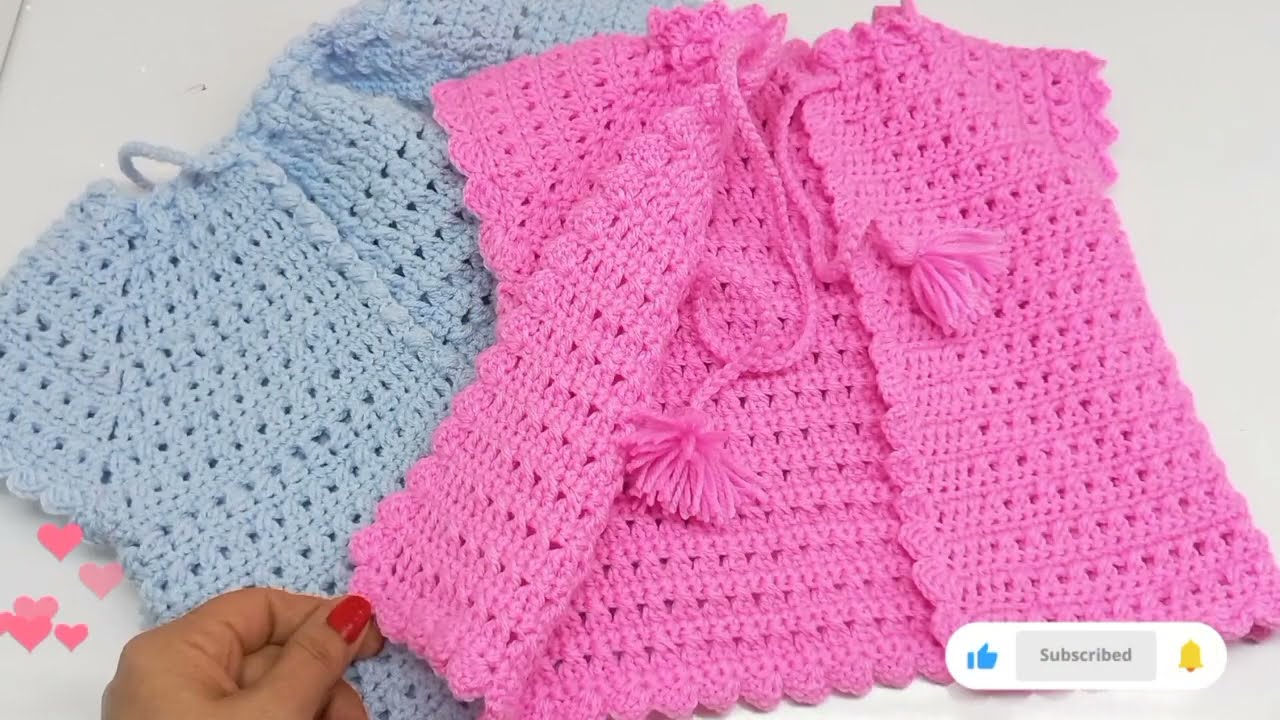
Add decorative rows (e.g., shell, puff, or fan stitches)
-
Length: Stop at ~18–22 cm from shoulder for 0–6 months
Optional:
-
Add a bottom border: Ribbing, shell edging, or picot
Step 6: Sleeves
-
Return to sleeve stitches on holder.
-
Join yarn and work in rounds or rows.
-
Decrease slightly if you want a tapered sleeve.
-
Length: ~10–12 cm for 0–6 months.
-
Add a matching cuff (ribbed or decorative).
Step 7: Finishing Touches
-
Add button band (sc rows along the front edge)
-
Space buttonholes every 4–6 rows
-
Sew on buttons
-
Weave in ends
Optional Design Variations
-
Add a hood after the yoke for warmth
-
Use contrasting color for borders and sleeves
-
Add applique or embroidery (flowers, animals, initials)
Washing and Care
-
Use baby-safe yarn that is machine washable
-
Hand-wash recommended for delicate patterns
Watch tutorial: