 by
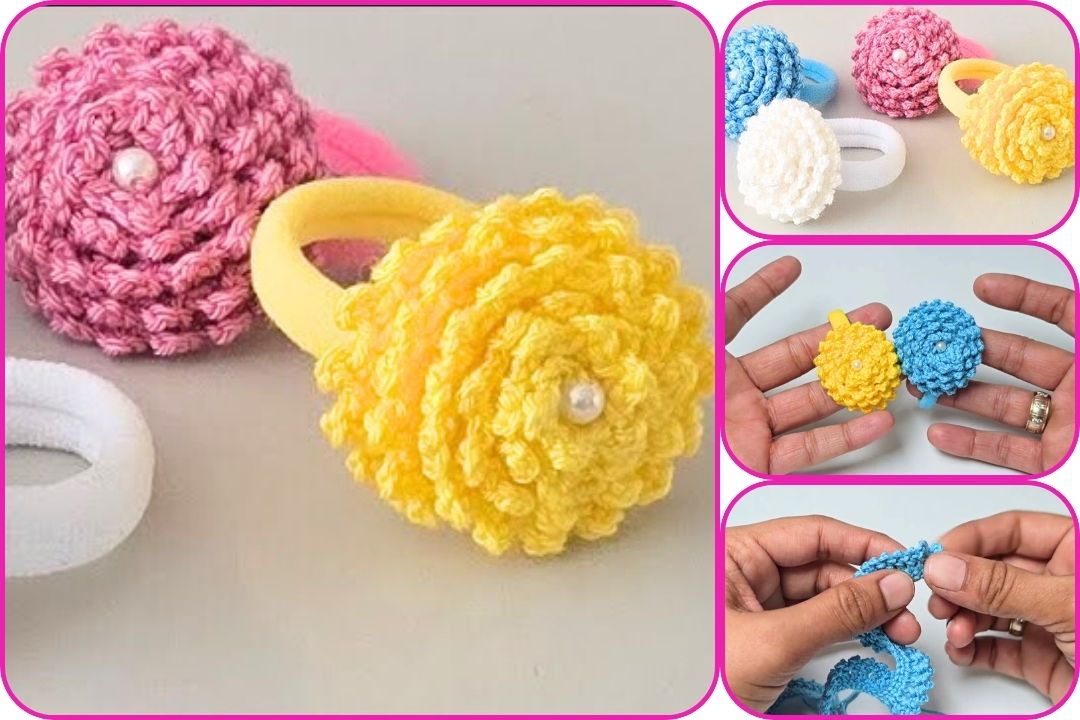
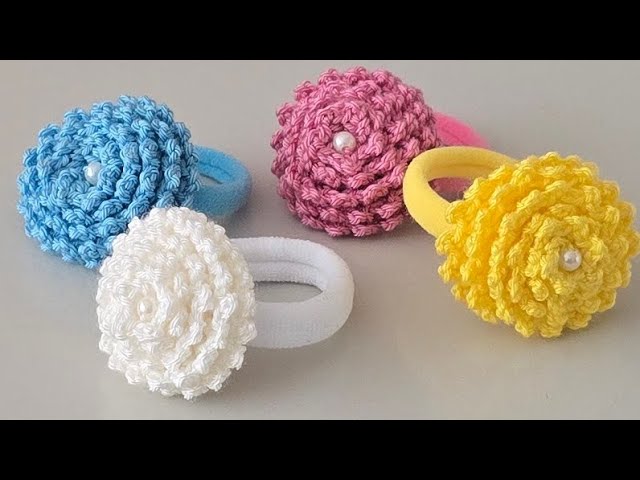
by Add a touch of handmade charm to your everyday look or create a thoughtful, personalized gift with this delightful crochet marigold elastic hair clip! This tutorial will guide you through crafting a beautiful, textured flower that’s perfect for holding your hair back in style. Whether you’re a beginner or looking for a quick and satisfying project, this pattern is designed to be easy to follow and incredibly rewarding. Let’s get started and bring some floral beauty to your accessories!

Materials You’ll Need
To create your vibrant marigold hair clip, gather these simple supplies:
- Yarn: 100% microfiber acrylic yarn is recommended for a soft and durable finish. The video suggests a specific brand pinned in the comments section, but any similar yarn in your favorite color will work beautifully.
- Crochet Hook: A 1.75 mm crochet hook is used in the tutorial to achieve a delicate and compact flower.
- Elastic Hair Band: A standard elastic hair band to attach your finished flower to.
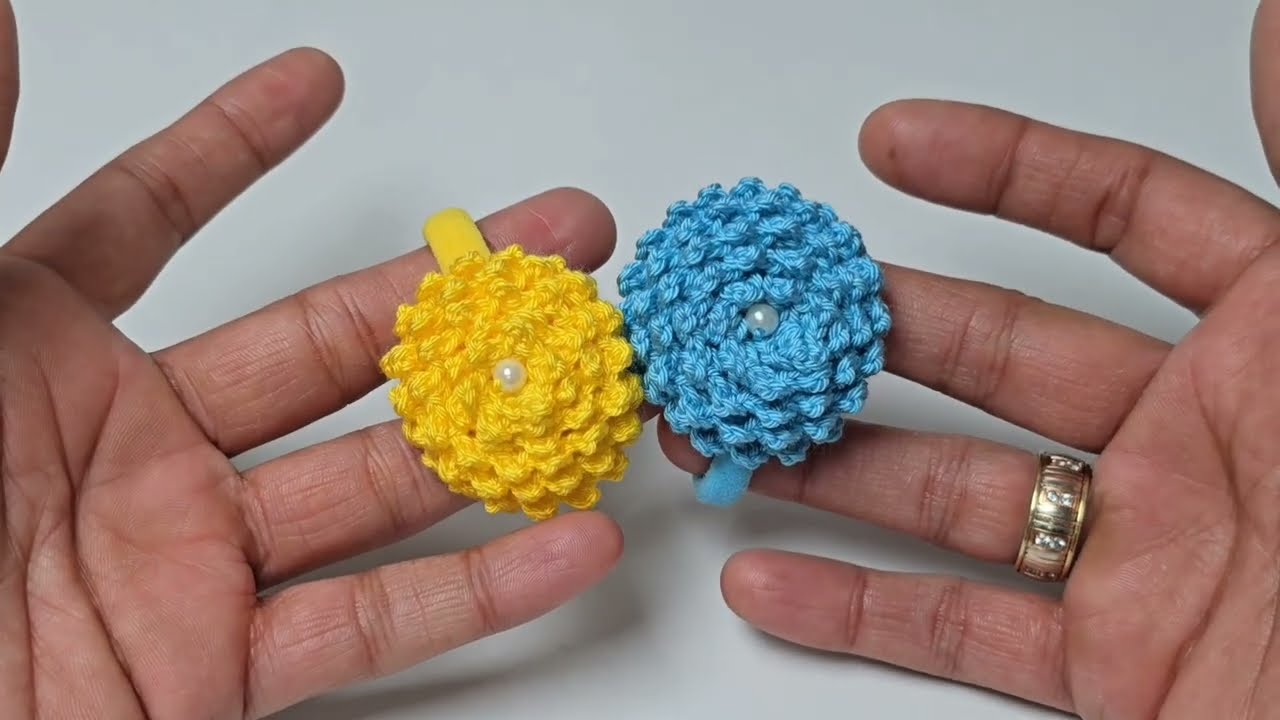
- Pearls (Optional): Small pearls for decoration to add a touch of elegance to your flower’s center.
- Scissors: For cutting yarn.
- Yarn Needle (Tapestry Needle): For sewing the flower and weaving in ends.
- Fabric Glue (Optional): For securely attaching the flower to the elastic band, or you can sew it on.
Let’s Get Crocheting! Step-by-Step Instructions
This pattern creates a lovely ruffled flower that mimics the look of a marigold. The key is in the unique stitch pattern of the second row!

Step 1: The Foundation Chain
- Chain Stitches: Begin by making a chain of 65 stitches. This length will create a flower approximately 18 cm (about 7 inches) long before assembly.
- Adjusting Size: If you want a larger or smaller flower, you can adjust the number of initial chains. Just ensure you maintain an even number for the subsequent rows.
Step 2: The First Row (Single Crochet Base)
- Single Crochets: Starting from the second chain from your hook, work 1 single crochet (SC) into each chain across the entire row.
- Count: You should end up with 65 single crochets. This row forms the sturdy base upon which your flower will be built.
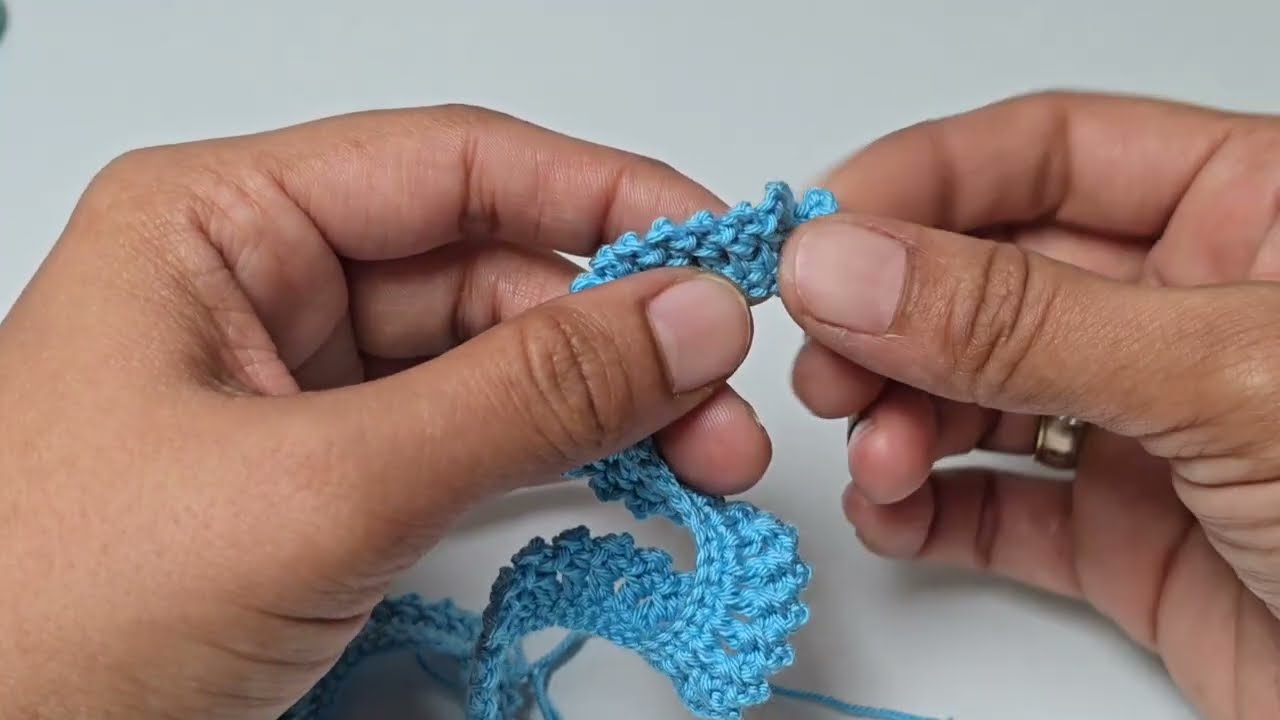
Step 3: Creating the Ruffled Petals (The Magic Row!)
This is the row that gives your marigold its distinctive ruffled look!
- Chain 3: At the beginning of this row, chain 3. This will count as your first double crochet (DC).
- First Stitch Pattern: Work 1 double crochet (DC) into the very first single crochet of the previous row (the same stitch where your chain 3 originates).
- Chain 3 & Slip Stitch: Now, chain 3 again, and then make a slip stitch (SL ST) into the double crochet you just made (this creates a small loop or “picot” effect).
- Repeat the Pattern: Skip the next single crochet from the previous row. In the following single crochet, repeat the sequence: (1 DC, Chain 3, SL ST into the DC you just made).
- Continue Across: Continue this pattern of skipping one SC, then working (1 DC, Chain 3, SL ST into DC) into the next SC, all the way to the end of the row. This will create a series of ruffled “petals.”

Step 4: Finishing Off Your Crocheted Strip
- Chain 1 & Cut Yarn: Once you’ve completed the ruffled row, make 1 chain stitch to secure your work. Cut your yarn, leaving a long tail (at least 12-15 inches) for sewing the flower together.
Step 5: Assembling Your Marigold Flower
Now, let’s transform your flat strip into a beautiful 3D flower!
- Fold and Shape: Take your crocheted piece and begin to fold it inwards, starting from the very beginning of your strip. As you fold, gently coil the strip around itself, keeping the ruffled edge facing outwards. This will naturally form the spiral shape of a marigold.
- Sewing: Use the long yarn tail you left and your yarn needle to sew the layers of the coiled flower together from the back. Stitch through all the layers to secure the shape, making sure your stitches are tight enough to hold it but not visible from the front. Work your way around the base of the flower until it feels secure.

Step 6: Attaching to the Elastic Band
- Positioning: Decide where you want your flower to sit on the elastic band.
- Sew or Glue: You can either sew the finished flower securely onto the elastic band using your yarn needle and a matching thread, or you can use fabric glue for a strong bond. If gluing, apply a generous amount to the back of the flower and press it firmly onto the elastic band, holding it in place until the glue sets.
Step 7: Adding Pearl Decorations (Optional)
- Sew Pearls: If you’re adding pearls, use a fine needle and thread to sew them onto the center of your marigold flower. Arrange them in a cluster or a pattern that you like.
Your Beautiful Marigold Hair Clip is Ready!
Voila! You’ve just created a stunning, unique crochet marigold elastic hair clip. This lovely accessory is perfect for adding a pop of color and handmade charm to any hairstyle. It also makes a wonderful, heartfelt gift for friends and loved ones. Enjoy wearing your beautiful creation!
Watch tutorial: