 by
by Sure! Here’s a detailed tutorial-style article you can use (for a YouTube video, blog post, or written guide) titled:
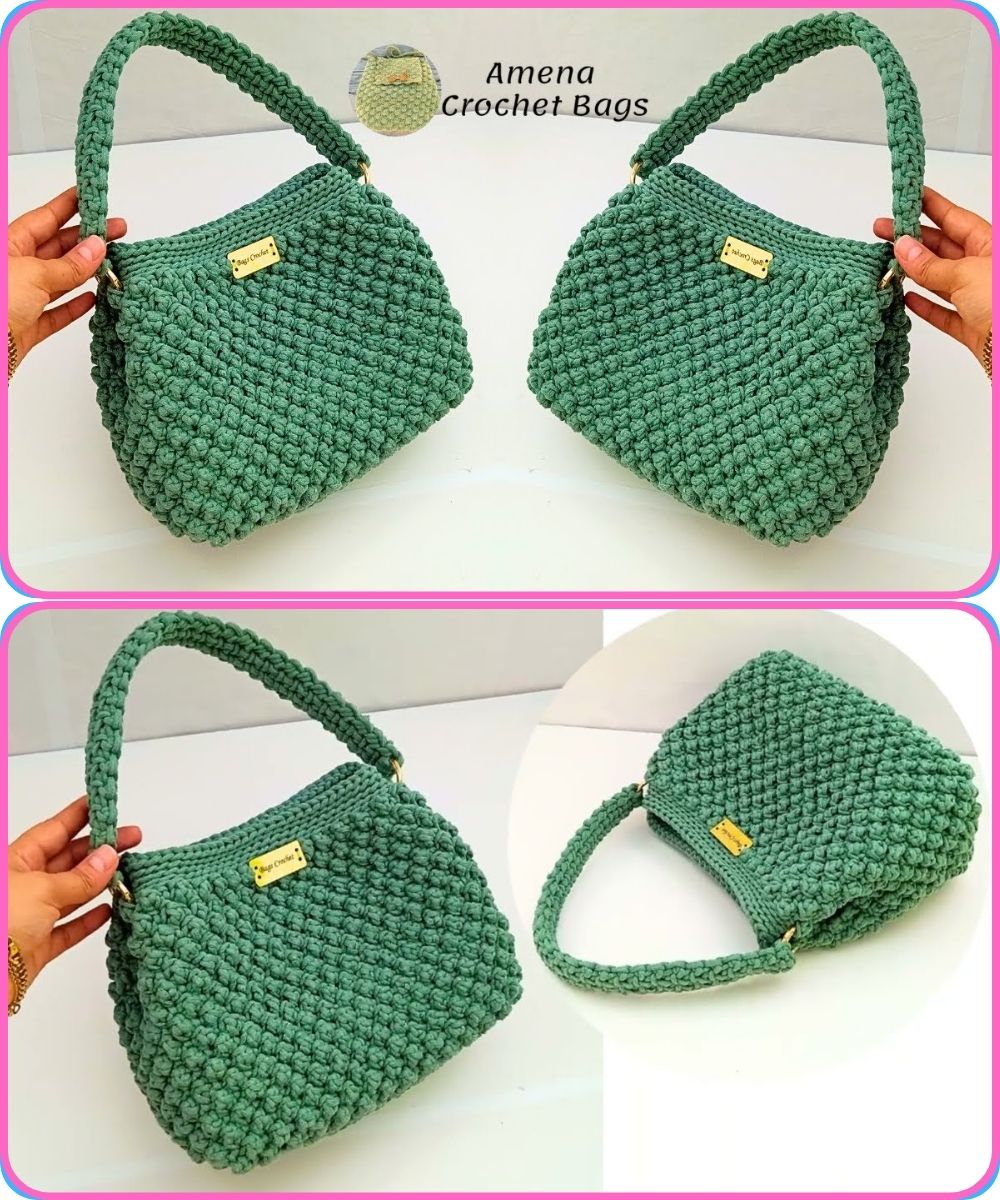
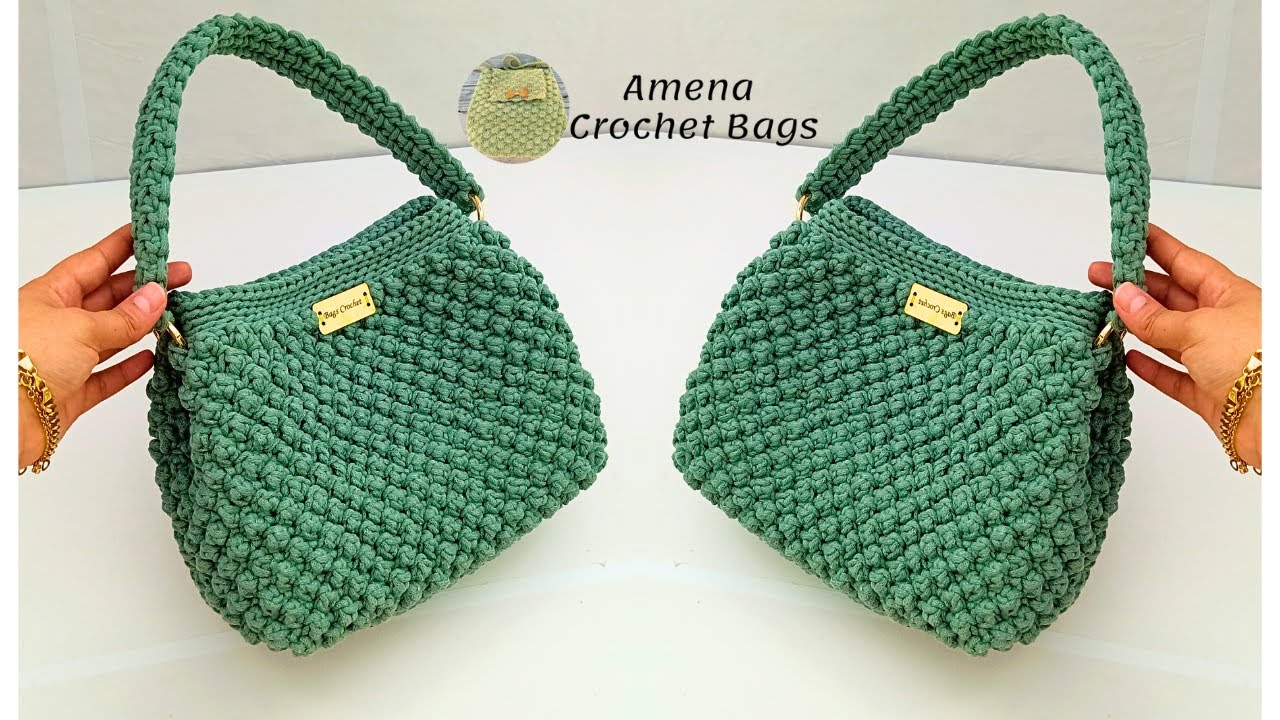
How to Make a Crochet Bag with a New and Unique Stitch | Full Tutorial for Beginners
If you’ve been looking for a fun and trendy crochet project, this tutorial is for you! In this step-by-step guide, you’ll learn how to crochet a stylish bag using a new and unique stitch that adds both texture and durability. Perfect for beginners and experienced crocheters alike!
Materials You’ll Need
Yarn:
-
Medium weight (Category 4) cotton yarn – 2–3 skeins (choose your favorite color)
Tip: Cotton yarn gives the bag structure and helps it hold its shape.
Hook:
-
4.0 mm or 4.5 mm crochet hook (check your yarn label for recommendation)
Other Tools:
-
Yarn needle (for weaving ends)
-
Scissors
-
Stitch markers (optional but helpful)
-
Bag handles or leather straps (optional – can also crochet straps)
✨ The Unique Stitch: “Twisted Puff Stitch”
This project features the Twisted Puff Stitch, a variation of the regular puff stitch that creates a beautiful diagonal texture — perfect for handbags!
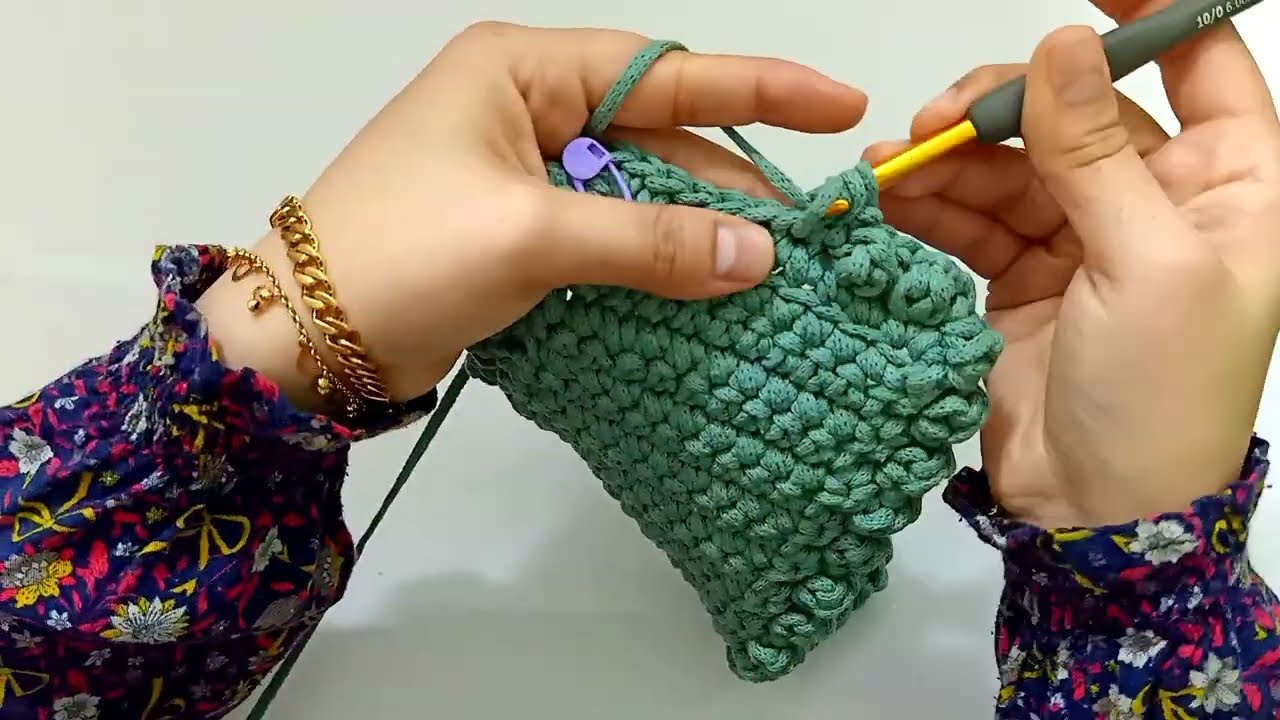
How to Crochet the Twisted Puff Stitch:
-
Yarn over (YO) and insert your hook into the stitch.
-
YO and pull up a loop, repeat this 3 more times (you should have 9 loops on your hook).
-
YO and pull through all loops on your hook.
-
Chain 1 to secure the puff.
-
For the twist effect, in the next round, place your puff stitches between the previous puffs instead of directly on top.
Step-by-Step Instructions
Step 1: Make the Base of the Bag
-
Start with a chain foundation — about 35 chains (adjust length depending on the size you want).
-
In the second chain from hook, make 1 single crochet (SC).
-
Continue making SC across the chain.
-
When you reach the last stitch, make 3 SC in the same stitch to turn the corner.
-
Now work along the other side of the chain, making SC in each stitch.
-
Join with a slip stitch (SL ST) to the first SC.
-
Continue working in rounds, adding increases at the corners until you reach the desired oval or rectangular base.
Step 2: Build the Body of the Bag
-
Once the base is complete, start working in the round without increasing.
-
Crochet 1 round of single crochet to create a firm foundation for the stitch pattern.
-
Begin your Twisted Puff Stitch pattern:
-
Round 1: [Twisted Puff Stitch, skip 1 stitch, SC in next] — repeat around.
-
Round 2: Place puffs between previous puffs to form the twist effect.
-
-
Continue working in rounds until the bag reaches your desired height (about 25–30 cm for a medium bag).
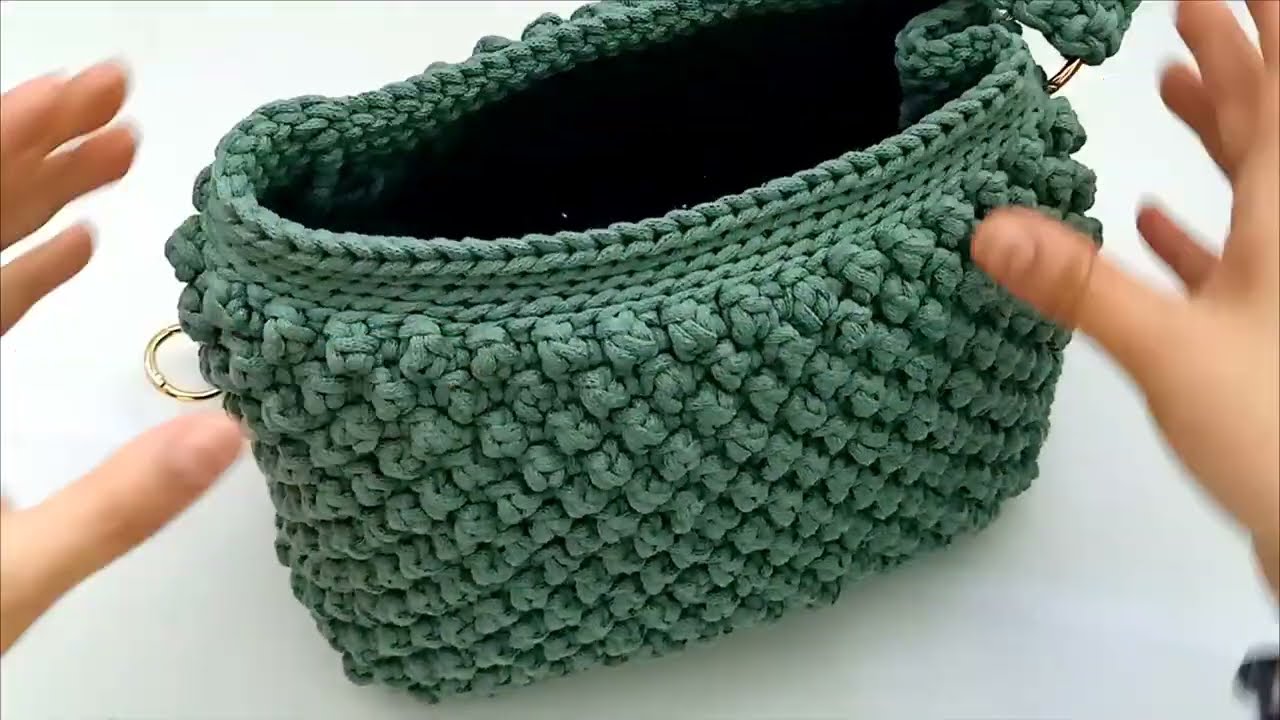
Step 3: Create the Top Edge
-
Once you’ve finished the body, crochet 2–3 rounds of single crochet to give the edge a clean, sturdy finish.
-
If you want a drawstring or handles, skip 2 stitches every few spaces in the top round to create small holes.
Step 4: Add Handles or Straps
Option 1: Crochet handles
-
Chain about 60 stitches, attach each end to opposite sides of the bag with slip stitches or sew them securely.
Option 2: Leather or pre-made straps
-
Attach using metal rings or by sewing them directly to the edge.
Step 5: Finishing Touches
-
Weave in all yarn ends using your yarn needle.
-
Optionally, line the inside of the bag with fabric to reinforce it (use a simple hand stitch or fabric glue).
-
Add a button, magnetic clasp, or zipper for closure.
Tips for Beginners
-
Keep your tension even — not too tight or too loose.
-
Practice the Twisted Puff Stitch on a small swatch before starting the bag.
-
Use a stitch marker to mark the beginning of each round.
-
For extra stiffness, consider using a yarn blend with polyester or adding a thin layer of interfacing inside the lining.
Design Variations
-
Color block style: Change yarn colors halfway through for a trendy look.
-
Mini version: Stop after fewer rounds for a cute handbag.
-
Tote style: Make the base longer and add wider handles.
-
Crossbody: Attach a long strap and small button closure.
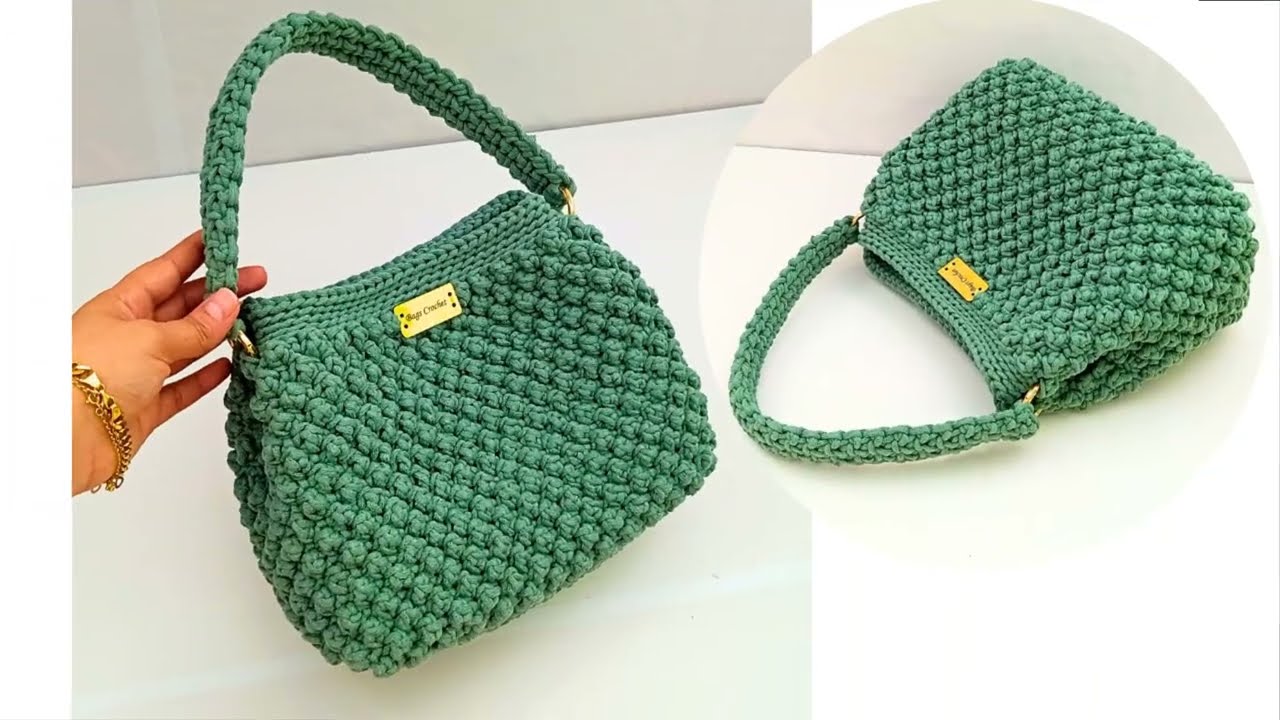
✅ Final Thoughts
This crochet bag combines style, texture, and functionality — plus, it’s a great project to practice a new stitch technique. Whether you’re making it for yourself or as a handmade gift, the Twisted Puff Stitch bag will definitely turn heads!
Would you like me to make this tutorial into a YouTube video script or written blog post format (with timestamps and dialogue) next? I can also include step-by-step photo prompts or diagrams for each stage.
Watch video: