 by
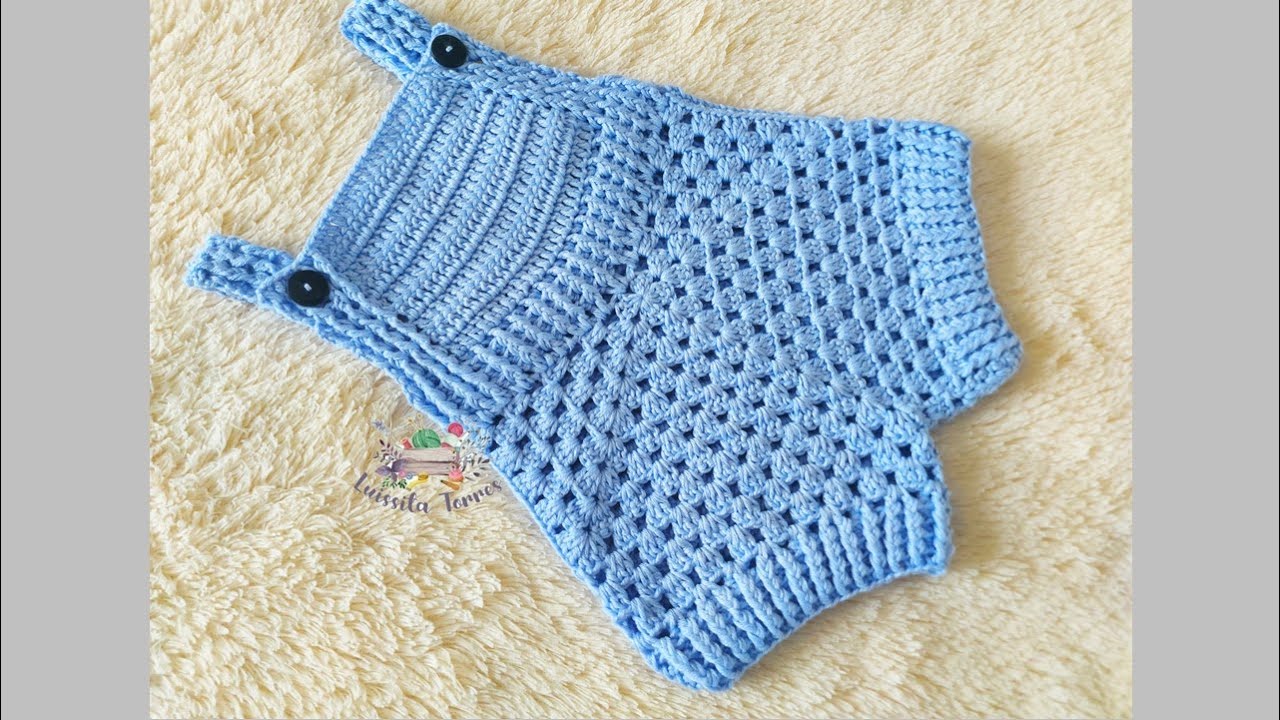
by Below is a clear, step-by-step, detailed guide on how to crochet a baby overall using only TWO granny squares. This is a popular easy-level crochet project perfect for beginners.
(Note: This is crochet, not knitting, although the user wrote “easy knitting.”)
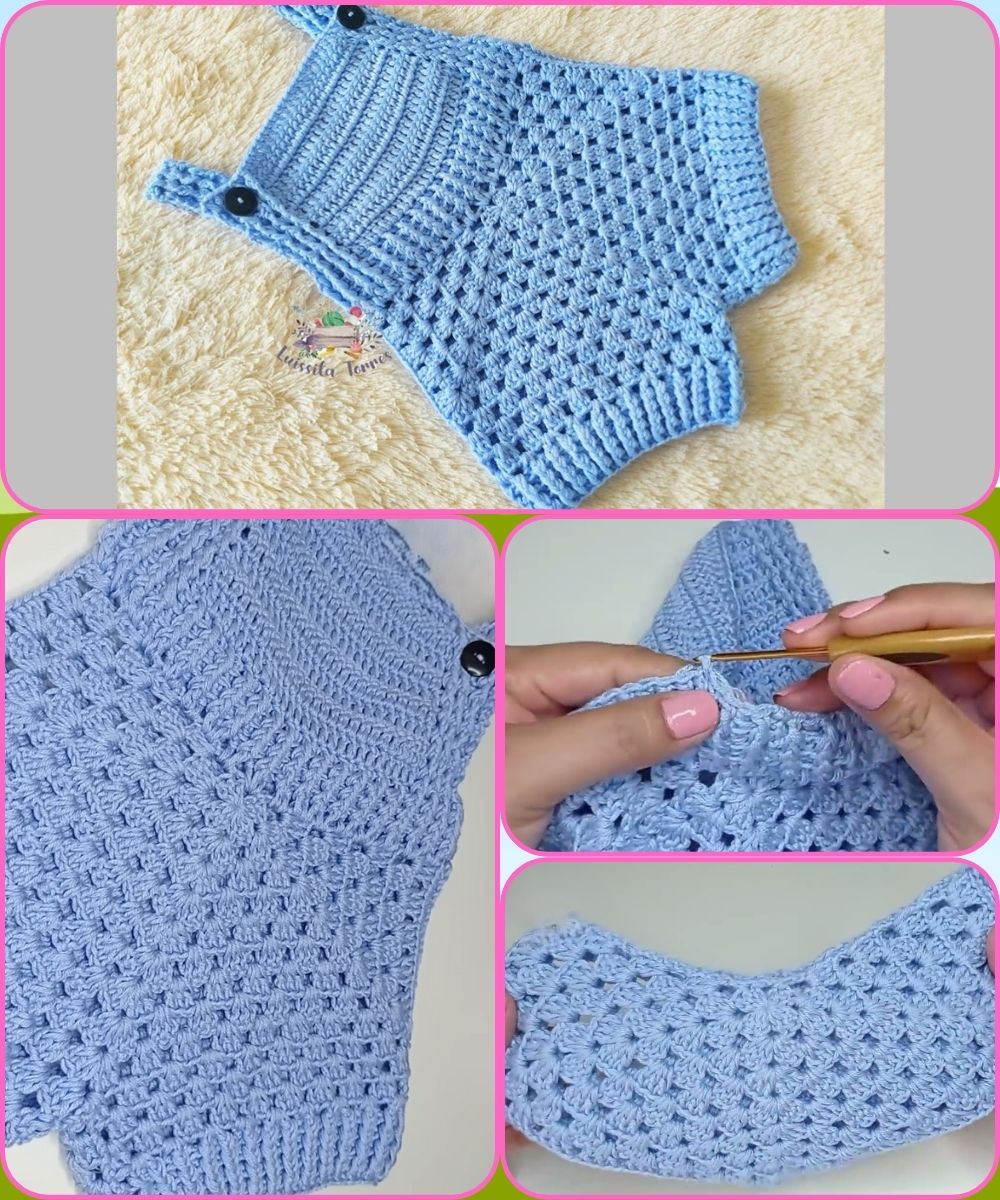
❤️ HOW TO CROCHET A BABY OVERALL WITH TWO GRANNY SQUARES
Step-by-Step – Beginner Friendly
🧶 Materials You Will Need
-
Medium weight yarn (Cotton or acrylic, soft baby-safe yarn) – 150–200 g
-
Crochet hook suitable for your yarn (usually 4 mm / G-6 or 4.5 mm)
-
Yarn needle
-
Scissors
-
2–4 small buttons for straps (optional)
-
Stitch markers (optional)
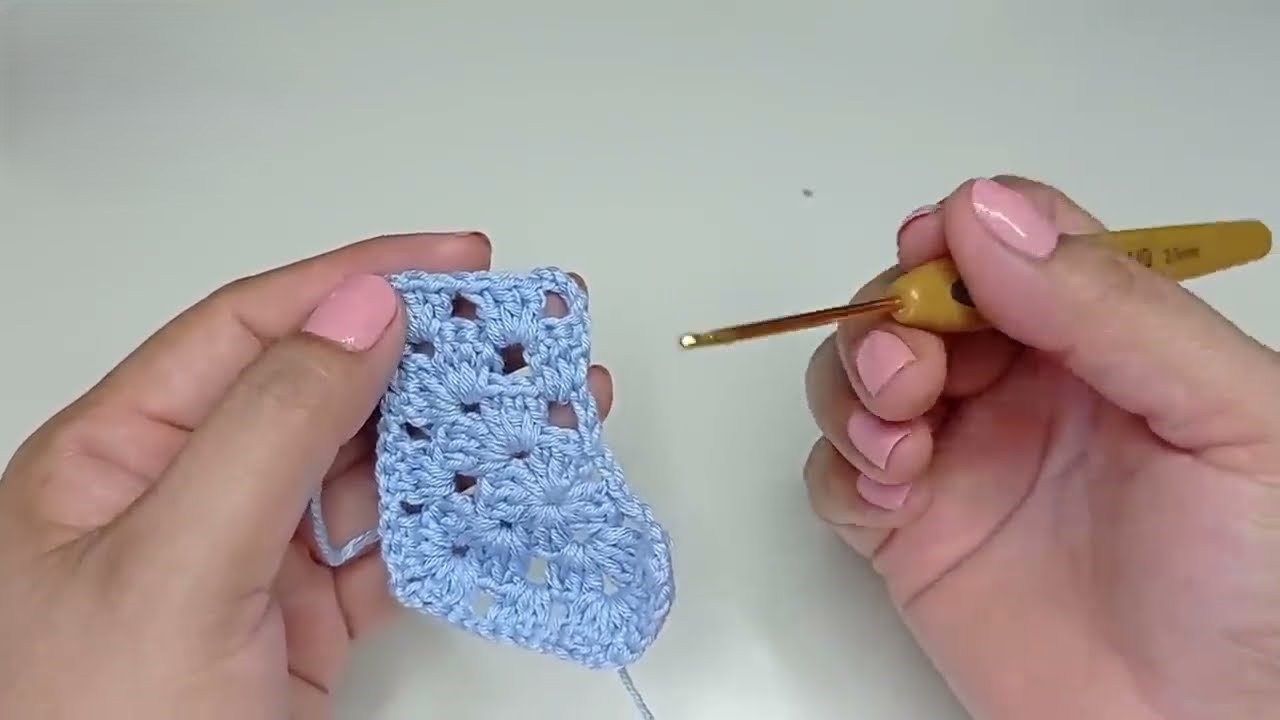
🟦 STEP 1: CROCHET TWO LARGE GRANNY SQUARES
You will make two identical squares that form the front and back of the baby overall.
✔ Granny Square Size
-
Newborn → about 20–22 cm (8–8.5 in) each
-
0–3 months → 22–24 cm
-
3–6 months → 24–26 cm
✔ Basic Granny Square Pattern
Round 1:
-
Make a magic ring
-
Ch 3 (counts as dc), dc 2 into ring
-
Ch 2, dc 3 → repeat 3 more times
-
Tighten ring, join
Round 2 and onward:
-
In each corner space: 3 dc, ch 2, 3 dc
-
In each side: 3 dc in each space between clusters
-
Repeat until square reaches the desired size
Make TWO squares.
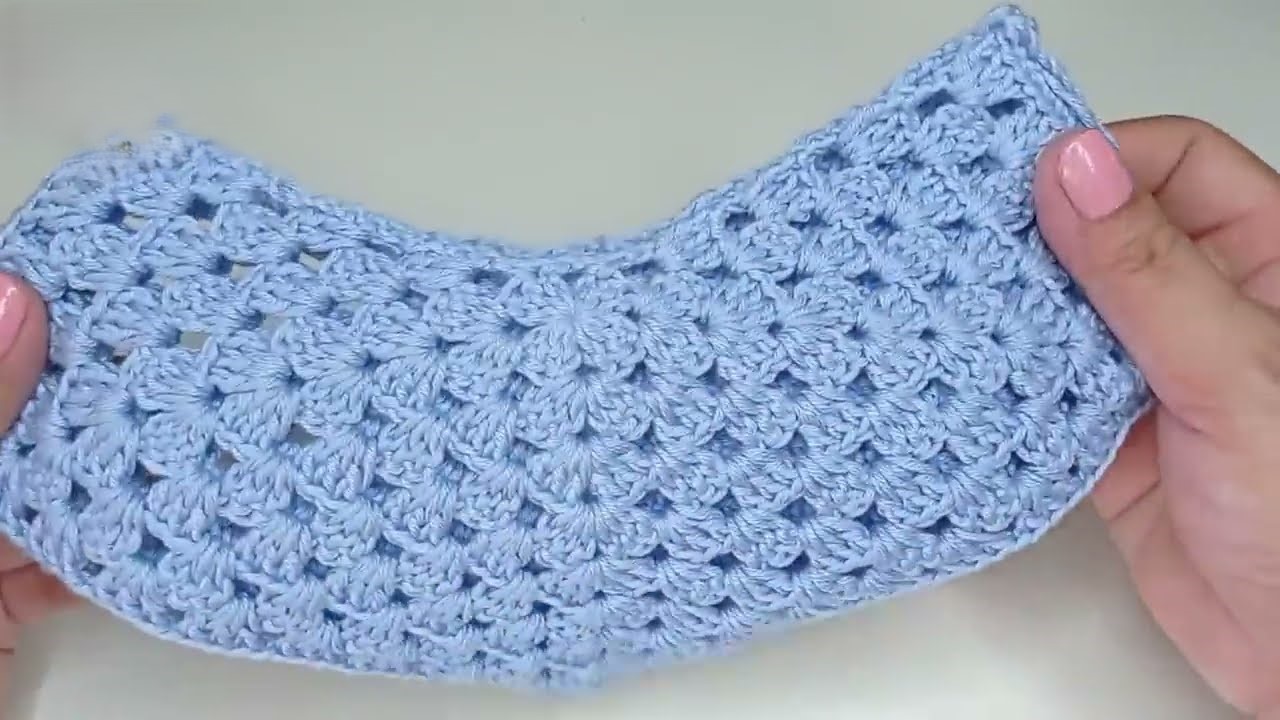
🧵 STEP 2: SHAPE THE LEG OPENINGS
Lay the two squares flat:
✔ Identify the bottom edge
This will become the crotch area and legs.
✔ Fold and Join
-
Place the squares on top of each other (right sides facing out)
-
From the bottom center, sew or slip-stitch about 6–8 cm to form the crotch
-
Leave left and right sides open → these are the leg holes
🪡 STEP 3: JOIN THE SIDES TO FORM THE BODY
✔ Join the sides from under the arm
-
Starting at the bottom of each side, sew or slip-stitch upward about ⅔ of the way
-
Leave the top open for the armholes
Now you have a tube-shaped mini jumpsuit.
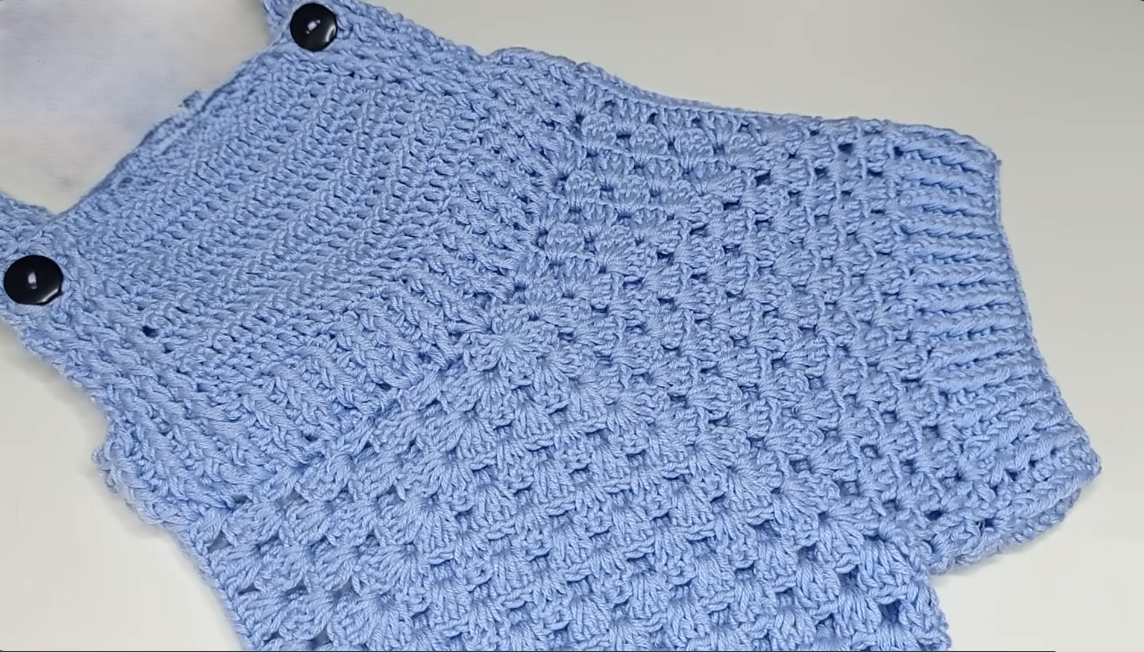
👶 STEP 4: CREATE THE BIB (FRONT CHEST PANEL)
Choose one square to be the front.
✔ Mark the center 10–12 stitches
Crochet:
Row 1:
-
Attach yarn, work dc across 10–12 stitches, ch 2, turn
Rows 2–6:
-
Continue working dc back and forth to form a rectangle
(This becomes the front chest piece.)
✨ STEP 5: ADD STRAPS
You will attach two straps to the top corners of the back square.
✔ Strap Pattern
Row 1:
-
Attach yarn to the top left corner at the back
-
Ch 1, sc 4–5 across, turn
Rows 2–20 (or desired length): -
Sc across
-
Continue until straps reach the front bib
Make two straps.
Optional:
-
Sew buttons on the bib and create button holes on straps
OR -
Sew straps directly.
🧵 STEP 6: FINISH THE LEG OPENINGS
To make the legs neat and stretchy:
-
Attach yarn at the leg hole
-
Work 1 round of sc
-
Optional: add shell stitch or sc → dc → sc decorative border
Repeat for second leg.
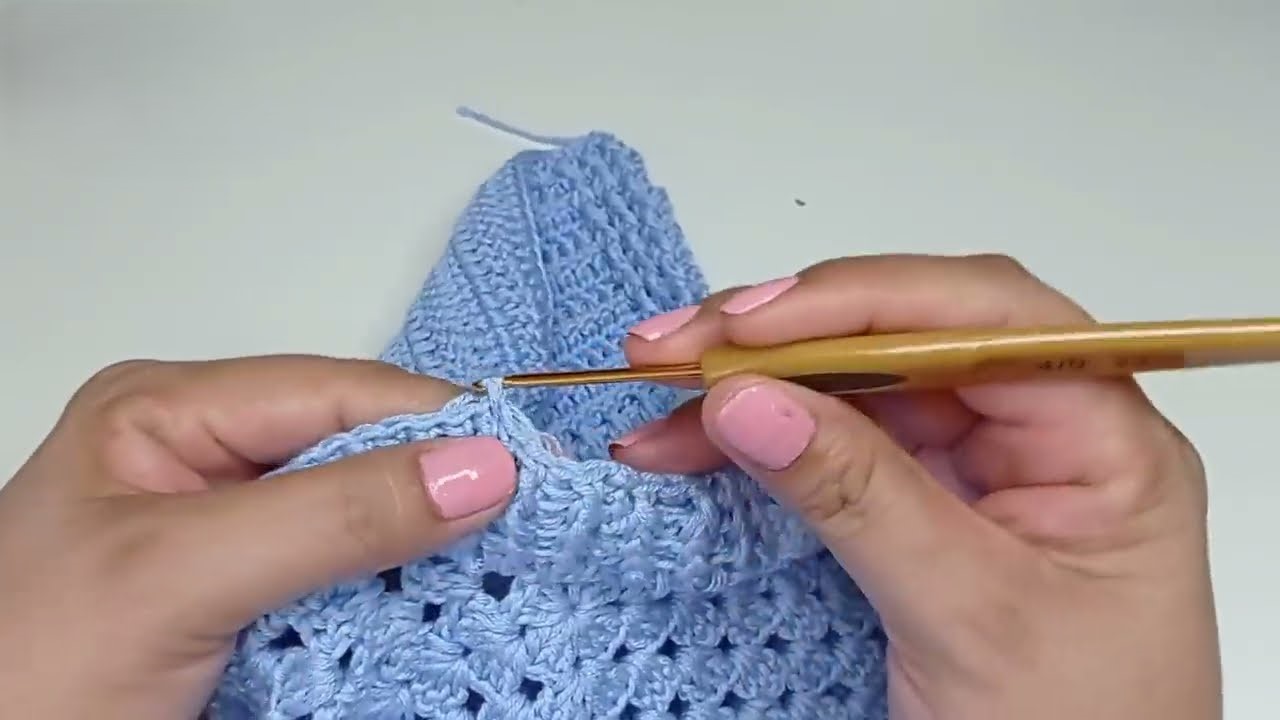
🧵 STEP 7: EDGE THE TOP AND ARMHOLES
(Optional but makes work look professional)
-
Work one round of sc around the top opening and armholes
-
Avoid tightening too much
🎉 STEP 8: WEAVE IN ALL ENDS
Use a yarn needle to tuck in all loose yarn ends to finish.
👶 YOUR BABY OVERALL IS READY!
This two-square method is simple, fast, and produces an adorable handmade baby romper.
💡 Tips
-
Add color stripes in your granny squares for a cute look
-
Use soft washable yarns
-
Add pockets or appliqués for decoration
If you want, I can also create:
✅ A printable PDF
✅ A diagram chart
✅ A video-style script
✅ A version for larger baby sizes
Watch tutorial: