 by
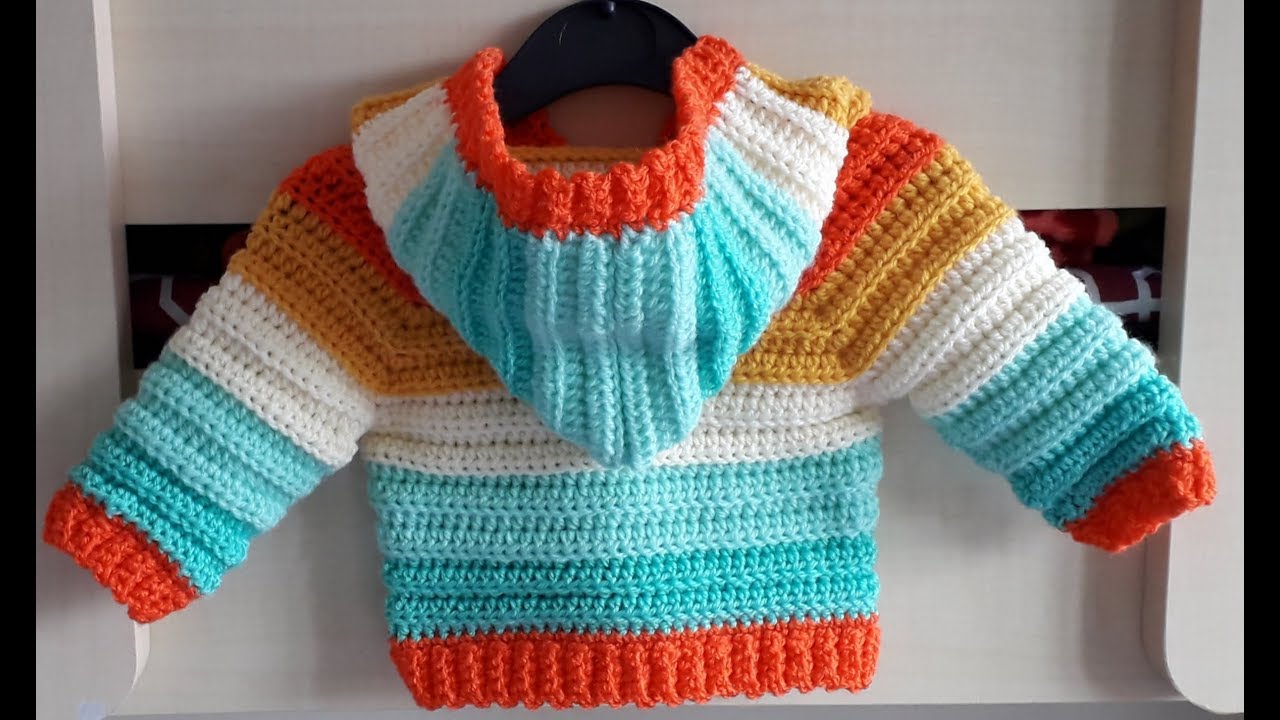
by Below is a clear, detailed, step-by-step guide on how to crochet a baby hoodie, written so even a confident beginner can follow it. Let me know if you want a pattern with exact stitch counts for a specific size (newborn, 3–6 mo, 6–12 mo, 12–18 mo, 2T)—I can write a full printable pattern too.
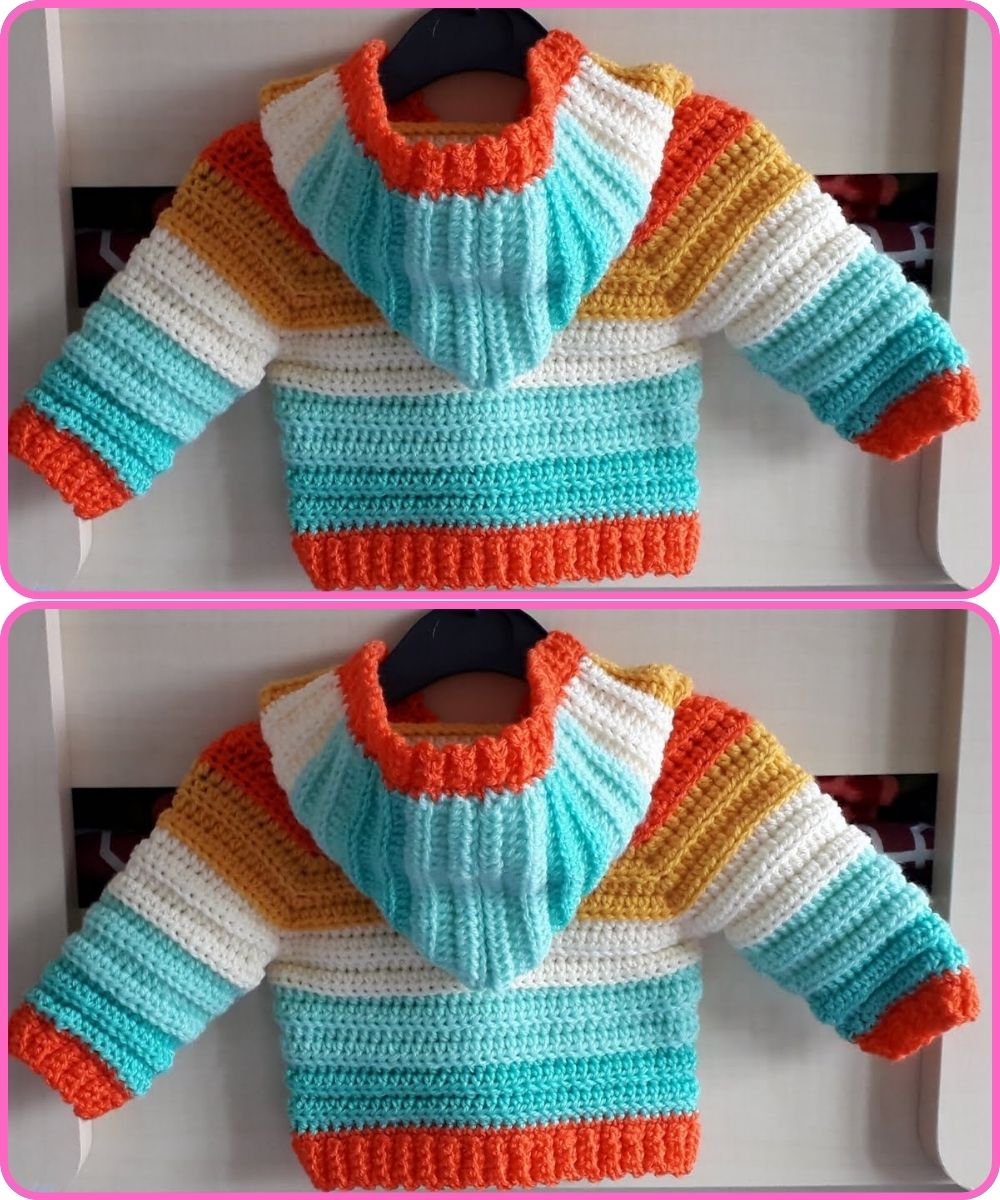
🧶 How to Crochet a Baby Hoodie
A detailed, beginner-friendly guide
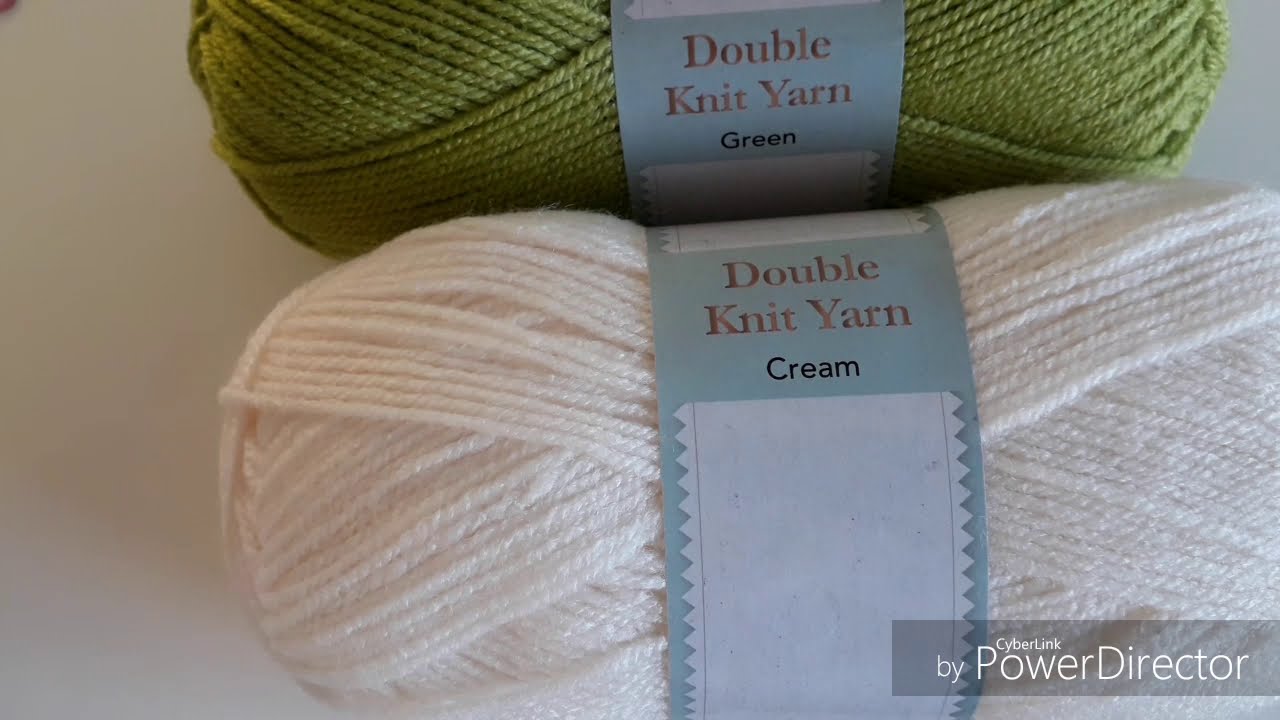
⭐ Materials You Will Need
-
Yarn: Medium (4) worsted-weight acrylic or cotton blend, 300–450 yards depending on size
-
Hook: Usually 5.0 mm (H) or recommended size for your yarn
-
Notions: Yarn needle, scissors, stitch markers, optional buttons
-
Gauge (important for sizing): 16 sts × 20 rows = 4 in/10 cm in half double crochet (This can vary; adjust hook size as needed.)
🧵 Construction Overview
A baby hoodie is usually made in four main parts:
-
Back Panel
-
Two Front Panels
-
Sleeves
-
Hood
-
Seaming + Edging
You can work it straight (rectangular shapes) and then seam, making it easy for beginners.
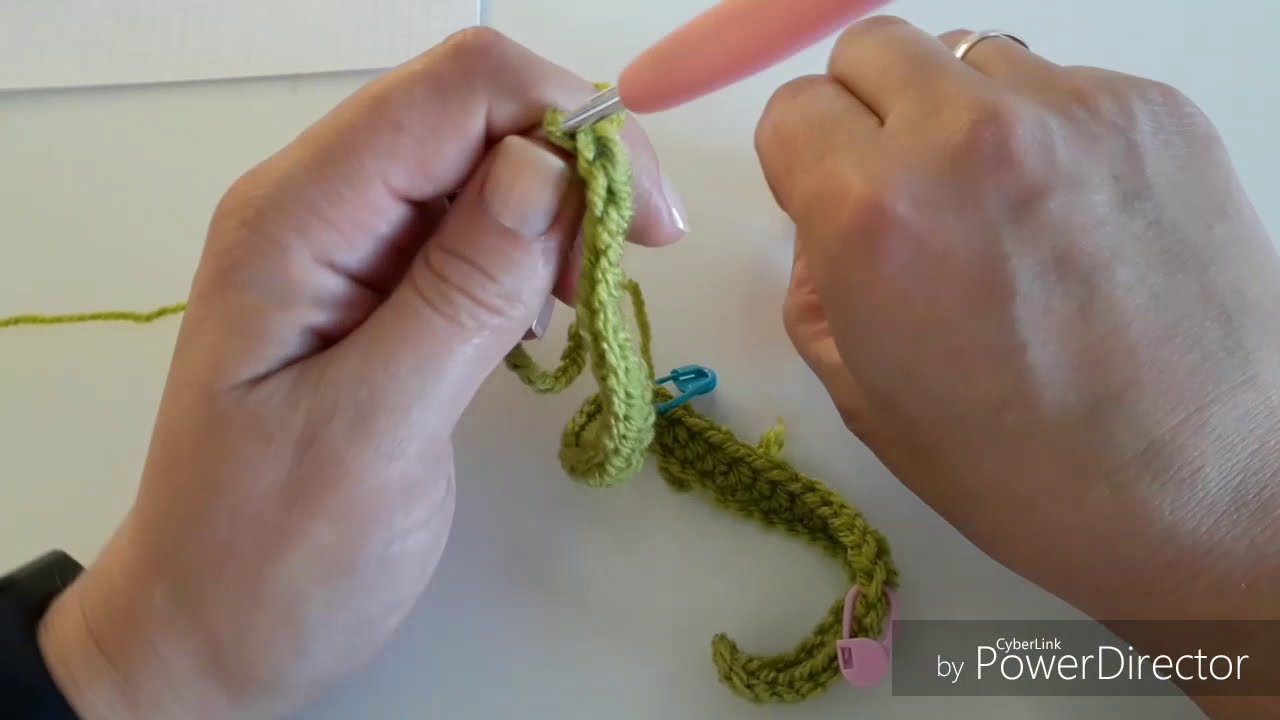
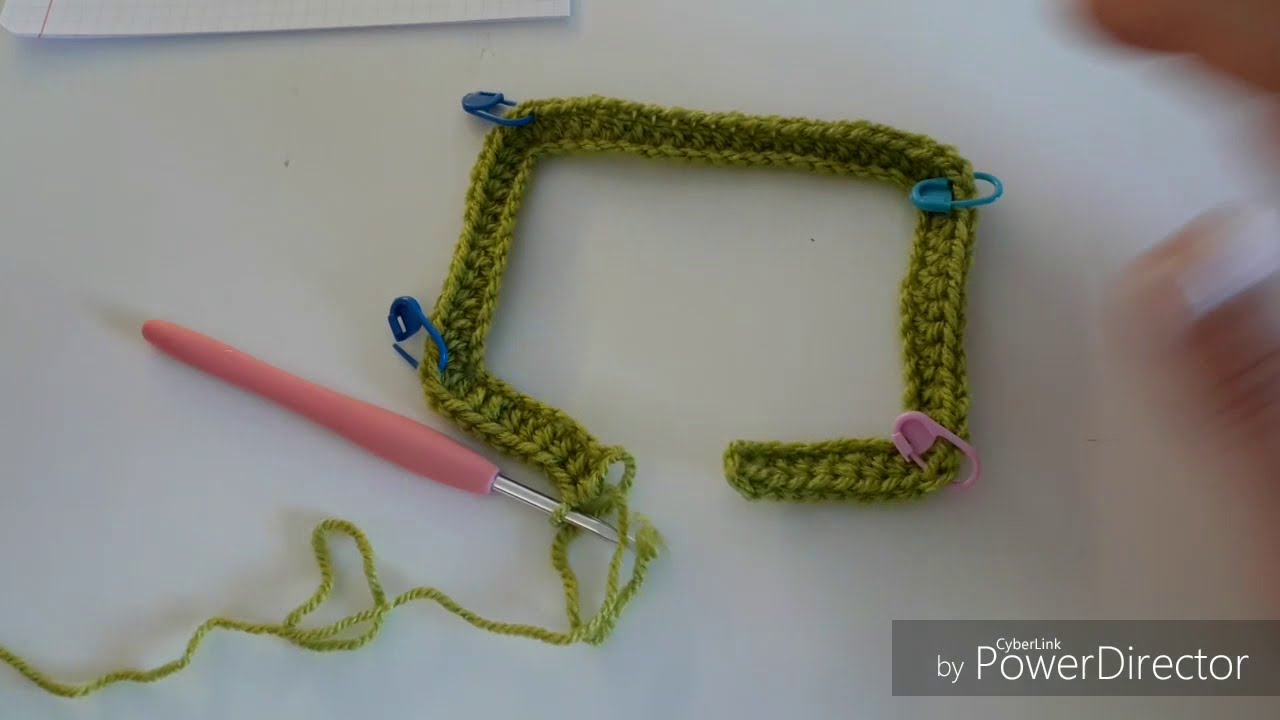
🧸 Step-by-Step Instructions
🟦 1. Crochet the Back Panel
-
Foundation chain the width of your desired size.
-
Example: Chain 40–55 (depends on age; I can calculate this for your size).
-
-
Row 1: HDC (half double crochet) in 2nd chain and across. Turn.
-
Row 2–X: Continue HDC back and forth until the panel reaches the length from shoulder to waist (usually 10–13 inches for baby sizes).
✔ This creates a simple rectangle.
🟥 2. Crochet the Two Front Panels
You will make two identical rectangles that each cover half the front.
-
Foundation chain: About half the number used for the back.
-
Work in HDC rows until the length matches the back panel.
-
If you want a V-neck, decrease 1 stitch at the neck edge every other row near the top.
If not, just keep it straight—very beginner-friendly.
✔ Leave top edges straight so they seam cleanly to the hood later.
🟫 3. Crochet the Sleeves
-
Foundation chain the baby’s arm length from wrist to underarm.
-
Work HDC rows, increasing 1 stitch at each edge every 4 rows to create a gentle widening.
-
Continue until the sleeve reaches baby’s upper-arm width.
-
Make two identical sleeves.
✔ Sleeves should be slightly tapered; baby clothing is forgiving.
🟪 4. Crochet the Hood
The hood is just a large rectangle folded in half.
-
Foundation chain equal to the neck opening height (usually 9–11 in).
-
Work HDC rows until the rectangle is long enough to wrap over the head (usually 10–12 in).
-
Fold the rectangle in half and seam one side closed—this creates the curved top of the hood.
✔ The open edge attaches to the neckline later.
🧵 5. Assembly (Seaming)
Use whip stitch or slip-stitch join.
-
Attach shoulders: Sew front panels to the top of the back panel.
-
Attach sleeves: Lay sleeves flat and seam their tops to the armholes.
-
Seam sides: Fold the whole piece and sew the sides and sleeve seams.
-
Attach the hood: Sew hood’s open edge evenly around the neckline.
🎀 6. Add Edging (Optional but Cute!)
You can add edging around the front opening and hood:
-
Work single crochet all the way around the front opening and hood.
-
Do 2–3 rows for a thicker border.
-
Optional: Add button loops and sew on wooden or plastic buttons.
💡 Tips for Success
-
Check gauge so the hoodie isn’t too small or too large.
-
Use stitch markers to keep count and mark increase rows.
-
Choose soft yarn—baby skin is sensitive.
-
Machine-washable acrylic or cotton blends are best.
Want a Printable Pattern?
I can write a complete pattern in standard crochet format for ANY size:
-
Newborn
-
0–3 months
-
3–6 months
-
6–12 months
-
12–18 months
-
2T–4T
-
Custom measurements
Just tell me the age/size you want, and whether you’d prefer:
-
HDC, DC, or SC stitch
-
Zipper or buttons
-
Ears on the hood (bear, bunny, cat—super cute!)
Watch tutorial: