 by
by Below is a clear, detailed, step-by-step guide on how to crochet a girl’s coat, including materials, measurements, stitch instructions, shaping, assembly, and optional embellishments. This is written like a comprehensive tutorial you can follow or adapt to any size.
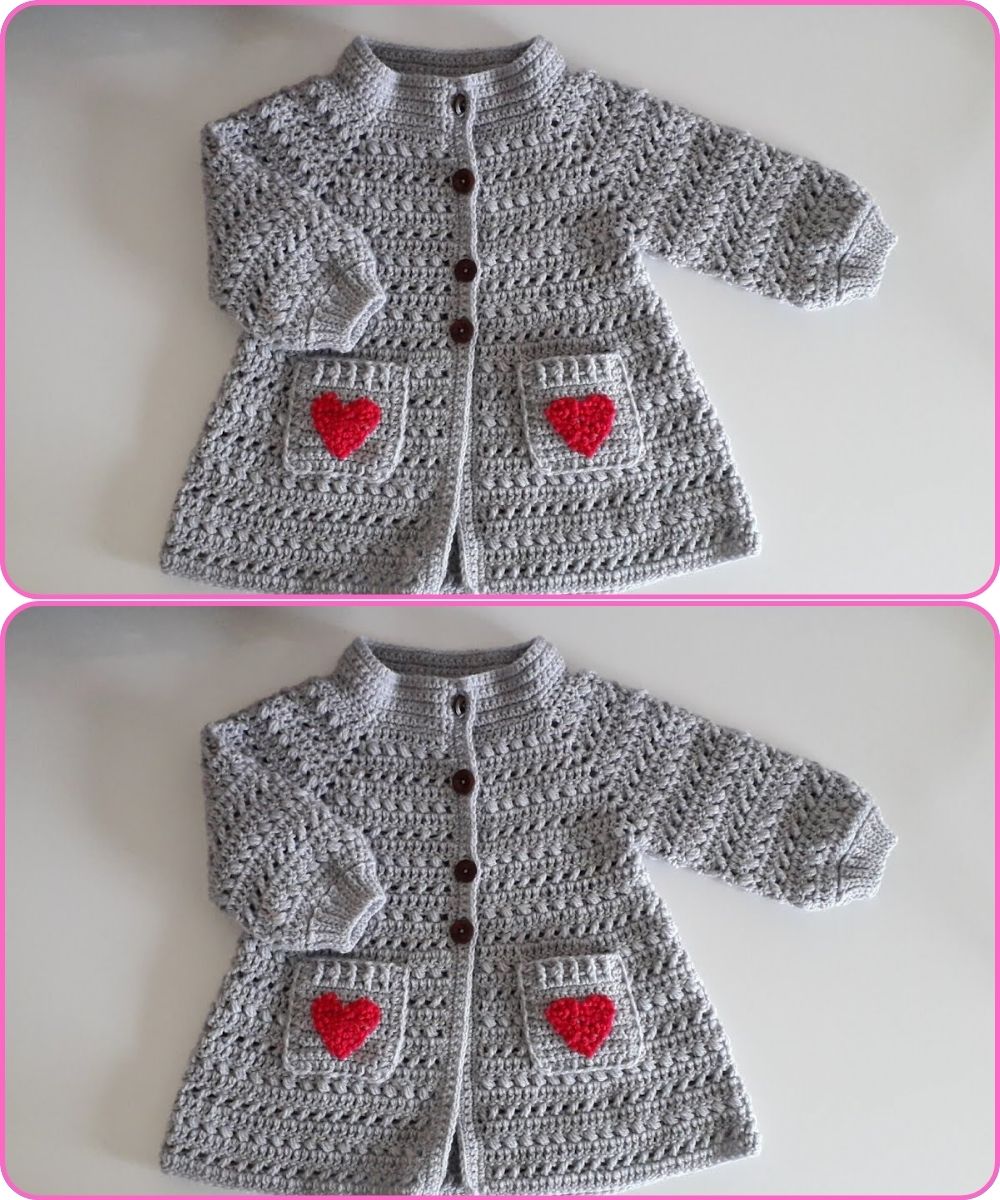
How to Crochet a Girl’s Coat – Detailed Tutorial
1. Materials You Will Need
-
Yarn: Worsted-weight (Category 4) acrylic or cotton blend.
Amount:-
Toddler (2–3 yrs): ~400–500g
-
Child (4–6 yrs): ~500–650g
-
Older child (7–10 yrs): ~650–800g
-
-
Hook: 5.0 mm (H-8) hook or size recommended on yarn label.
-
Notions:
-
Yarn needle
-
Stitch markers
-
Scissors
-
4–6 buttons (¾”–1”)
-
Optional: decorative appliqués or edging trim
-
-
Stitches Used:
-
Chain (ch)
-
Slip stitch (sl st)
-
Single crochet (sc)
-
Half double crochet (hdc)
-
Double crochet (dc)
-
Increase (2 stitches in the same stitch)
-
Decrease (crochet 2 stitches together)
-
2. Measuring and Sizing
To make any coat fit properly, measure the child:
-
Chest circumference
-
Coat length (shoulder to desired hem)
-
Arm length (shoulder to wrist)
-
Arm circumference
For a classic coat shape, add 2–4 inches (5–10 cm) ease to the chest measurement so the coat is not tight.
3. Construction Overview
This coat is made in four main parts:
-
Back panel
-
Two front panels (left & right)
-
Sleeves
-
Collar/hood (optional)
-
Sew all pieces together, then add button band and edging.
4. Step-By-Step Instructions
A. Back Panel
-
Foundation Chain:
Chain long enough to equal the coat width (¼ of chest measurement × 2 + ease).
Example for size 4–6 yrs: Chain 60. -
Rows 1–4: Ribbed Hem (optional)
Work hdc in the back loop only (BLO) across. This creates a stretchy hem. -
Body of Coat:
Continue working dc rows until the piece measures from hem to underarm length. -
Shaping the Armhole:
-
At the start of next row: skip first 3 chains (counts as decrease).
-
At the end: leave last 3 stitches unworked.
Repeat this decrease row once more.
Continue working evenly until back panel reaches shoulder height.
-
-
Finish:
Fasten off.
B. Front Panels (Left & Right)
Make two, mirroring each other.
-
Foundation Chain:
Chain half the amount of the back panel minus 3 stitches for button band overlap.
(Example: back chain 60 → each front panel chain 27–28) -
Repeat hem pattern (hdc BLO rows).
-
Work dc rows upward until length matches the back panel’s armhole start.
-
Armhole Shaping:
On the side closest to the armhole, decrease the same way as the back. -
Neck Shaping:
When near the top (last 2–3 inches):-
Decrease 1 stitch every row on the inner edge (center front) for 4–6 rows.
-
-
Shoulder:
Continue straight until shoulders match back panel height.
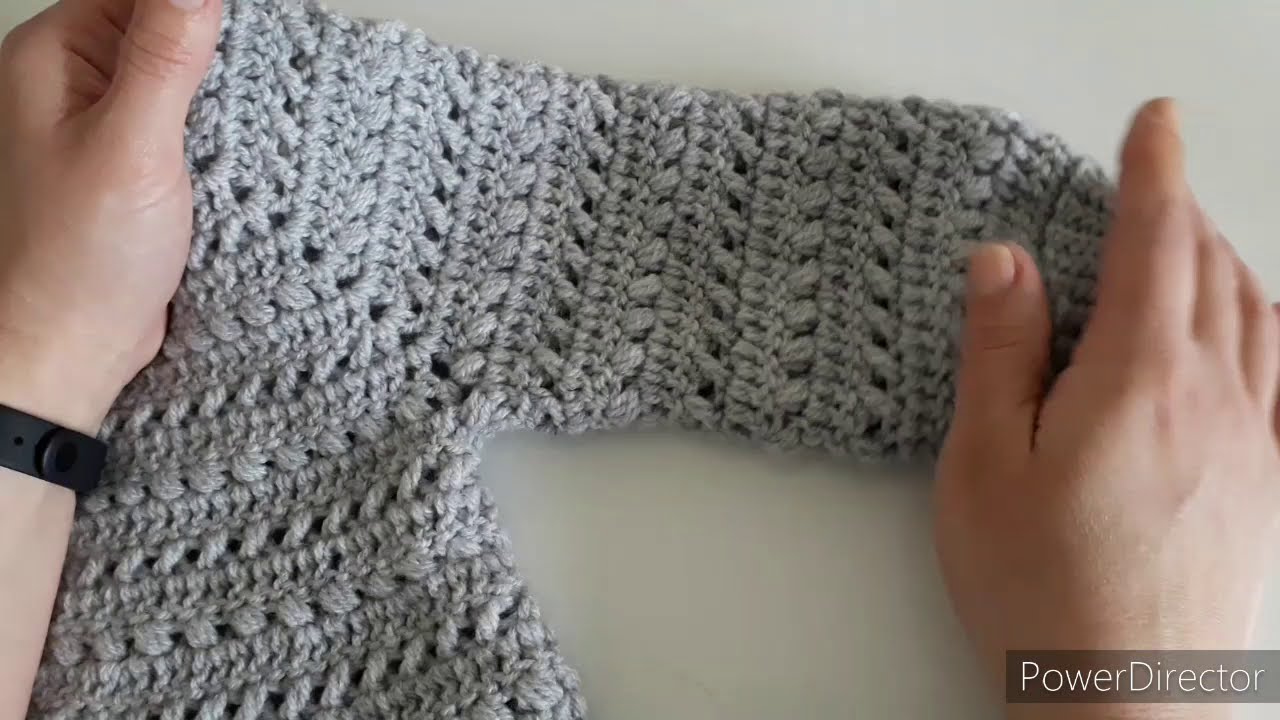
C. Sleeves
-
Foundation Chain:
Chain to match arm circumference (for 4–6 yrs: ~28–32 chains). -
Work hdc or dc rows until sleeve measures from wrist to underarm.
-
Increasing:
Add 1 stitch at both ends every 4th row to widen the sleeve. -
Cap Shaping (top of sleeve):
-
Decrease 2 stitches at row beginning & end for 6–10 rows.
-
Decrease 1 stitch at each end until sleeve top rounds off.
-
-
Finish:
Fasten off.
D. Assembly
-
Lay pieces flat.
-
Sew shoulder seams: attach both front panels to the back.
-
Attach sleeves:
-
Find sleeve center and align with shoulder seam.
-
Pin along the armhole curves.
-
Sew neatly.
-
-
Sew side seams:
-
Start at hem, up sides, and down sleeve edges.
-
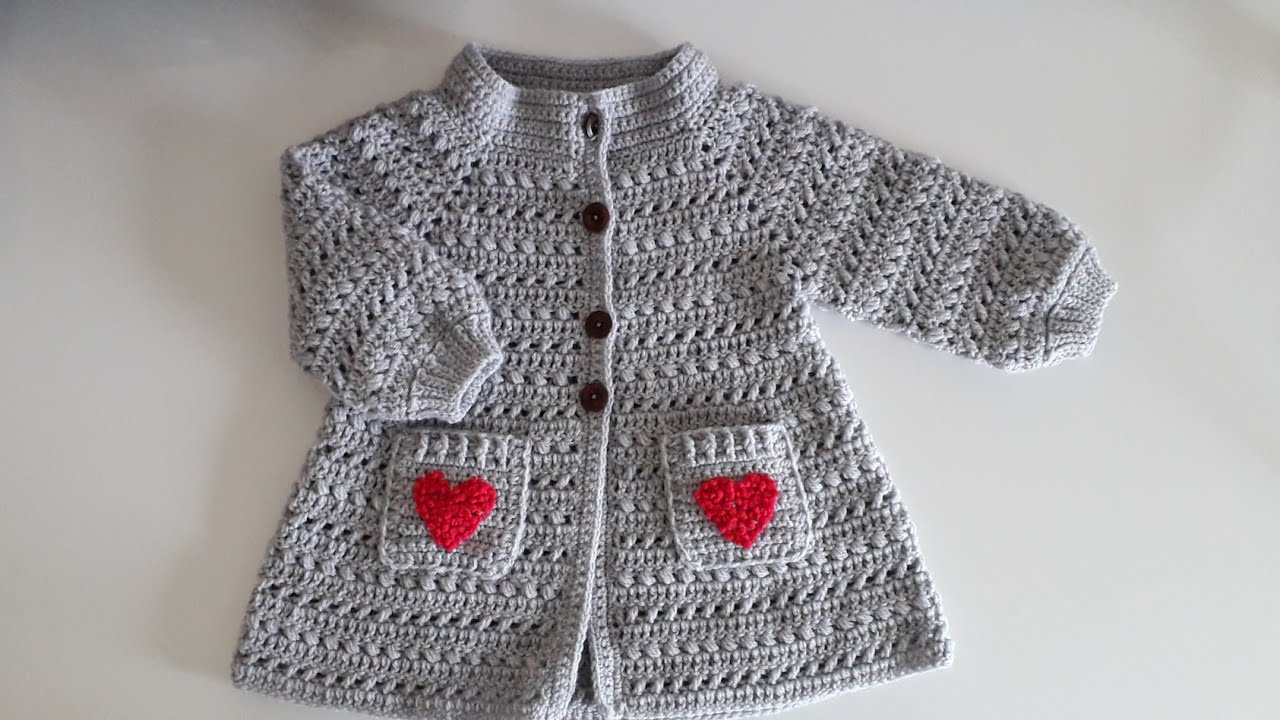
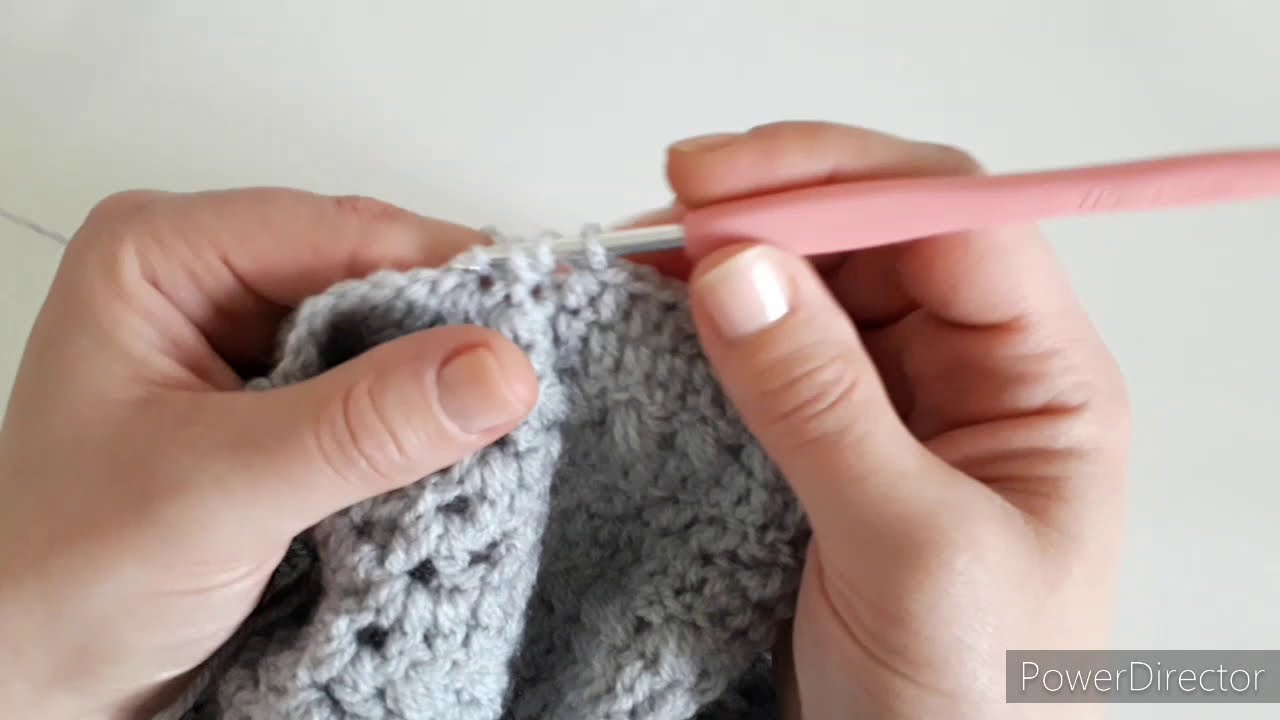
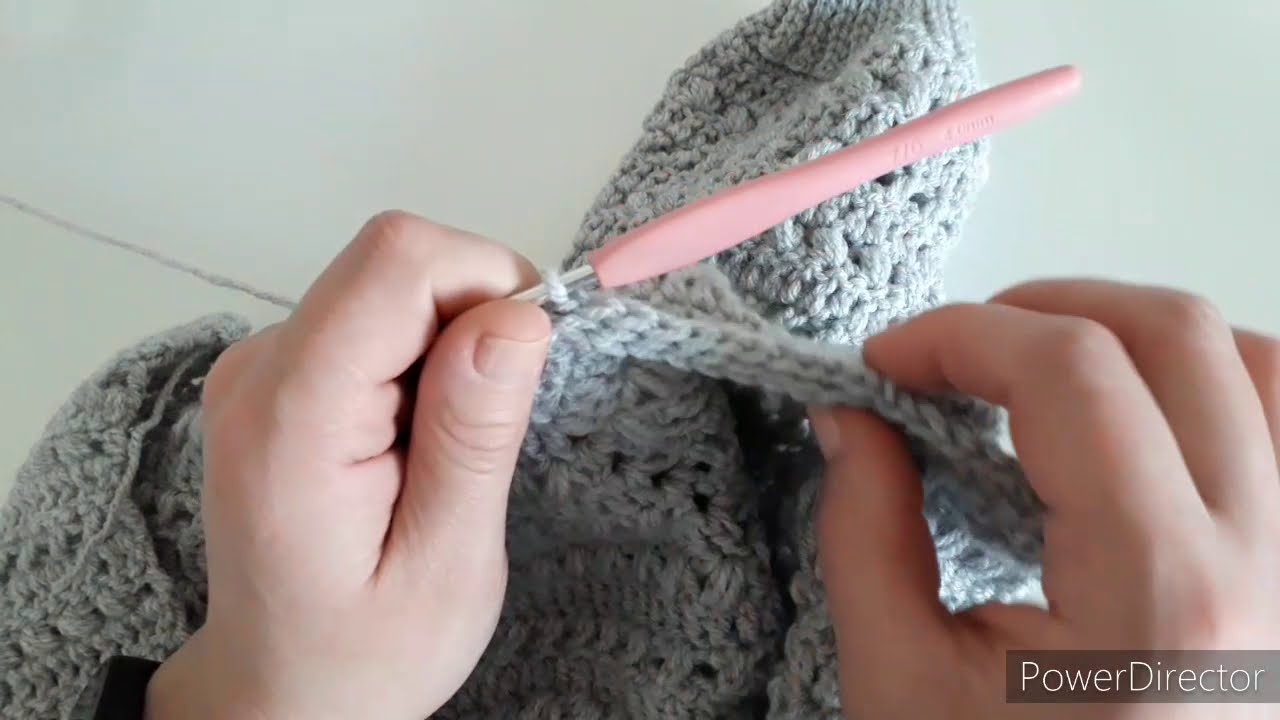
E. Button Band
-
With coat facing you, attach yarn along right front edge.
-
Crochet sc rows up the entire front, around neck, and down left front.
-
On the left side, crochet buttonholes:
-
Every 6–8 stitches, chain 2 and skip 2 stitches.
-
-
Add 2–4 more rows for thickness.
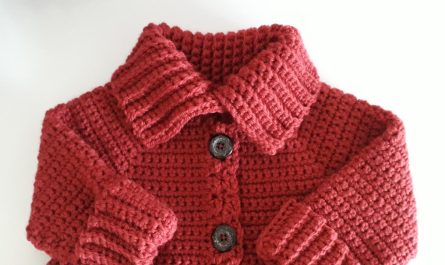
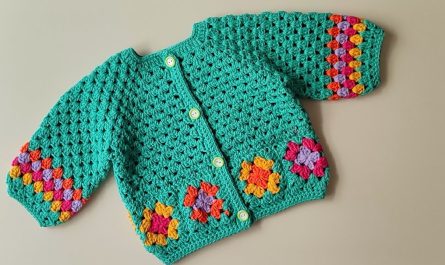
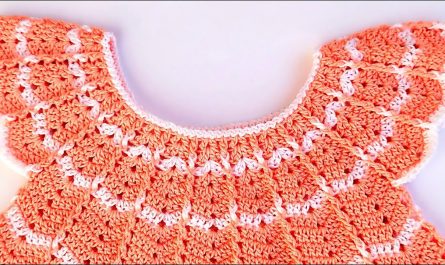
F. Optional Add-Ons
1. Collar
-
Attach yarn at neckline.
-
Work hdc or dc rows for 4–6 rows.
-
For a wider collar, increase stitches toward outer edges.
2. Hood
-
Pick up stitches evenly around neckline.
-
Crochet dc rows up to desired height.
-
Fold and sew top seam.
3. Pockets
-
Crochet small rectangles.
-
Sew onto the front panels.
4. Edging
-
Add a row of sc or shell stitch around the entire coat for decoration.
5. Tips for a Professional Finish
-
Block pieces lightly before sewing to shape them evenly.
-
Use matching buttons for a cohesive look.
-
Choose soft yarn for comfort.
-
Use stitch markers to ensure symmetrical shaping.
6. Simple Pattern Summary (Child 4–6 years)
-
Back: ch 60 → dc rows → shape armholes → finish at 16–18” height.
-
Front panels: ch 28 each → match back shaping.
-
Sleeves: ch 30 → increase gradually → shape cap.
-
Join pieces → add button band and collar.
If you want, I can also create:
✅ a printable crochet pattern PDF
✅ a diagram/chart
✅ a version for any specific age or size
✅ a video-style step-by-step script
Would you like that?
Watch tutorial: